Hello Stampin’ Friends ~
Today, I’m sharing a card design that’s sure to leave you (and your recipients) spinning with excitement – the Twisted Easel Fun Fold! This fun fold is one of my all-time favorites because it’s easy to create, packs a big “wow” factor, and works for so many occasions. But wait – there’s more! I’ve added an extra twist to one of my cards, and I can’t wait for you to see it.
Not only am I showcasing this fabulous fold, but I’m also giving the spotlight to the NEW Greetings for All Ephemera Pack. Trust me, these beautiful embellishments take your cards to the next level with minimal effort!
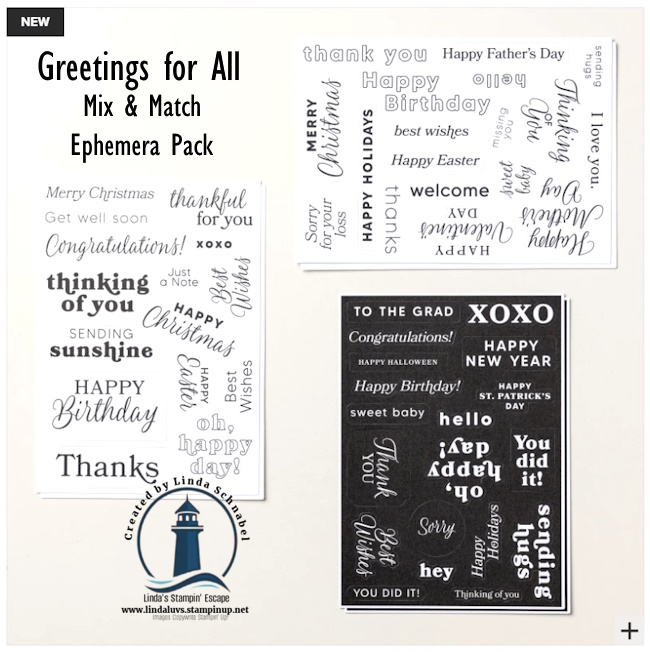
This set features a wide range of precut sentiments in a variety of styles, perfect for saying thanks, hello, congratulations, and more. The simple black and white colors ensure you’ll have a perfect fit for any design style.
What You’ll See in the Video
I walk you through step-by-step how to create the Twisted Easel Fun Fold. Whether you’re new to fun folds or a seasoned pro, you’ll love how simple this design is to put together. One of them even has a surprising twist – be sure to watch closely!
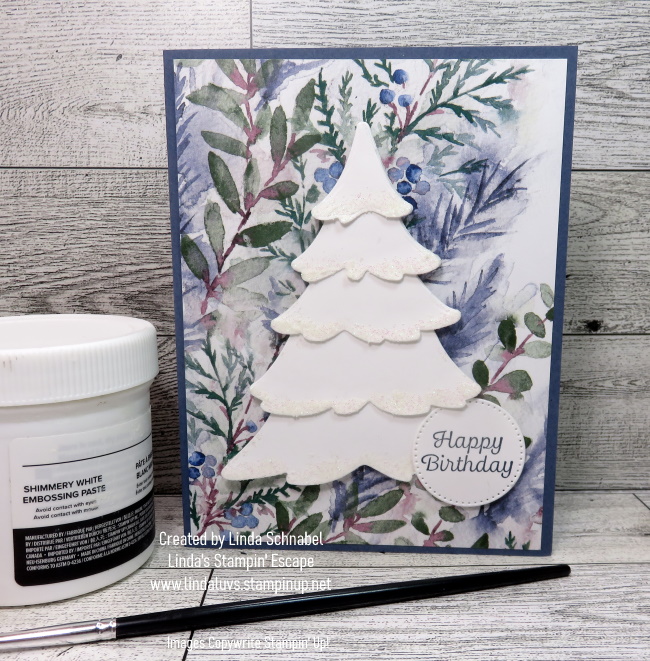
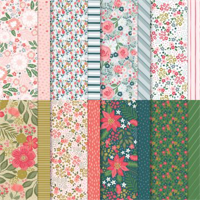
My first card features the Regal Winter designer paper …. Closed for mailing.
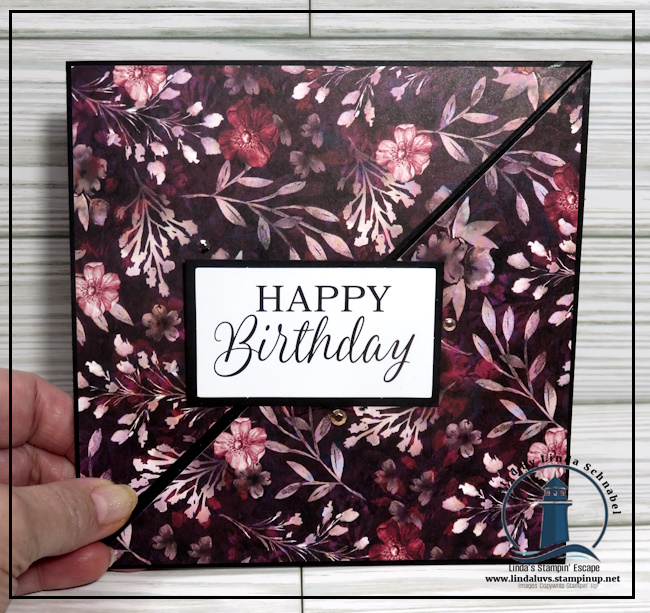
This is the Regal Winter Twisted Easel card opened ….

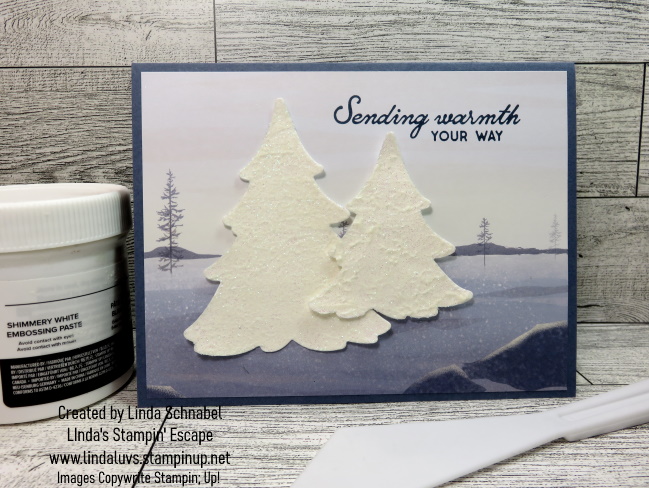
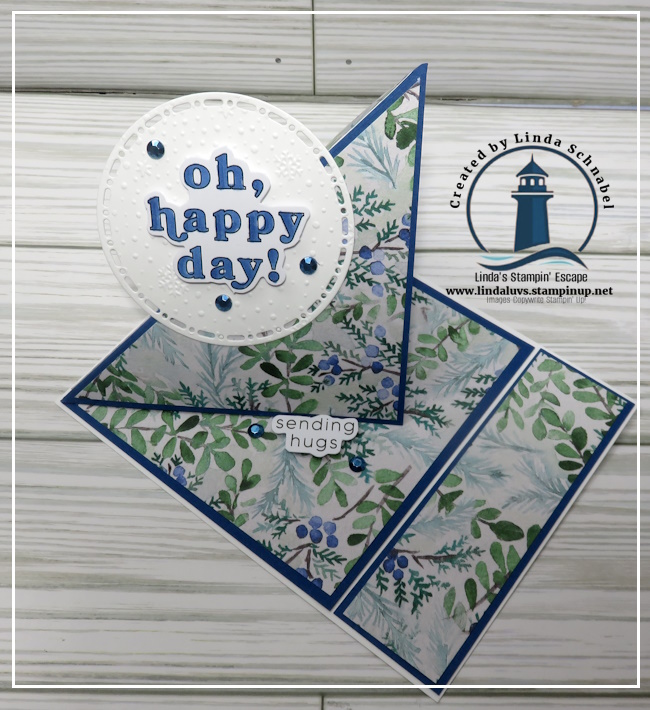
Here is the fun fold with a twist … as stated in the video, we’ve created the look of an A-2 card but still gave you the Twisted Easel done with the Winter Meadow Designer Paper.
Now that you’ve watched the video, I’d love to hear from you! Which card was your favorite? Do you love the added twist? Let me know in the comments below or on my YouTube channel.
Until next time, happy stamping!
Linda
Your creative coach at Linda’s Stampin’ Escape
P.S. Don’t forget to subscribe to my YouTube channel for more card-making inspiration and fun folds!