Hello Stampin’ Friends!
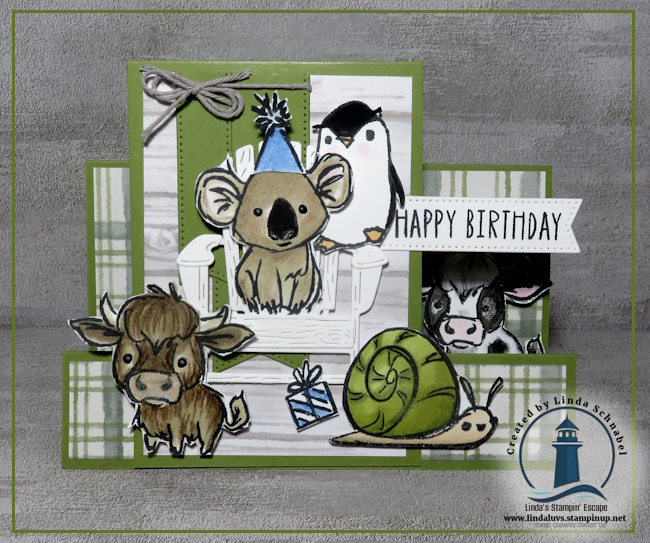
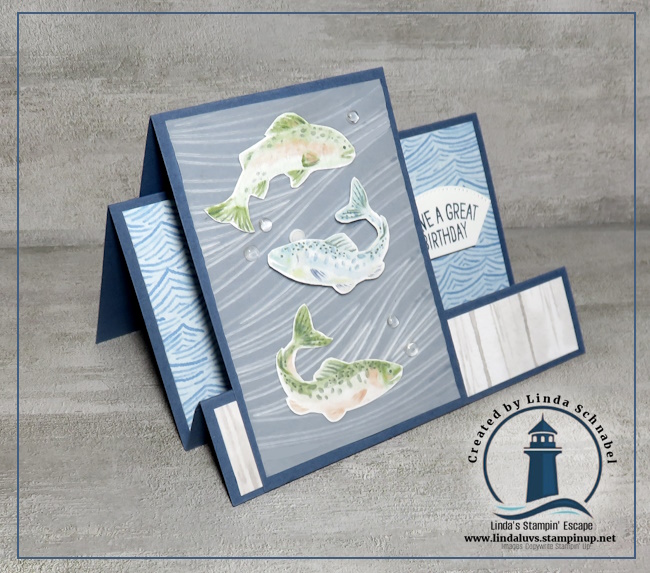
I’m so excited to share this fun fold with you today, and as promised, I’m including all the measurements and instructions so you can recreate it yourself! One of my favorite things about paper crafting is taking beautiful Designer Series Paper and turning it into something a little unexpected. Today’s card does exactly that with the gorgeous Waterside Retreat Suite Collection and a fun Horizontal Faux Step Fold.
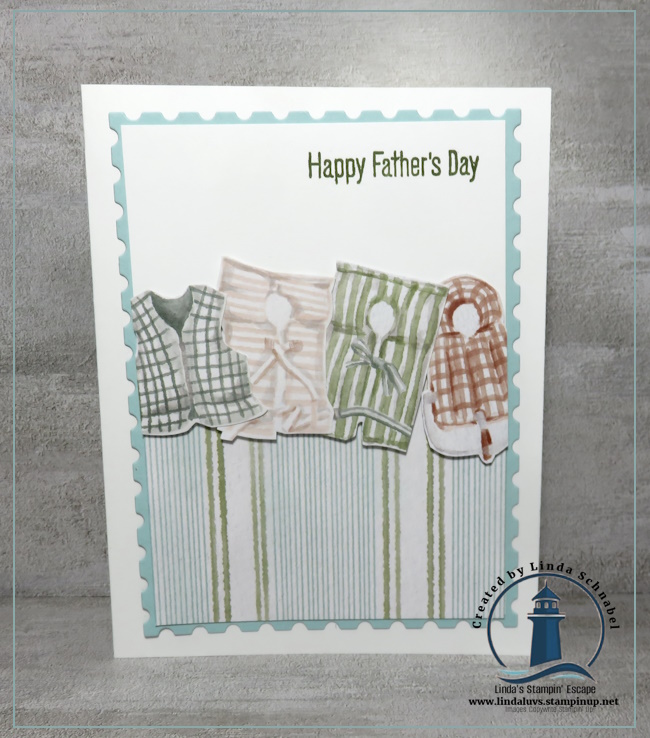
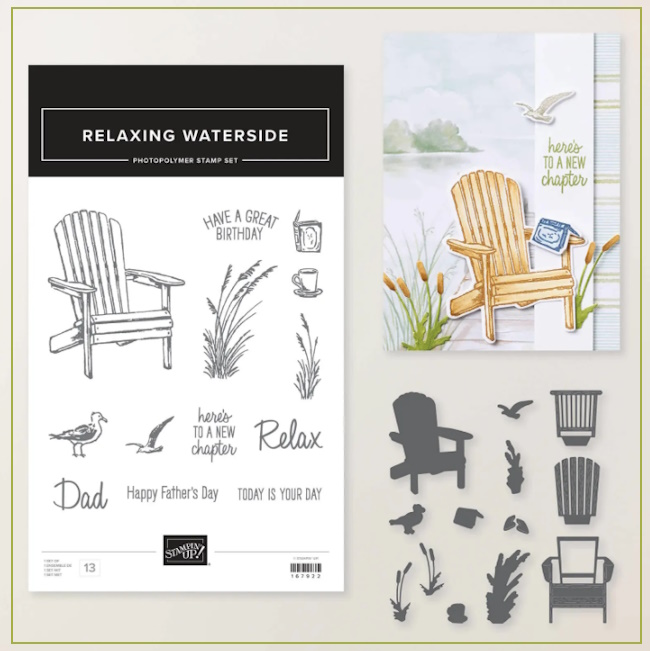
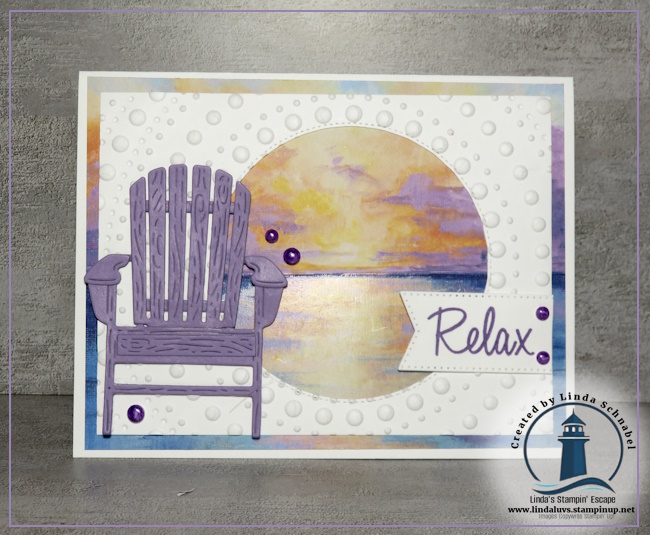
Escape to a quiet moment on the shore with the Waterside Retreat Suite Collection. This suite captures the breezy simplicity of a lakeside getaway with serene images of lounge chairs, sailboats, books, and peaceful waters. The coordinating Designer Series Paper, detailed dies, and charming embellishments work together to create projects that feel calm, relaxing, and beautifully inviting. For today’s card, I let the Designer Series Paper take center stage and paired it with this unique fold to create a scene that practically splashes with personality!
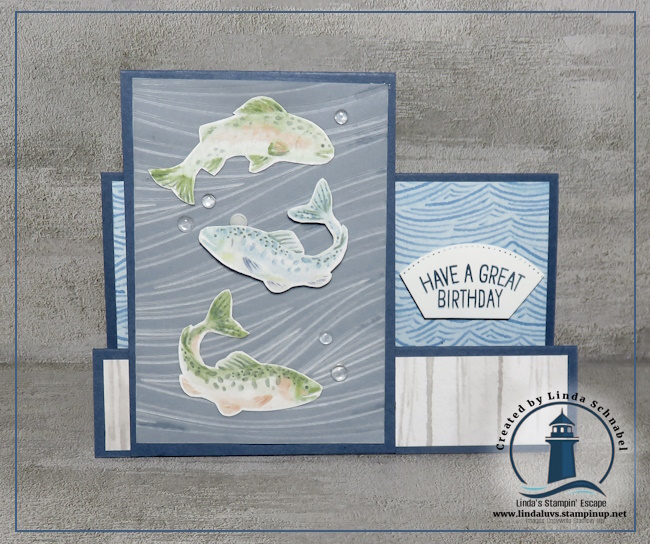
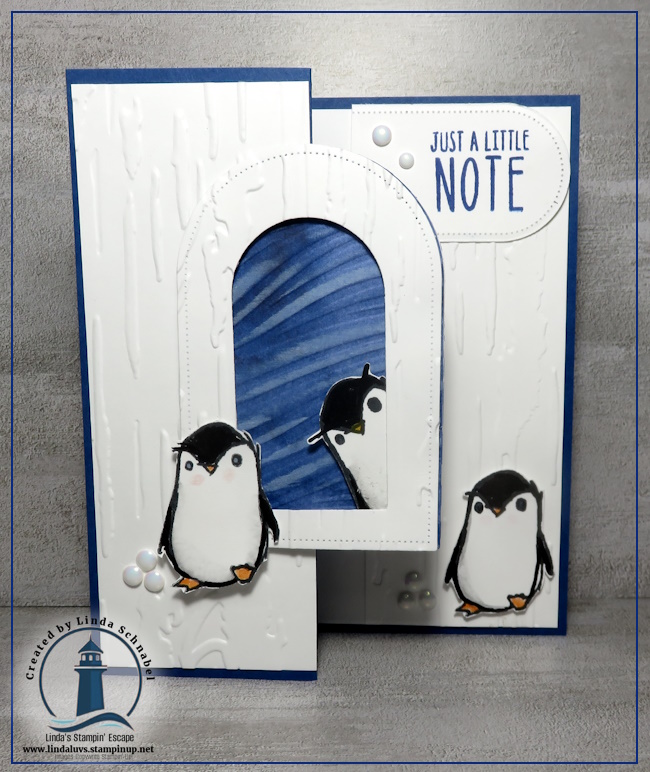
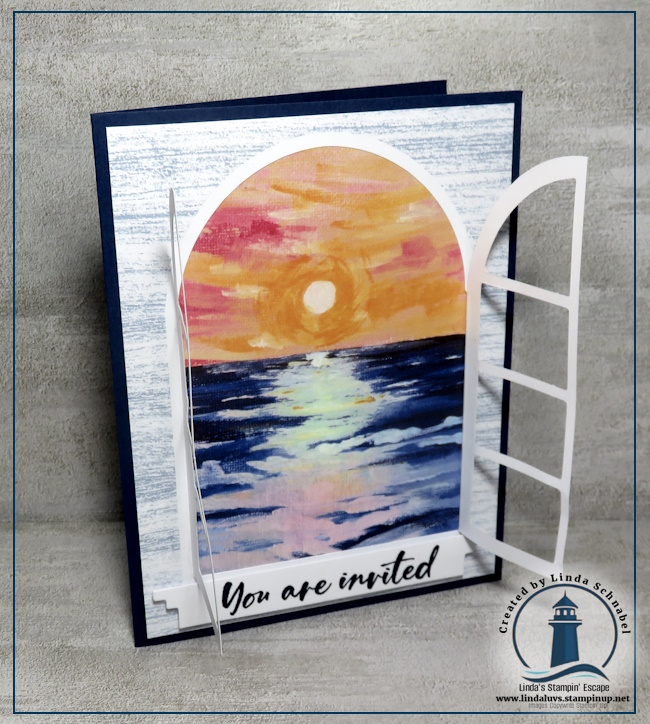
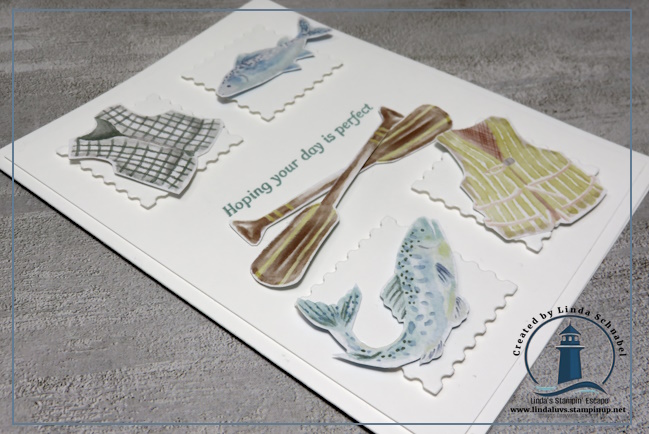
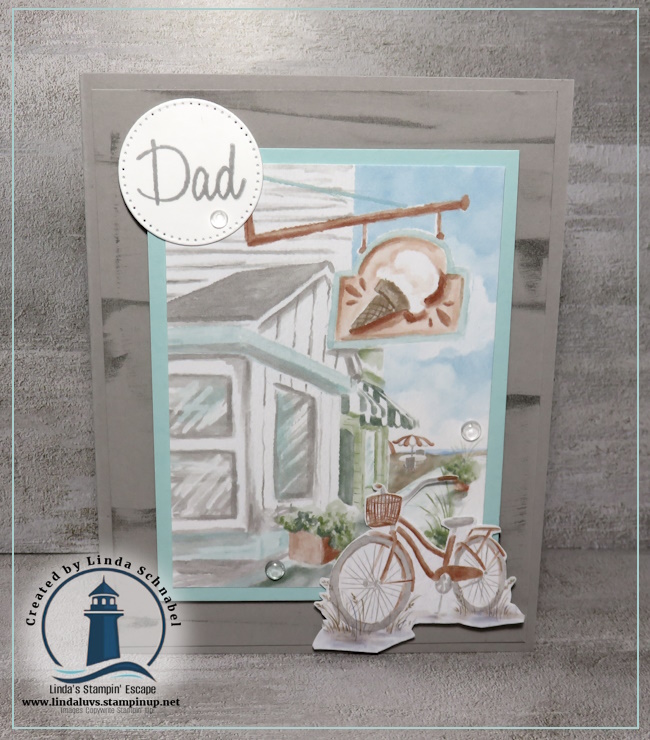
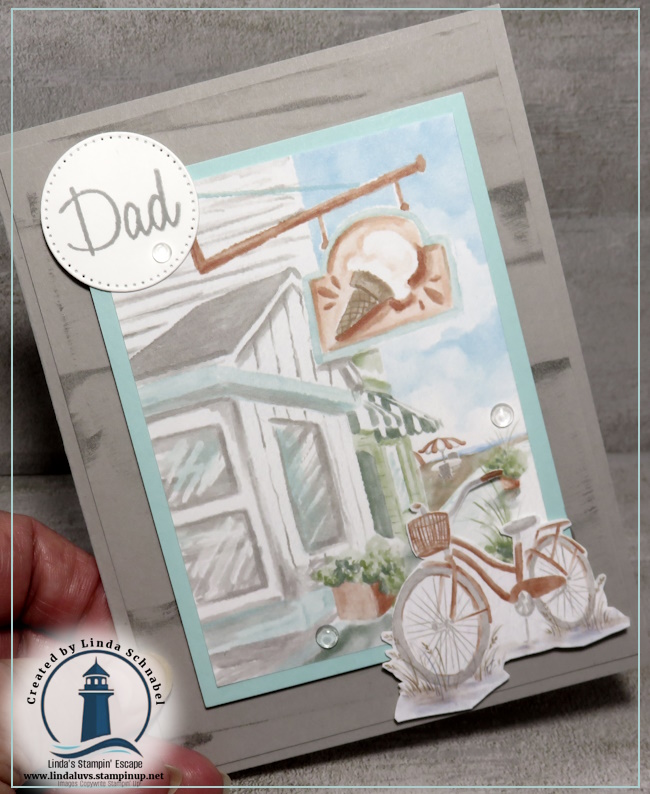
Let’s begin with the card base. I used Misty Moonlight cardstock, cutting the base to 8½” x 5½”. Along the 8½” side, score at 3″, 6″, and 7¼”. Turn the cardstock so the smallest section is closest to you. Adhere a piece of Designer Series Paper (Wood Grain) measuring 5¼” x 1″ to that front section. Skip the center section, and then add a second piece of the water-patterned Designer Series Paper measuring 5¼” x 2¾” between the second and third score lines. Once those pieces are in place, set the base aside while we create the front step panel.
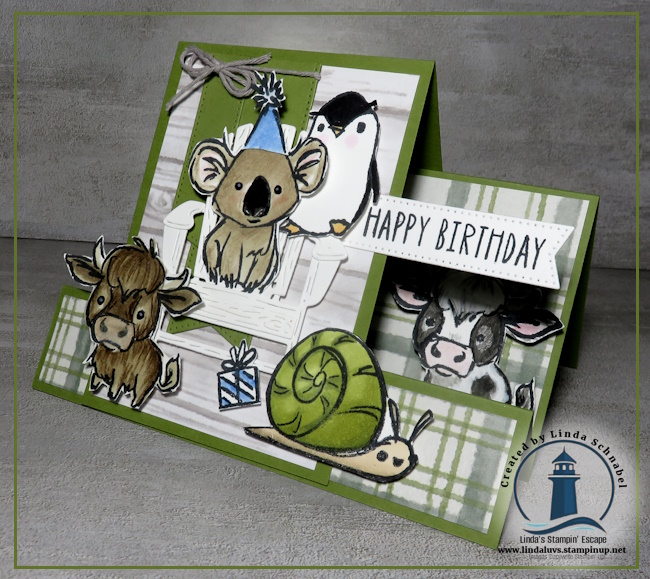
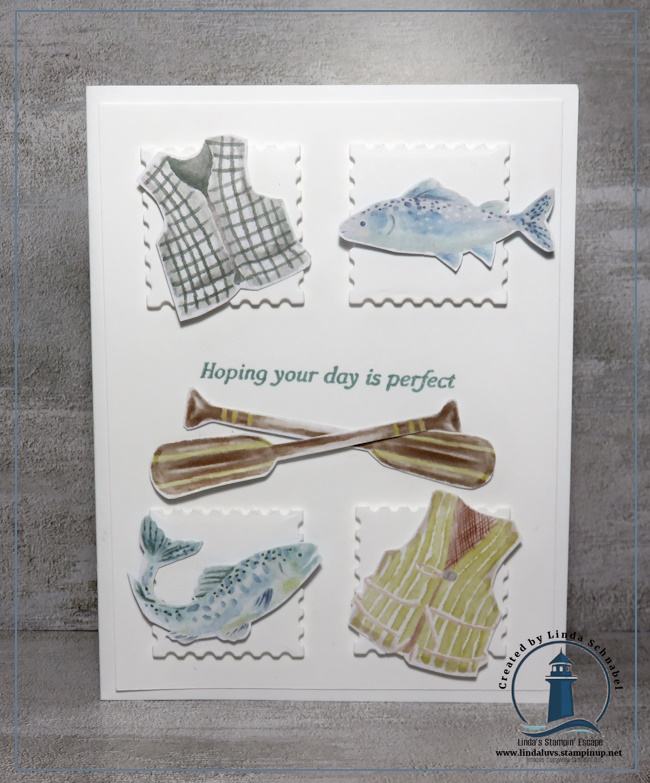
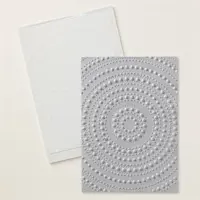
For the front panel, cut another piece of Misty Moonlight cardstock to 6″ x 3″ and score on the 6″ side at 4½”. I wanted the fish to really stand out, so instead of using another Designer Series Paper pattern, I chose a piece of vellum embossed with the Wave Embossing Folder, cut to 4″ x 2¾”, and adhered it to the front. The soft texture gives the appearance of moving water without distracting from the focal images.
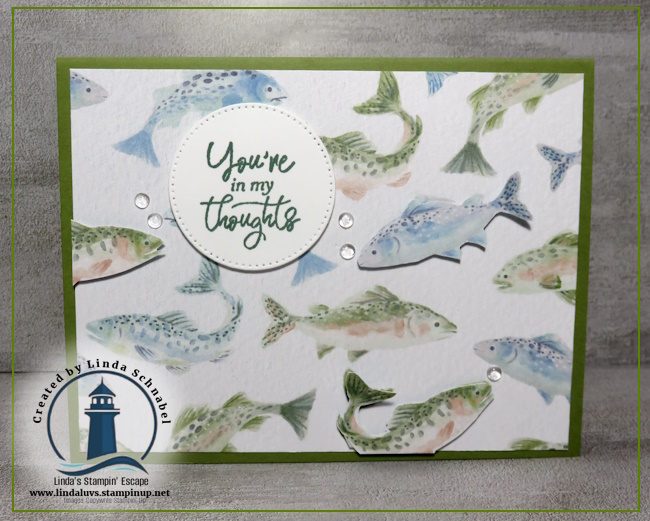
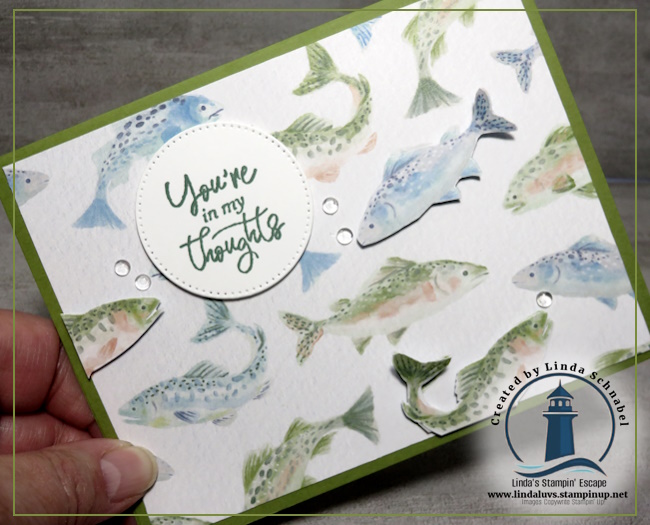
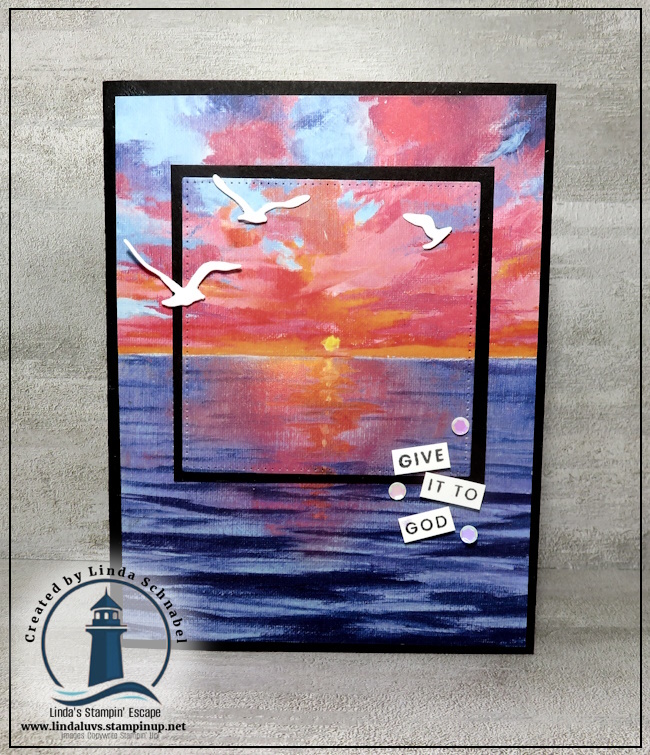
The fish themselves were simply fussy-cut from one of the sheets included in the Waterside Retreat Designer Series Paper pack. I attached them with Stampin’ Dimensionals, allowing them to float above the background for added dimension. To finish the scene, I scattered several Clear Dewdrop Embellishments, which create the perfect “bubble” effect. I absolutely love how those little details bring the card to life!
Once your front panel is complete, attach it to the step section of the card. I placed mine slightly toward the left side, but centering it would work beautifully as well. That’s the fun of this fold—you can customize the placement to suit your style.
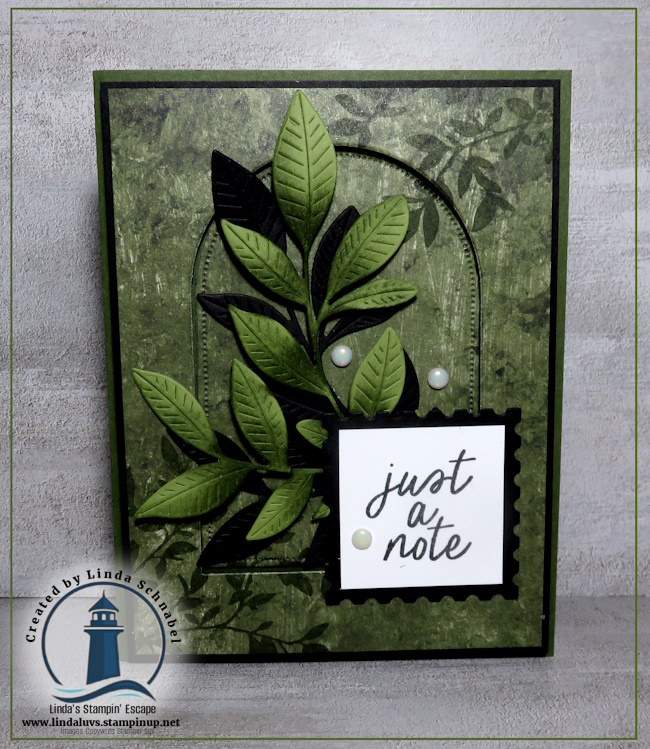
For the greeting, I stamped my sentiment in Misty Moonlight ink onto Basic White cardstock. Using a circle from the Stylish Shapes Dies, I selected one that matched the curve of the sentiment and simply trimmed away the excess to create the unique shape you see on the card. It adds just the right finishing touch without covering up too much of the beautiful paper.
To complete the card, I added a 5¼” x 3⅔” piece of Basic White cardstock to the back, giving plenty of room for a handwritten message and birthday wishes. Here’s a tip: Before attaching the back panel, write your message first, or if it’s already attached, use a felt tip pen as it will glide over the area where you attached the back of the panel.
I hope you’ll give this Horizontal Faux Step Fun Fold a try. It’s a wonderful way to showcase beautiful Designer Series Paper, and with those playful fish swimming across the front, it’s sure to bring a smile to anyone who receives it. Until next time, enjoy your creative escape and happy stamping!
Linda 💙
Shining the Light on Creativity 🐟🌊🏖️