Hello Stampin’ Friends ~
Today’s FREE Tutorial not only showcases a new item but our NEW In-Colors. Enjoy!

Measurements:
- Card Base: Basic White 5 ½” X 8 ½” score at 4 ¼”
- Cardstock #2: In Colors Designer Series Paper 4” X 5 ¼”
- Cardstock #3: In Color cardstock 4” X 5 ¼”
- Cardstock #4: Basic White 3” X 4 ¼”
- Cardstock #5: Basic White 3” X 4 ¼”
- Cardstock #6: Pumpkin Pie ¾” X 4”
Instructions:
- Score your card base and fold in half.
- Attach the In Color Designer Series Paper #2 to your card front.
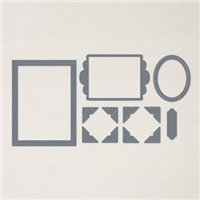
- Using the large Fabulous Frame die cut the In Color cardstock #3.
- Attach your frame to your card front using dimensionals.
- Using the 2 ¾” X 4” stitched rectangle die cut the Basic White cardstock #4.
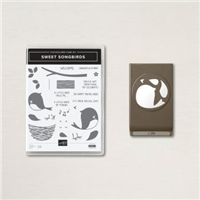
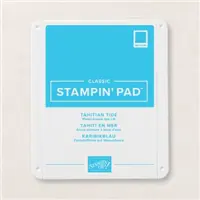
- Stamp your sentiments using the In Color ink. (Stamp Music Notes in Black ink.)
- Stamp the nest using Early Espresso Ink.
- On the Basic White cardstock #5 stamp your bird and wing using coordinating In Color ink.
- Stamp the bird eyes using Black Memento ink.
- Punch out your birds.
- Attach the little wing using a dimensional.
- Using the bird punch; punch a piece of Pumpkin Pie cardstock #6 for the bird beak.
- Attach to your bird as shown using liquid glue.
- Attach your birds to your card front as shown using dimensionals.
- On the inside of your card stamp a bird image using the coordinating inks or attach a strip of the coordinating designer series paper.
Thank you for checking out my blog post today. I hope you are inspired by the card or the in-colors!
Have a wonderful weekend.

Here is the list of supplies to create this card …