Hello Stampin’ Friends ~
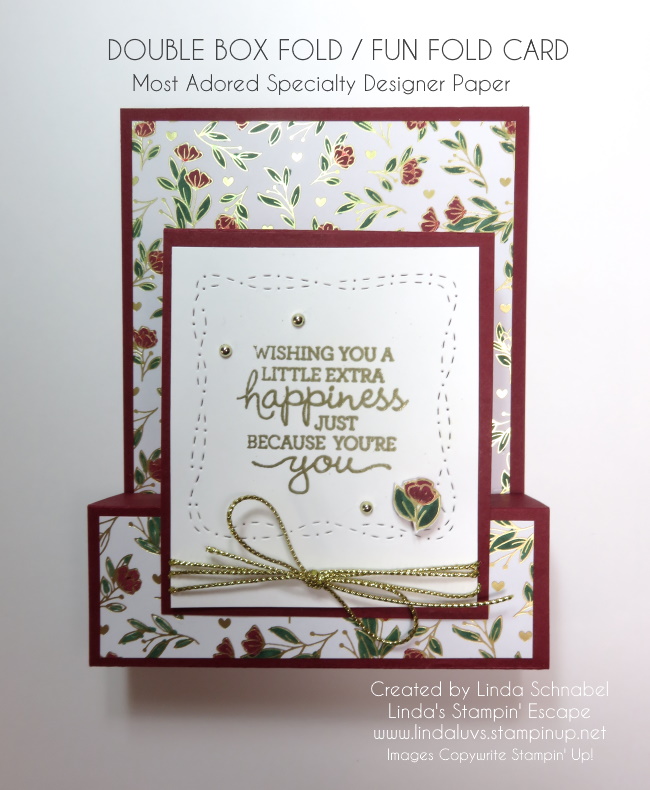
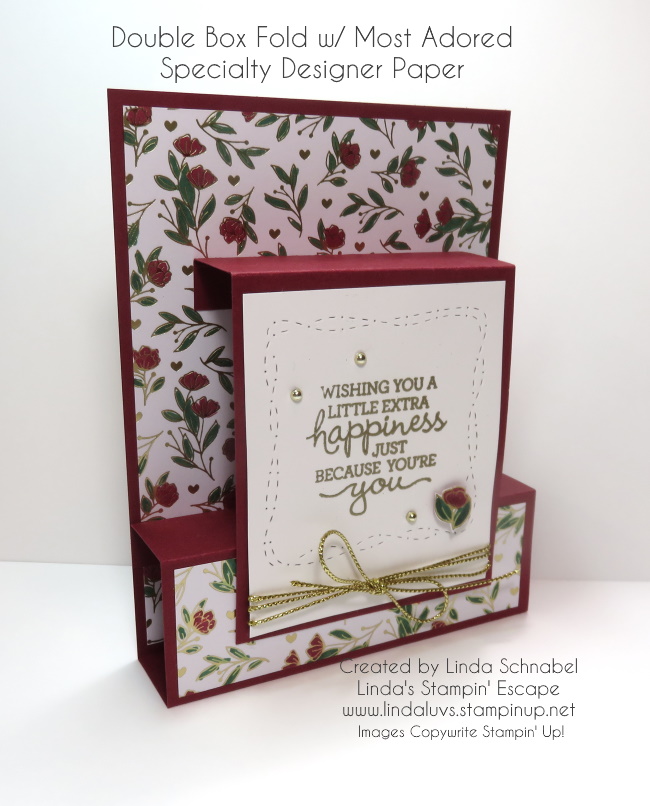
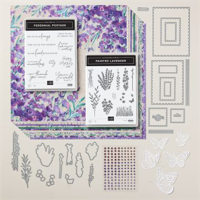
To my paper crafting enthusiasts … if you’re on the lookout for new and exciting ways to showcase your creativity, let me share this cute card with you. Today, we’ll explore a fantastic technique that not only lets you make a set of 16 cards effortlessly but also highlights the beauty of the Perennial Lavender Designer Series Paper that is ON SALE Now. Get ready to be inspired by the Split Card technique!
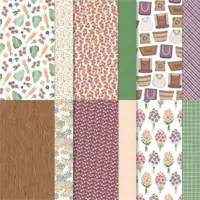
The Split Card technique is a simple yet impactful way to create stunning cards with a unique design. For this project, I’ve chosen the Perennial Lavender Designer Series Paper to be the star of the show. This exquisite paper features delicate lavender patterns that add a touch of elegance to any project.
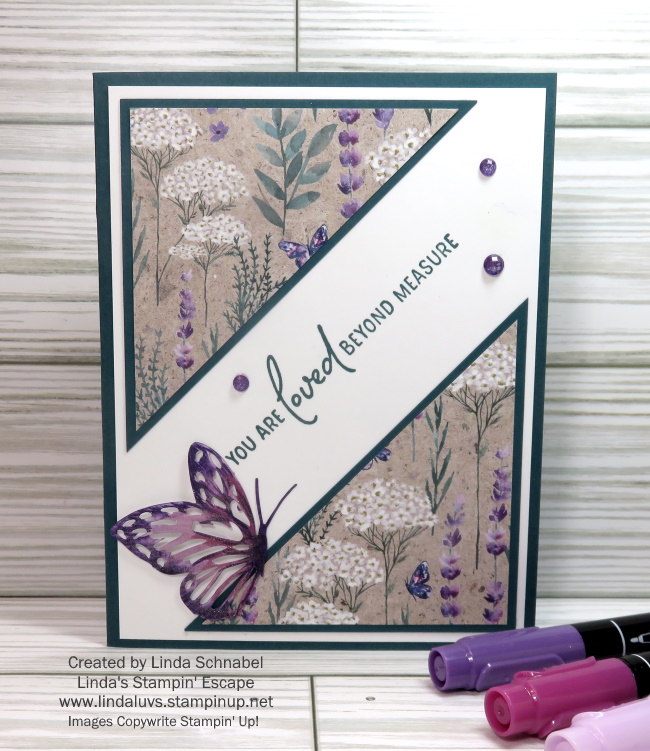
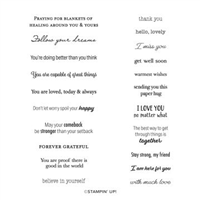
Start by cutting your Perennial Lavender Designer Series Paper into equal 3″ x 3″ squares. These squares will be the basis of your Split Card design. If you like the “matted” look, cut the your Shaded Spruce Cardstock squares at 3 1/4″ x 3 1/4″. Each will be cut diagonally from corner to corner (same with mat) then layer the designer paper to the mat. Arrange them in opposite corners on your cardstock, leaving a gap in the middle. The negative space created by the gap adds a modern and dynamic element to your cards, and a perfect space to add your greeting.
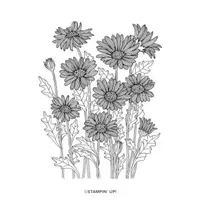
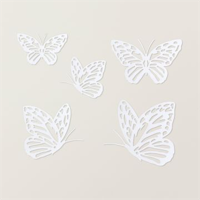
Now, let’s bring in the Paper Butterfly to take your cards to the next level. Choose the size butterfly you want and color it using the Highland Heather, Gorgeous Grape, and Berry Burst Stampin’ Write Markers. The combination of these vibrant hues will make your butterfly pop against the lavender background… and let’s not forget the “WOW” from the Wink of Stella. The Stella will actually “moisten” your inks so they will blend together.
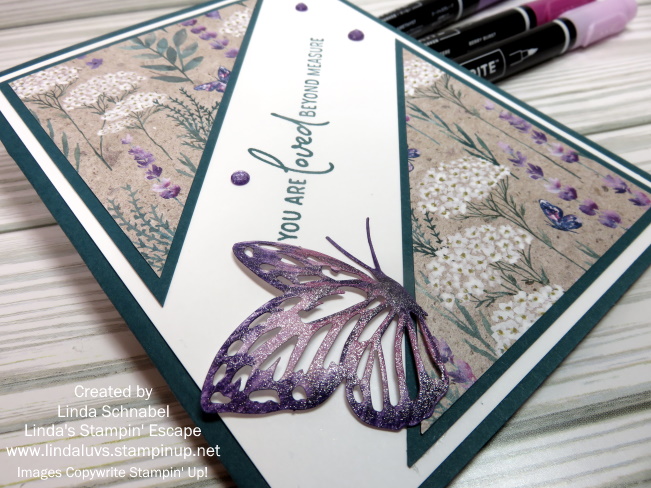
To add a touch of sparkle and sophistication, embellish your cards with Purple Fine Shimmer Gems. These gems complement the color palette perfectly and bring a subtle shimmer to your creations. Place them strategically on the butterfly or around the negative space to enhance the overall visual appeal.
One of the fantastic aspects of the Split Card technique is its scalability. With just a single sheet of Perennial Lavender Designer Series Paper, you can create a set of 16 cards with ease. This makes it an excellent choice for batch card-making or creating personalized gifts for friends and family.
This simple technique allows you to explore your creativity and produce a stunning set of cards that will leave a lasting impression. Try it out … experiment with colors, and enjoy the joy of crafting! Comment below if you will be trying out the Split Card Technique.
Have an awesome day ~


Sale: $10.62
Price: $12.50


Sale: $10.62
Price: $12.50


Sale: $10.62
Price: $12.50