Masculine Cards with the Trusty Toolbox Designer Paper

Hello Stampin’ Friends, 

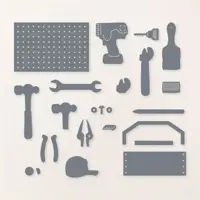
Today, I’m thrilled to share a fabulous budget-friendly find and a creative project with a masculine twist! The Trusty Toolbox Designer Paper is now on sale in the Clearance Rack for just $5—talk about a steal! Masculine cards don’t always take center stage, but this collection of patterns makes it a breeze to create cards perfect for the men in your life.

Even at Christmas time—guys still have special occasions that deserve a personal touch; from birthdays to anniversaries, we can still create special cards to show our love.

Let’s dive into four amazing cards, created by me and the talented design team I’m part of, to inspire your next project. ….
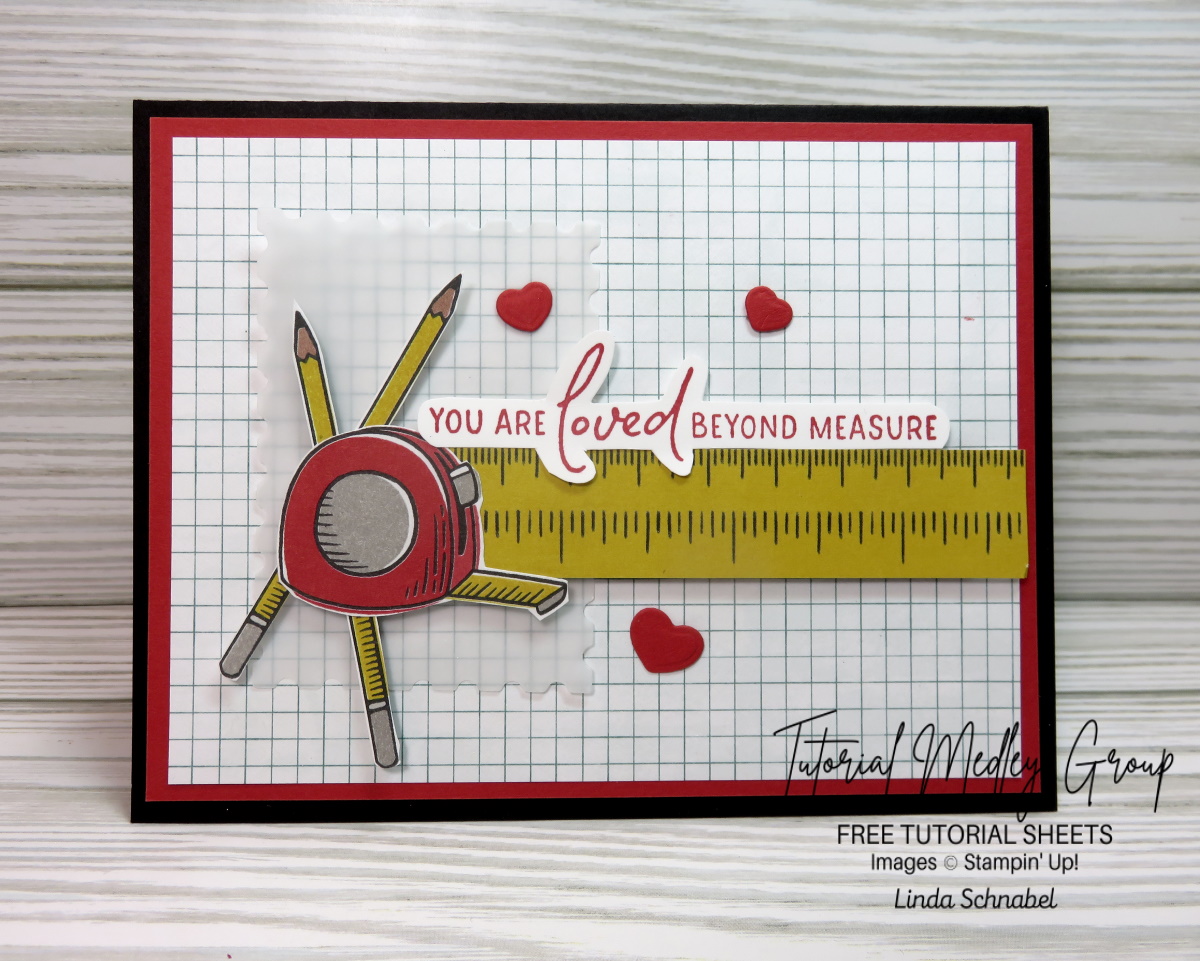
Measurements:

  • Cardstock: Basic Black 8 ½” x 5 ½” Scored and folded at 4 ¼”
  • Cardstock 2:  Basic White: 5 ¼” x 4” (Inside) and scrap for greeting
  • Cardstock 3: Poppy Parade 5 ¼” x 4”
  • Designer Paper: Grid Design: 5” x 3 ¾” plus fussy cut 2 pencils / tape measure and cut strip of tape measure DSP
  • Vellum Cardstock: Scrap piece large enough to die cut postage die

Instructions:

  • Score and fold Black cardstock at 4 ¼” / Attach White cardstock to inside
  • Attach Grid design designer paper onto Poppy Parade and then attach to front of cardstock
  • Stamp greeting with Poppy Parade Ink  onto scrap white cardstock and fussy cut.  Attach it to strip of tape measure design and piece together using dimensionals.
  • After fussy cutting designer paper elements, attach them to tape measure designer paper with dimensionals (as shown on sample).
  • Die cut postage rectangle from Vellum Cardstock and secure with Stampin’ Seal  to left hand side of cardfront, leaving a nice border around the other 3 sides.
  • Remove backs from dimensionals and attach your assembly to cardfront over vellum.
  • Using hearts die from the Sending Love dies, die cut from Poppy Parade and attach with Glue Dots. 
  • Send the love 

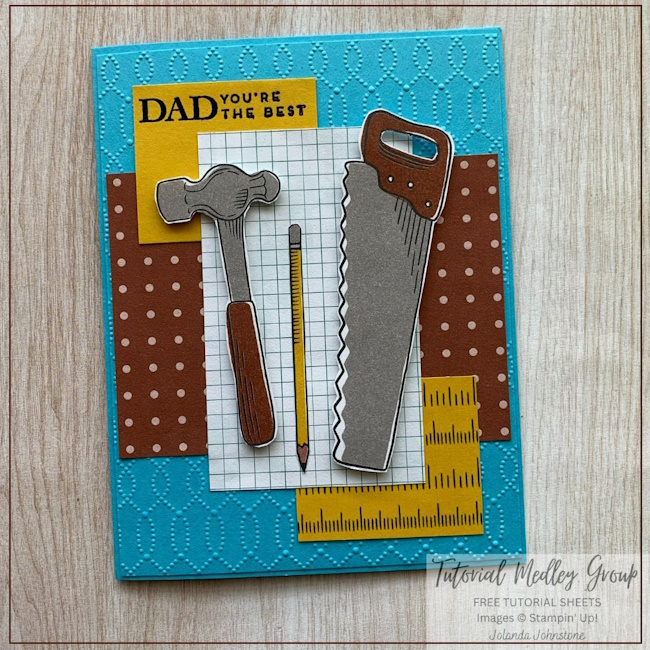
This card, designed by one of my team members, uses the tools from the Designer Paper as a focal point. It’s a clever way to celebrate special occasions with a nod to precision and craftsmanship.

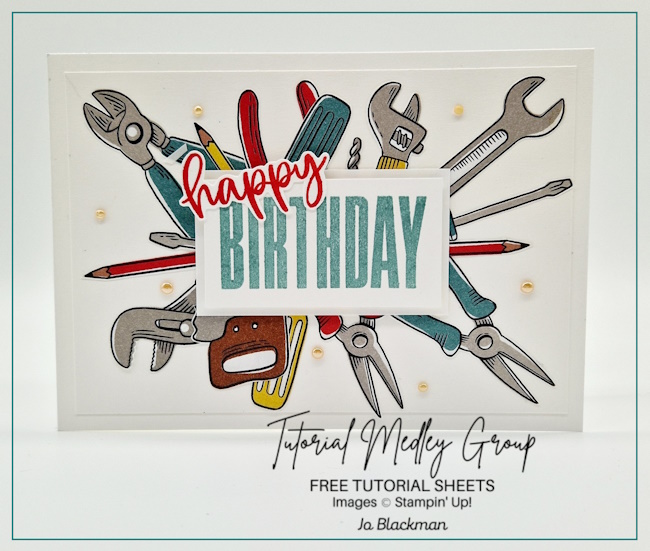
These trusty tools were fussy cut and arranged in an explosion of excitement to celebrate a birthday … how fun is this card!!

This last card is similar to mine but uses the coordinating stamps verses the designer paper like I used …. using the stamps and dies, you’ll always have it handy!!

At only $5, the Trusty Toolbox Designer Paper is a deal you don’t want to miss. Combine it with the stamp set and dies to create cards that are meaningful, masculine, and oh-so-memorable. Whether you’re crafting for birthdays, anniversaries, or even Christmas, this collection makes it easy to stay on budget while crafting beautiful cards.

Head to my online store now to snag these great deals and get started on your next masculine masterpiece. Don’t forget to share your creations—I’d love to see what you come up with!

Thanks for stopping by,

Upcycling Leftovers: Shaker Card for Valentine’s Day

Hello Stampin’ Friends ~

In my last blog post I shared the “Double Box Fold” Card with you, but what do you do with the leftovers? You repurpose your leftover materials to craft a charming shaker card. If you’re a fan of recycling and getting creative with what you have on hand, this project is perfect for you! Are you ready to add an extra touch of love to your Valentine’s Day greetings?

Cut a piece of clear acetate sheet slightly larger than the opening of the leftover piece. Adhere it to the backside of the die-cut piece using adhesive, ensuring it covers the entire opening securely.

Carefully apply foam adhesive strips around the edges of the die-cut piece, creating a border around the acetate window. Make sure there are no gaps where the sequins could escape. Pour a generous amount of Loose Silver Sequins onto the center of your card base. Sprinkle in some hearts from the Sending Love Dies to add a romantic touch to your shaker card.

Now, carefully place the acetate-covered die-cut piece over the card base (centering it), and ensuring the sequins and hearts are securely trapped inside. Press down firmly on the edges to seal the shaker element.

Once your shaker portion is complete, it’s ready to add a greeting and embellish. Greeting comes from the Throughout the Year stamp set and die cut with the Everyday Details Dies. I glued a few of my sequins on the card front to embellish, and then embellished my embellishments by adding the Iridescent Rhinestones inside of them. I also add a couple hearts at the top for a pop of color and interest.

Now it’s ready to spread love and joy to your friends and family. Whether you’re mailing it to a loved one or hand-delivering it with a hug, this handmade creation is sure to bring a smile to their face. PS. Swap out the greeting for an All Occasion / Just Because I Care card!!

Thanks for joining me today ~

Trusty Tools Masculine “Valentine” Card

Hello Stampin’ Friends, 

I’m so excited to share this adorable card with you today. I’m introducing the Trusty Tools Designer Series Paper – a crafting essential that adds a touch of creativity and charm to your projects! As part of the exclusive designer series, this paper is a must-have for any stamping enthusiast looking to elevate their creations. With its vibrant colors, intricate patterns, and high-quality design, the Trusty Tools DSP is sure to inspire your imagination.

I created this for my Tutorial Group I’m in ….

Measurements:

  • Cardstock: Basic Black 8 ½” x 5 ½” Scored and folded at 4 ¼”
  • Cardstock 2:  Basic White: 5 ¼” x 4” (Inside) and scrap for greeting
  • Cardstock 3: Poppy Parade 5 ¼” x 4”
  • Designer Paper: Grid Design: 5” x 3 ¾” plus fussy cut 2 pencils / tape measure and cut strip of tape measure DSP
  • Vellum Cardstock: Scrap piece large enough to die cut postage die

Instructions:

  • Score and fold Black cardstock at 4 ¼” / Attach White cardstock to inside
  • Attach Grid design designer paper onto Poppy Parade and then attach to front of cardstock
  • Stamp greeting with Poppy Parade Ink  onto scrap white cardstock and fussy cut.  Attach it to strip of tape measure design and piece together using dimensionals.
  • After fussy cutting designer paper elements, attach them to tape measure designer paper with dimensionals (as shown on sample).
  • Die cut postage rectangle from Vellum Cardstock and secure with Stampin’ Seal  to left hand side of cardfront, leaving a nice border around the other 3 sides.
  • Remove backs from dimensionals and attach your assembly to cardfront over vellum.
  • Using hearts die from the Sending Love dies, die cut from Poppy Parade and attach with Glue Dots. 
  • Send the love 

What makes it even more exciting is the opportunity to earn this fantastic paper for FREE with a qualifying purchase during Sale-a-bration! Imagine unlocking a world of artistic possibilities while enjoying the perks of complimentary crafting supplies. Don’t miss out on this limited-time offer – indulge your passion for crafting and let the Trusty Tools Designer Series Paper be the secret ingredient that takes your projects to the next level! 

Thanks for stopping by, have a superb Saturday!