
Hello Stampin’ Friends ~
Today I have a lovely card to share with you that I created for our 2015 Holiday Stampin’ Retreat last weekend. Not sure if I could pick a favorite but this one was at the top … I think it’s the beautiful red foil poinsettia.
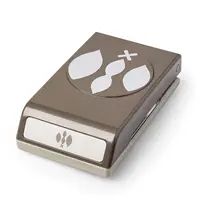
I will take you step by step as I create the poinsettia from our “Festive Flower Builder” punch and used on my card ….

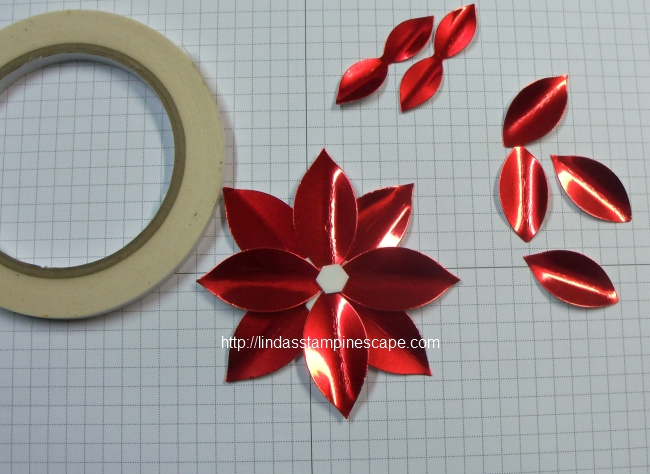
First let me begin with the how many pieces I used to create the flower and how I cut my cardstock. I use 1 – 3″ x 6″ piece and 1 – 1-1/2″ x 6′ piece of cardstock. You will punch a full punch on the larger piece twice … then punch 2 more smaller petals and 1 large petal from that piece. On the smaller piece you will be able to easily punch 5 more larger petals for a total of 8.

You need 8 – larger petals, 4 – small petals, 2 double petals (which you will get when you fully punch). You will also need a circle punch as a base. You can see mine is full of the Tear & Tape adhesive.

Before I begin assembling … I get a little curl by using my Paper Piercing tool.
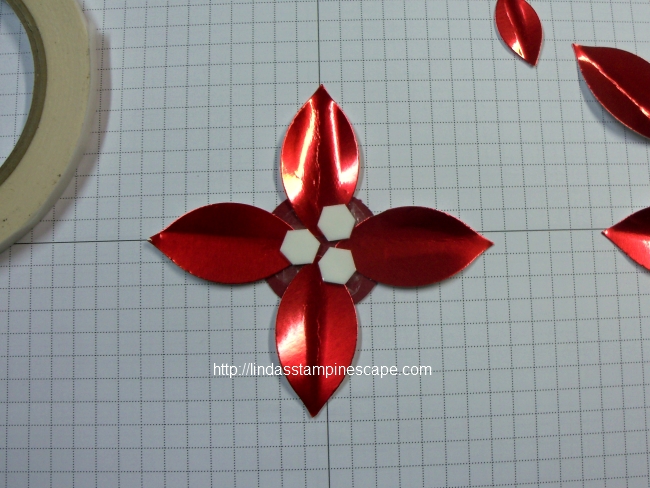
Next I take the circle base and adhere 4 of the large petals directly onto the base. I add 3 dimensionals on top of the petals in the center to create lift and to help hold it together.
Now layer the next four large petals onto the dimensionals and place them between the first set of petals you placed on your base. I adhere the petals so they almost touch each other in the center. Then I place one dimensional in the center.
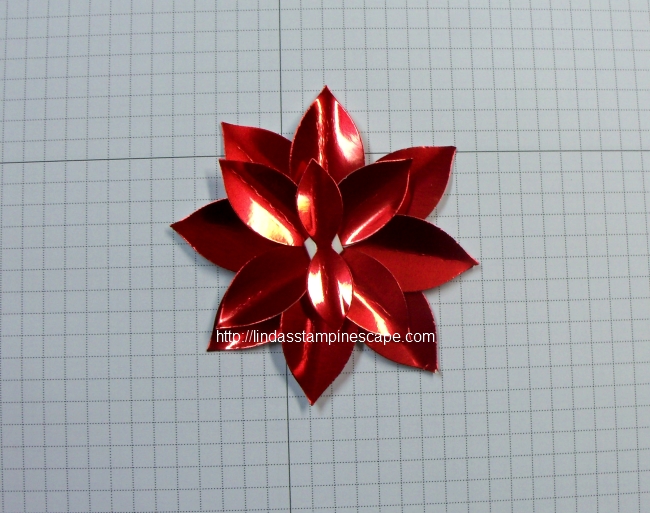
The next step is to place the double petal into the center and between the last layer of petals. Before I place the last double petal onto the stack, I add a glue dot to the center to ensure that it holds together well.
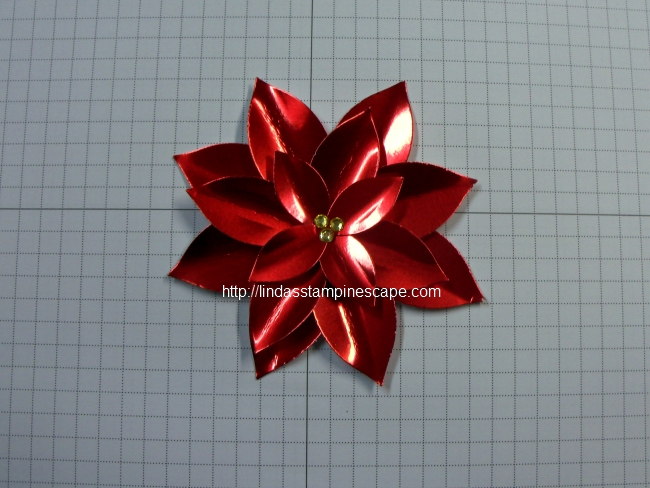
To finish off the poinsettia, I colored the Rhinestones yellow with my Blendabilities but you can easily use a Sharpie. I just figured I would use what I have handy at home. Ohhhh … isn’t it pretty!! We did the poinsettia in the red foil and red glimmer paper!
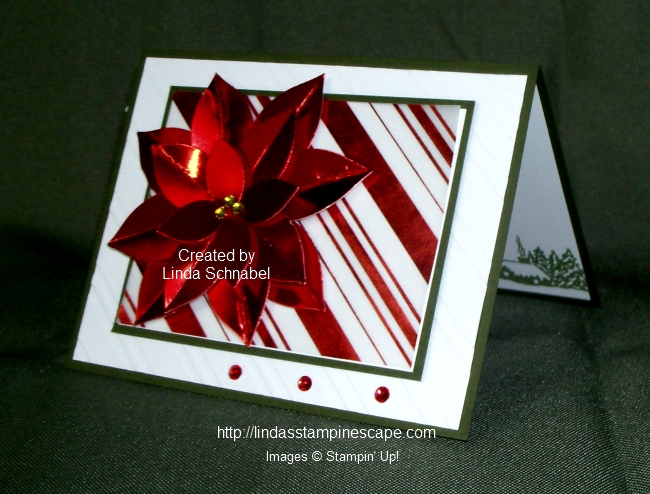
It’s hard to see from this photo but the Whisper White is actually embossed with the “Stylish Stripes” embossing folder and then the center was highlighted the beautiful “Holiday’s Fancy Foil Designer Series Vellum”. I love all 3 of the patterns in the vellum!!
The poinsettia is then attached to the vellum area with dimensionals. I finished off the card with rhinestones that I had colored red.
If you take a peek on the inside of my card … you will see the homestead from the “Cozy Christmas” stamp set.
I really love these pretty flowers, and once Christmas is over, you can begin your “spring” garden of flowers! I’ve been making quite a few over the last few days so we can finish off our cards.
Thank you for sharing a part of your day with me!
Have a wonderful day ~

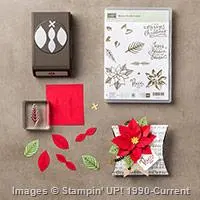
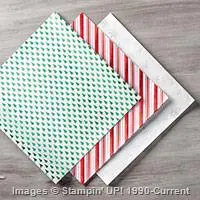
TODAY’S STAMPIN’ SUPPLY LIST ….


Just stunning! The red foil really makes the card so beautiful.
Thank You Olivia … We missed you! Hope to see you in the spring!
Just stunning! The red foil really makes this card so beautiful.