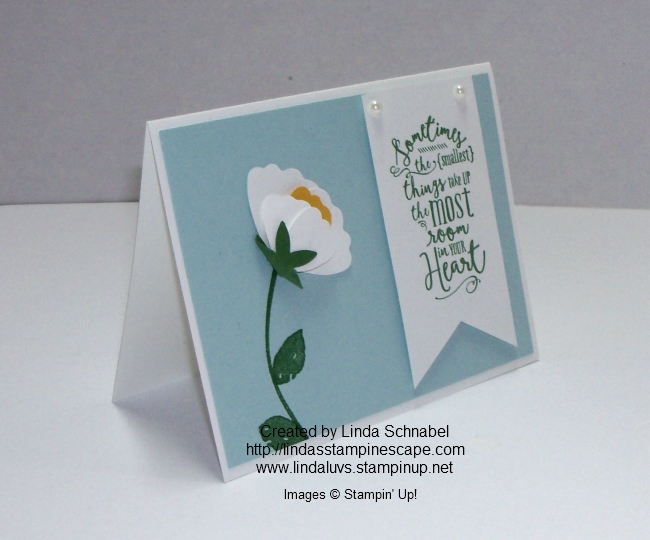
Hello Stampin’ Friends ~
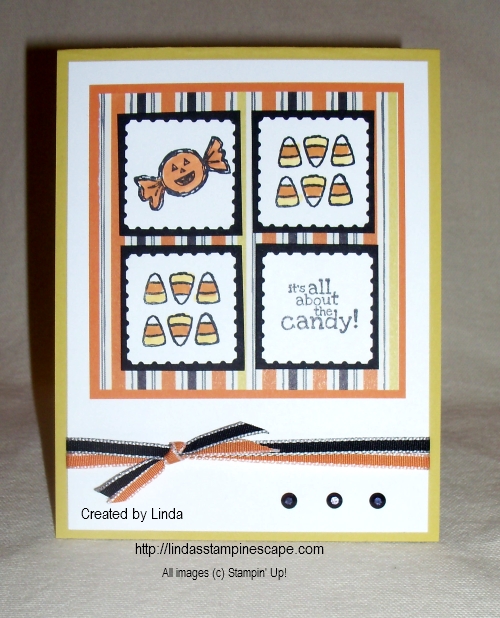
I’m excited to share two new cards with you today, both a step up (or “jacked up” if you watch Say Yes to the Dress – lol) from my June 22nd card … Click here to view blog post for this card.

I did take yesterday off to spend time and connect with family who have been going through some medical issues. I’m just happy they are getting better and I’m back in the stamp room!
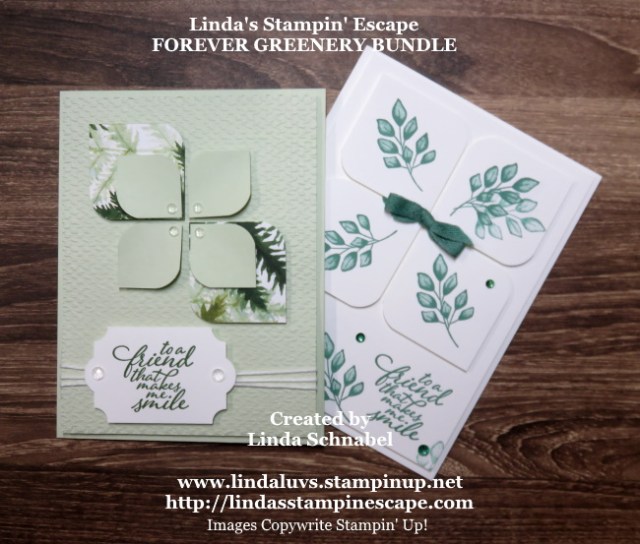
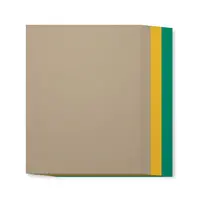
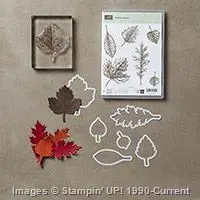
My first card is a true “step up” from the original Forever Fern card with this punch technique … I’m not sure what it’s called or even if it has a name but I’ve used this several times and it always looks fresh and new …

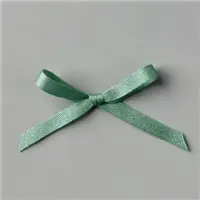
This “step up” is simple … I added a Just Jade bow and a few rhinestones to add a little glitz to the card. These rhinestones were colored with the Just Jade Stampin’ Blends. With Stampin’ Blends, you can coordinate many of our gems / embellishments with a simple pass of the brush tip.
My next card has the same basic layout but is “stepped up” even more … here we will add embossing on the background and layers to our punched shapes …
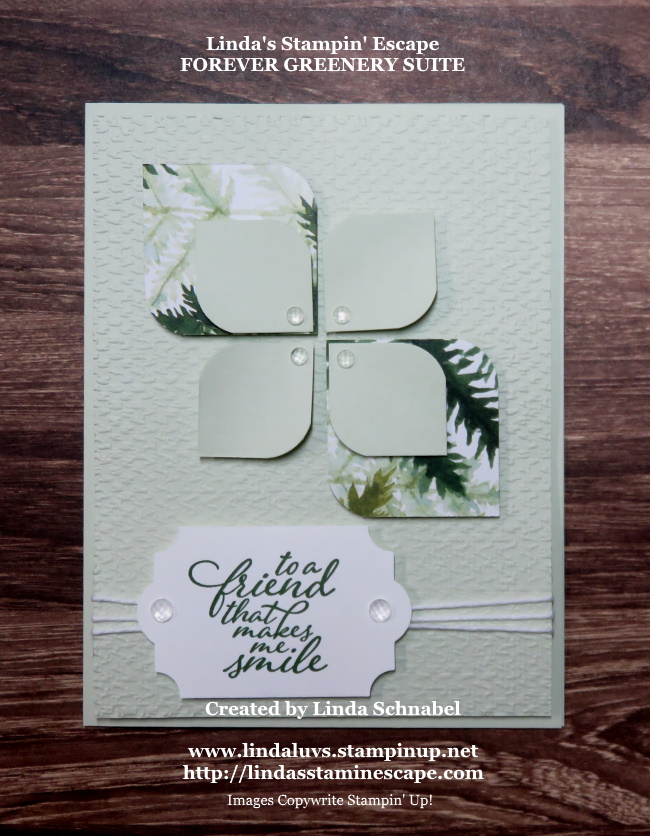
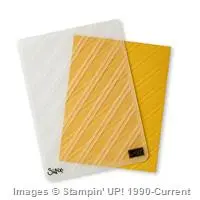
I began with Soft Seafoam cardstock. The beautiful texture on the background was created with the Tasteful Textile 3-D embossing folder. Our large punched shape (1-1/2″ x 1-1/2″) went from 4 down to 2 and were punched from the Forever Fern Designer Series paper.
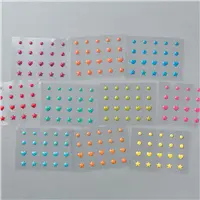
I then created 4 small shapes … start with a 1″ x 1″ square and punch opposite corners with the corner rounder that is on the Trio punch. I gave them a slight curl but wrapping them around the Take Your Pick tool … I also used this tool to add the stunning new “Elegant Faceted Gems”.
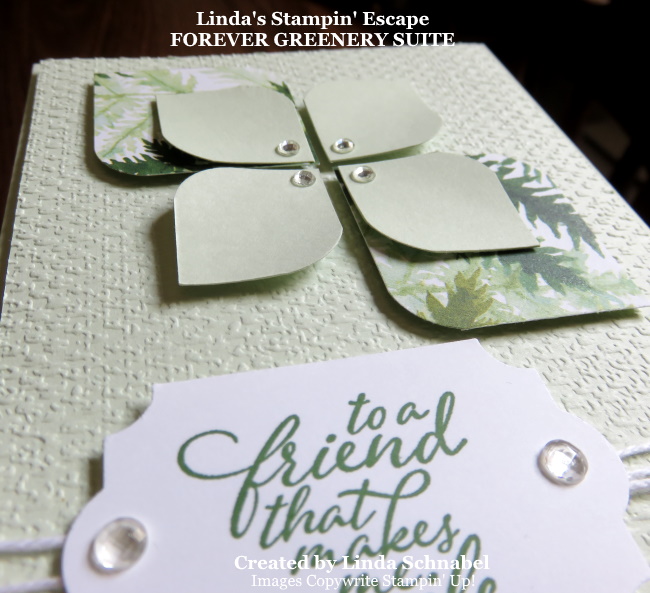
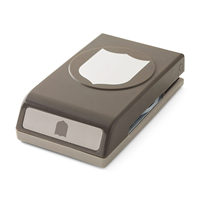
I had to share this angle of the card so you can see the stunning texture, layers and faceted gems on this card! I kept the greeting the same but punched it out with the Everyday Label Punch.
When you bring all these amazing product together, you can create so many different styles and layers to a card. Just sit down and have fun creating and layering. This product suite amazes me … and keeps calling me back!

Hope you enjoyed my Forever Greenery / Forever Fern cards today … from simple to elegant, this suite is perfect for so many occasions and will delight men and women alike!
Thank you so much for joining stopping back and joining me for a bit today. I have another new stamp set to share with you tomorrow.
Have yourself a wonderful day ~

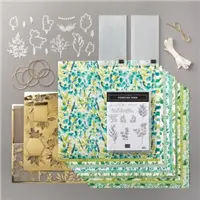
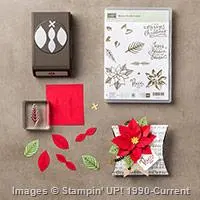
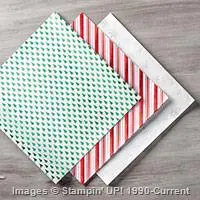
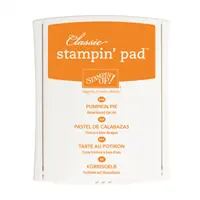
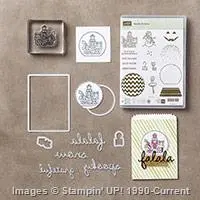
Here is a list of the product I used to today’s cards. Find out more information about these products by clicking on the image … or you can begin your shopping from here as well. Thank you!