Hello Stampin’ Friends ~
Hope you have kicked off a good week! Today I’d like to invite you to my Technique Tuesday being held during my Halloween Week!
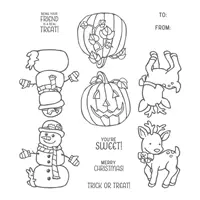
Our technique today is masking … but I have a special stampin’ tip to share with you that will make masking with the Seasonal Chums stamp set possible.
Because the stamps are created as “tags” … they are placed “head to head” so when folded, you can die cut a cute little tag that has a front and back … you can see this on my blog yesterday.
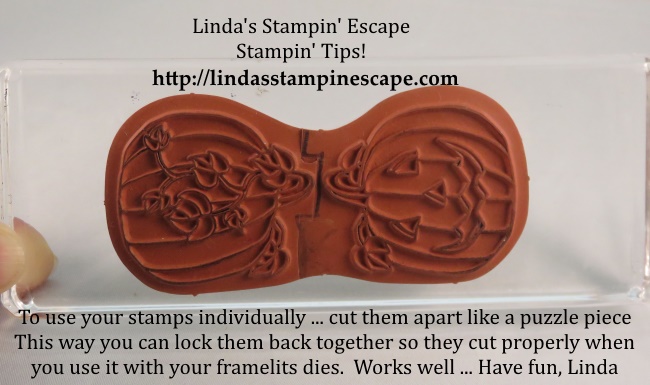
You can see the lines that I’ve drawn on my stamp … that is where I’ll cut them apart. I call the cut a “Puzzle Cut” so that the two pieces can be put together tightly and will then work properly with the it’s coordinating dies.

Now you are ready to stamp as your single stamp has now turned into two!!
When doing the masking technique, I stamp my image on a scrap piece of paper (not cardstock) and then cut inside the line. This way you don’t get the “unstamped” space or gap.

Stamp your Jack-O-Lantern in the center of your cardstock, then place the paper pumpkin (mask) over the top. Now you can stamp your plain (back) pumpkins … remove your mask and your plain pumpkins will appear as if they are behind the Jack-o-Lantern!
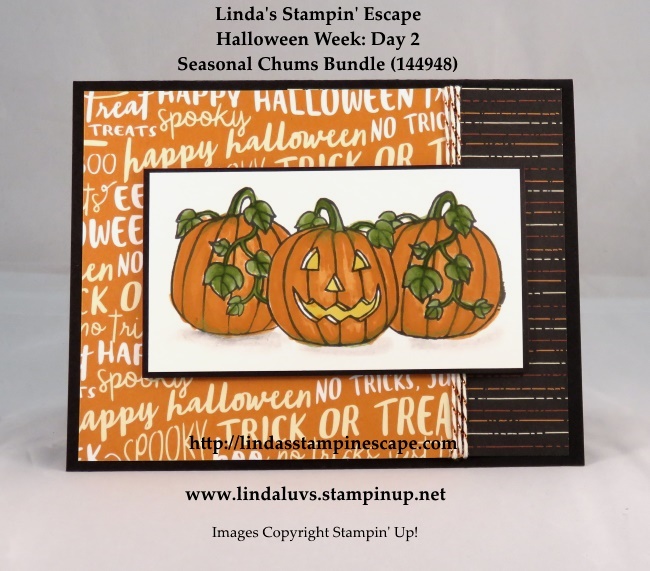
Color your desired way …. Watercolor pencils, Aqua Painters or you can use markers like I did here. I matted my artwork on Basic Black cardstock and then onto two different patterns from the Spooky Nights Designer paper.
I finished off my card with some of the left over Bakers twine from my September Paper Pumpkin kit. I like the orange bling on it … lol.
Hope you enjoyed today’s tutorial, tips … and card. I would appreciate if you could like my post (bottom left hand corner) or drop me a comment.
Thanks so much for stopping by today. Hope you join me for my Wednesday … WOW!!
Have a great day ~

TODAY’S STAMPIN’ SUPPLY LIST …