Hello Stampin’ Friends ~
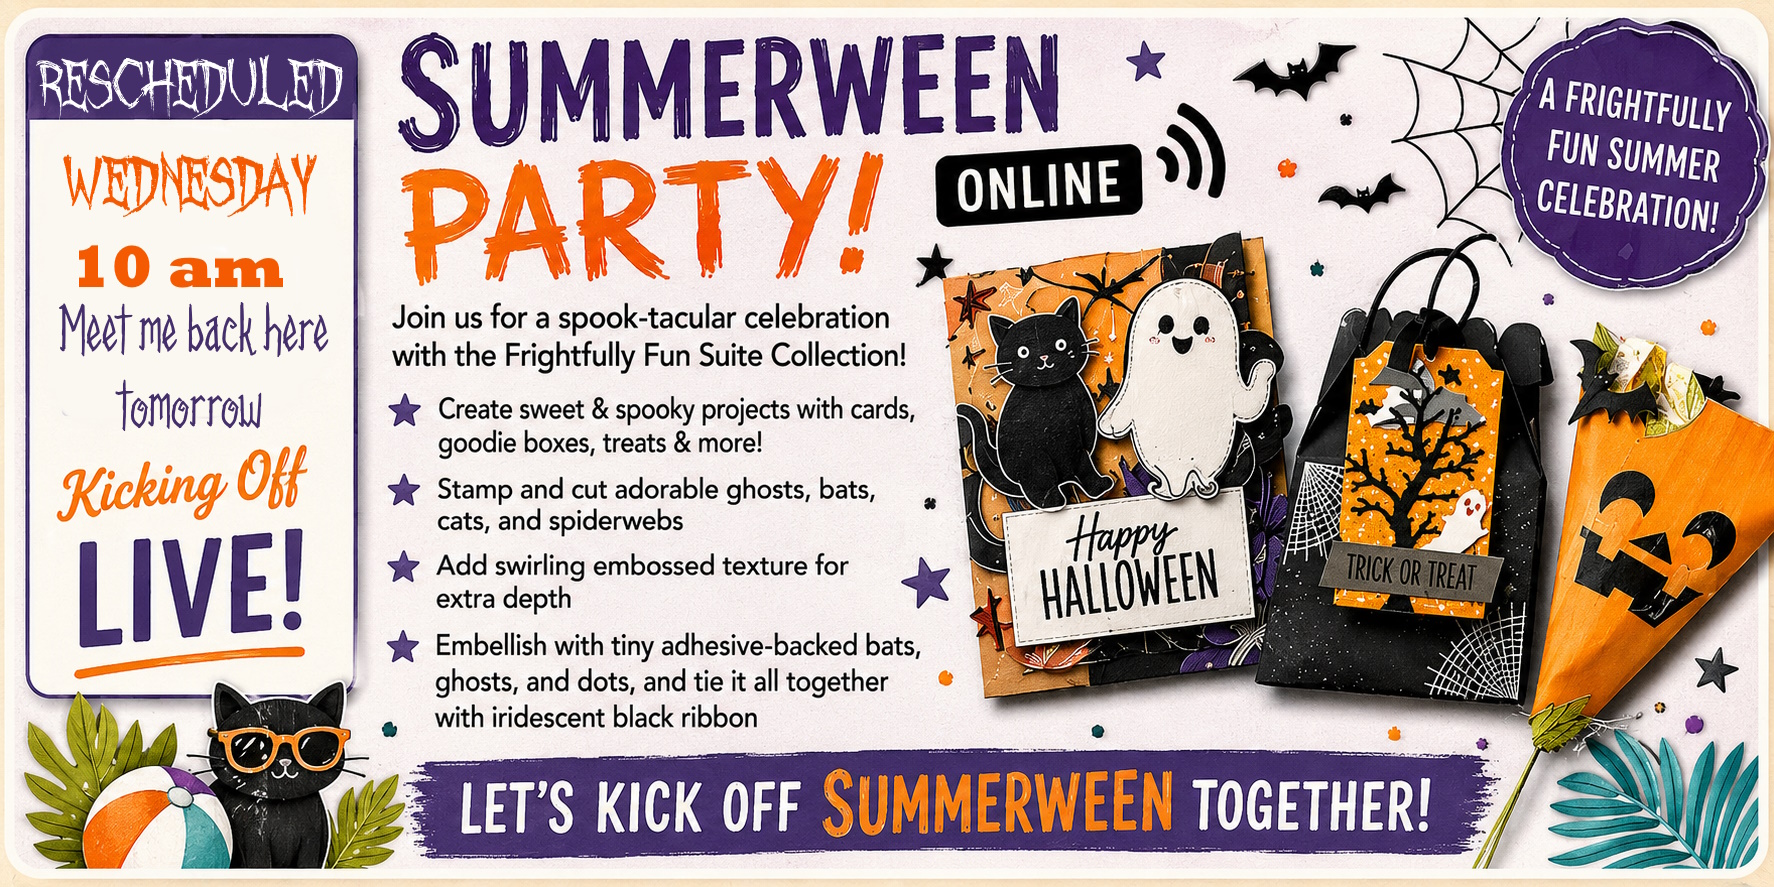
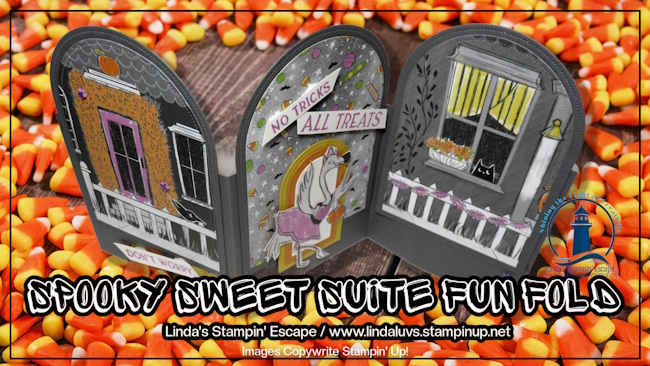
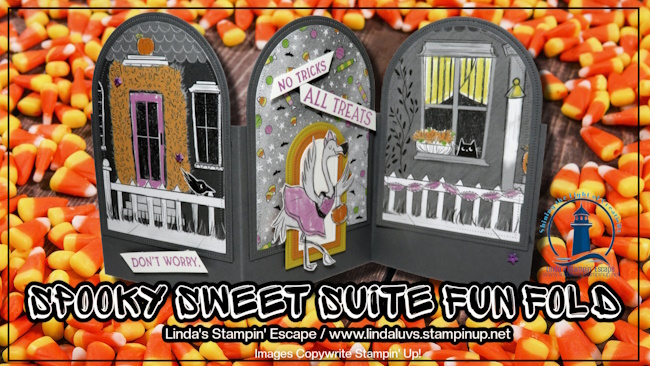
Halloween crafting doesn’t have to be complicated to make a big impression! In this Summerween Finale, I’m sharing two fun and spooky Halloween cards that let the Frightfully Fun Product Suite do so much of the work for you. Whether you love creating quick cards or enjoy adding a few extra techniques, there’s something here for everyone.
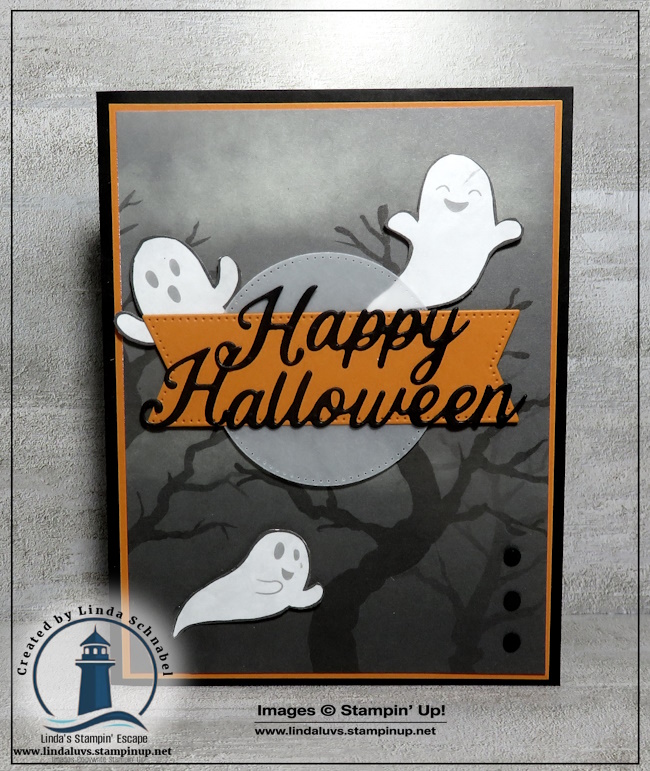
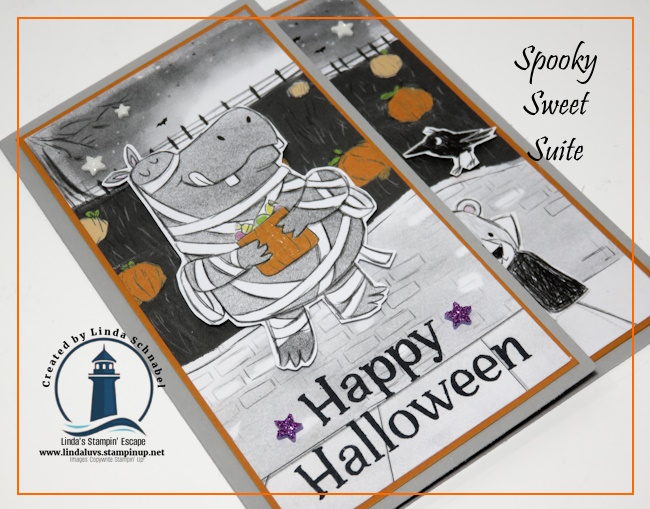
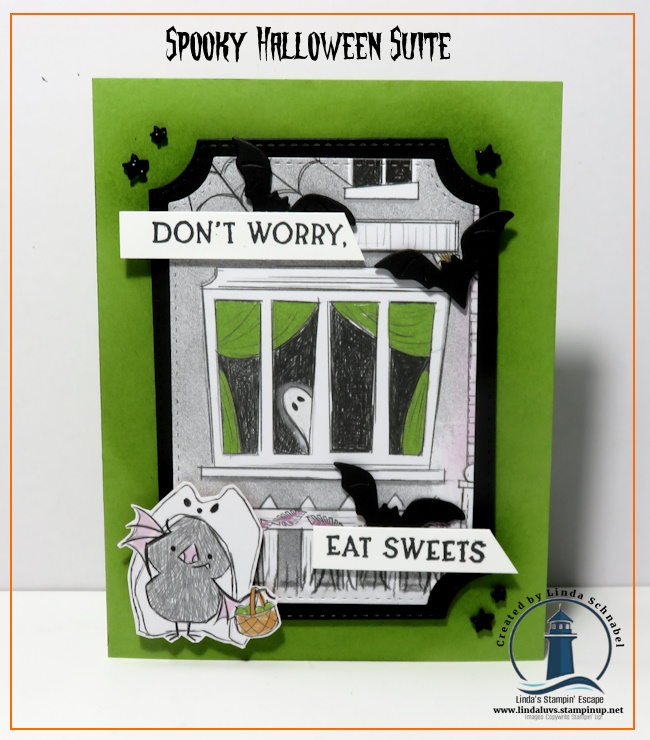
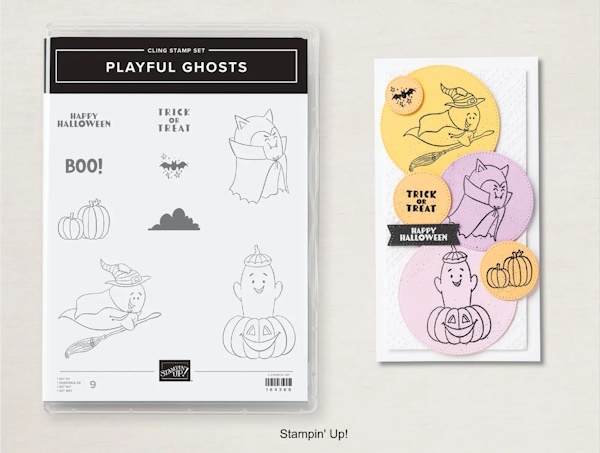
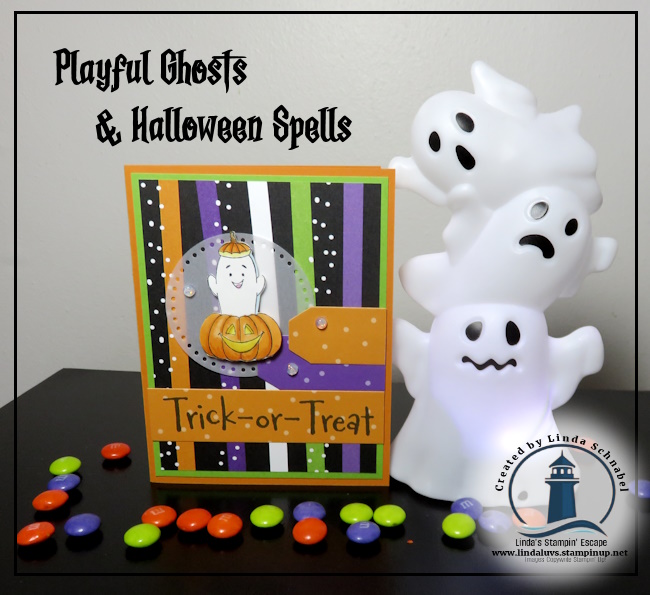
The first card is all about letting that gorgeous designer paper shine. The spooky tree scene already sets the perfect Halloween mood, so all we need to do is add a few die-cut bats, a simple greeting, and suddenly you have a card that’s dramatic, festive, and incredibly easy to recreate. It’s proof that beautiful paper can do the heavy lifting! Don’t you love those eyes … check out the video to see how I did it!!

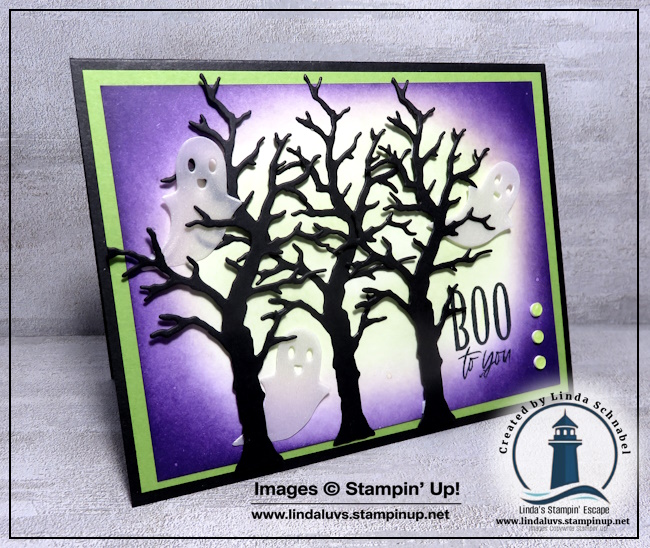
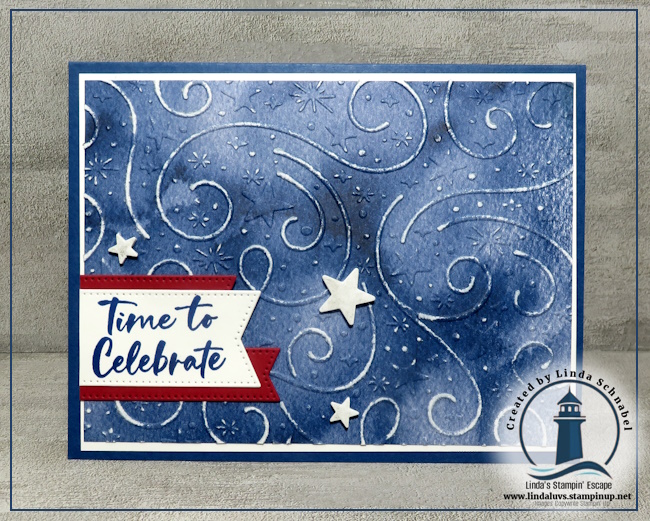
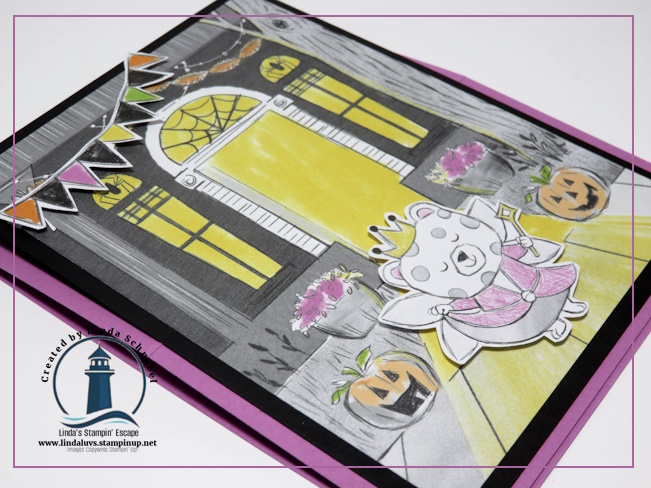
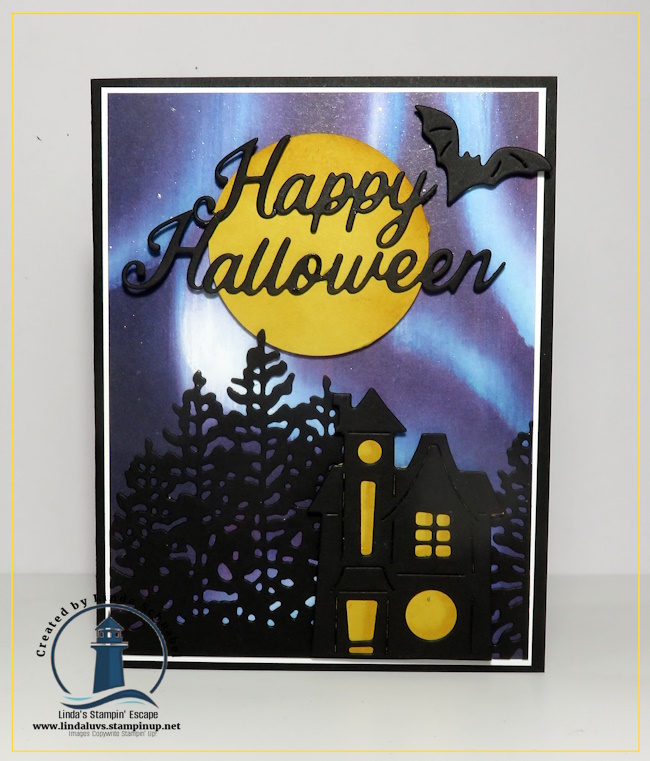
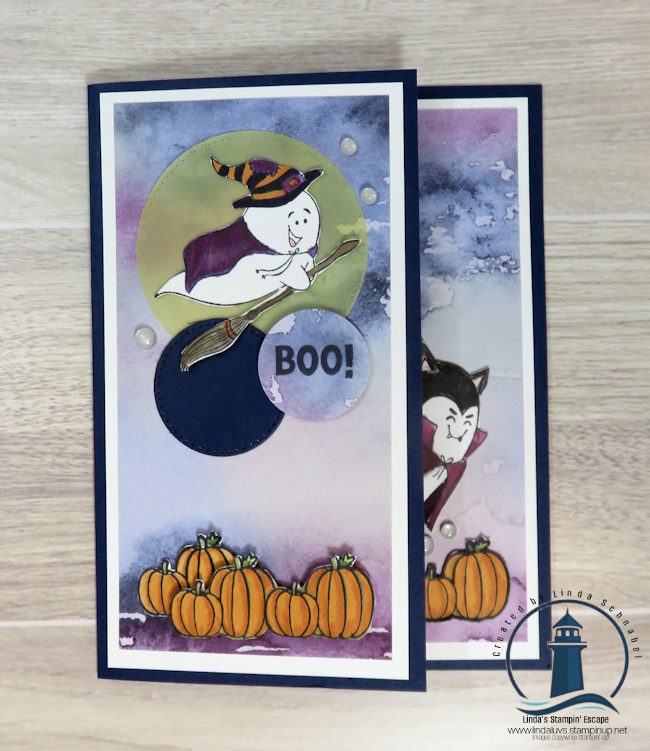
The second card takes things up a notch with a fun ink blending technique. We’ll create an eerie purple sky using Blending Brushes, then layer on die-cut trees and soft vellum ghosts to build a scene that’s both spooky and adorable. It’s an easy technique that adds amazing depth and is one you’ll find yourself using long after Halloween is over.

I hope these projects inspire you to pull out your Halloween supplies, play with your inks, and have a little spooky fun at your craft table. Whether you’re making cards for grandchildren, friends, neighbors, or simply adding to your own collection, these designs come together quickly and are sure to bring smiles.
🎥 Be sure to watch the full YouTube tutorial where I’ll walk you through each project step-by-step and share all of my tips along the way. If you enjoy the video, I’d love it if you’d subscribe to my channel so you won’t miss future cardmaking ideas, seasonal inspiration, and our weekly creative adventures.
CLICK HERE TO WATCH ON YOUTUBE!
Thank you for spending a little time with me here at Linda’s Stampin’ Escape, where we’re always Shining the Light on Creativity. I have the product links listed below so you can pick out your favorite tools and supplies.
Until next time…happy stamping! Linda💜👻🎃


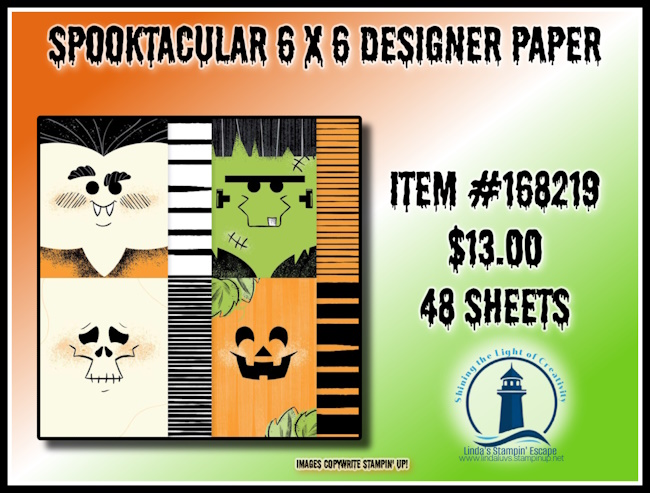
Price: $17.50