Hello Stampin’ Friends ~
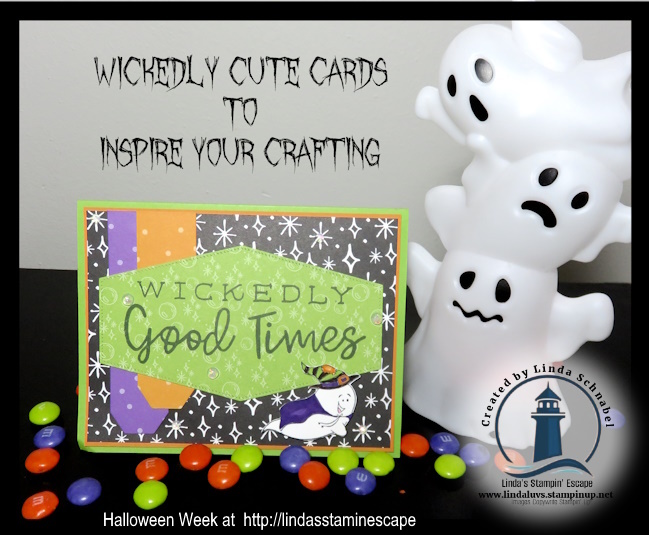
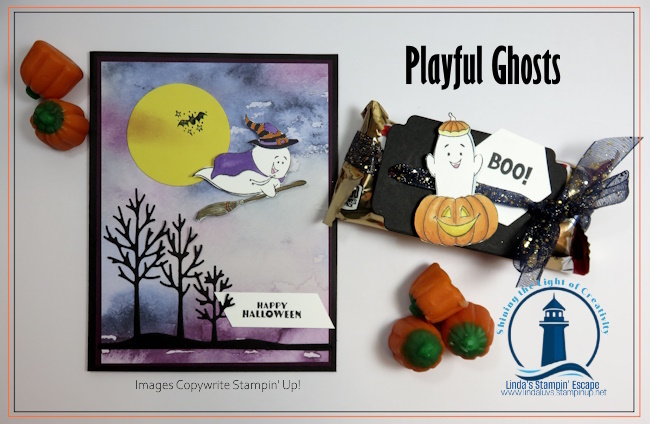
Can you really make three adorable Halloween cards from just one half sheet of Designer Series Paper? Absolutely—and that’s exactly what I’m sharing in this week’s Summerween replay!
If you’ve been looking for ways to get more from your Designer Series Paper while creating quick, fun projects, this video is packed with ideas you’ll want to try. Best of all, these cards come together easily, making them perfect for beginners and experienced stampers alike.
One of my favorite things to share is how to make the most of the supplies you already own. In this replay, I’ll show you exactly how I turned just half a sheet of Frightfully Fun Designer Series Paper into three completely different Halloween cards, each with its own personality.
You’ll also pick up simple layout ideas that can easily be adapted for birthdays, Christmas, fall cards, or just about any Designer Series Paper in your collection.
🎥 Be sure to watch the video below where I walk you through every step and share lots of tips along the way.
CLICK HERE TO WATCH ON YOUTUBE
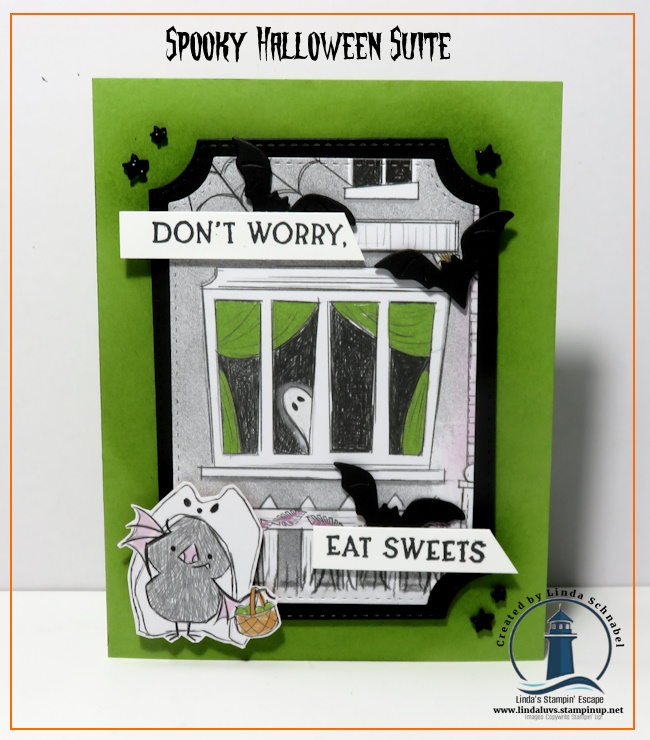
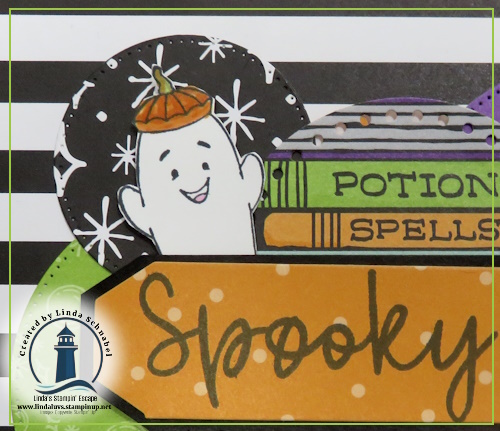
Card #1 – Curious Kitty
This sweet little kitty couldn’t resist exploring the spooky forest! I love how the dramatic Designer Series Paper creates an eerie background while the adorable cat keeps the card playful and fun. It’s proof that Halloween cards don’t have to be scary to be eye-catching.

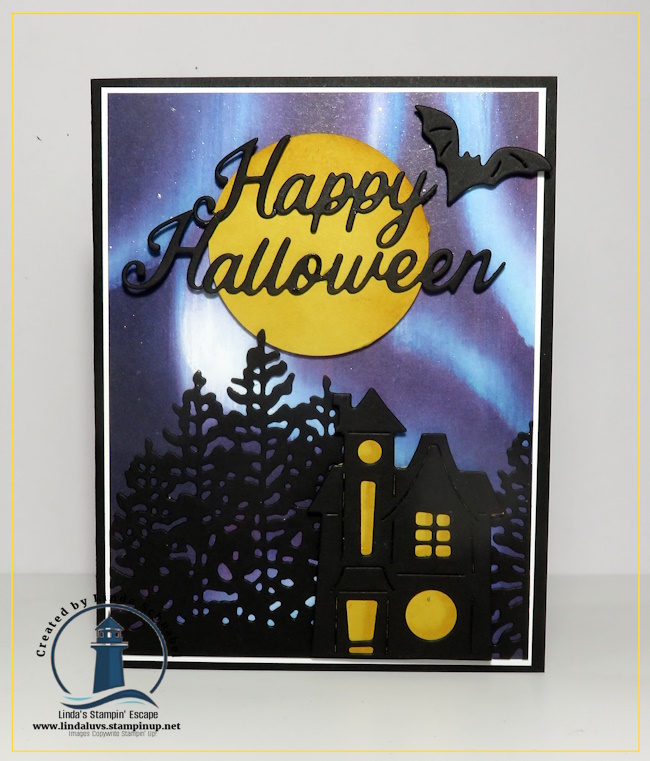
Card #2 – Boo to You
This card couldn’t be easier! I let the Designer Series Paper take center stage. The spooky trees and glowing moon create the entire scene, while a simple greeting and a few adorable ghost embellishments finish it off beautifully.

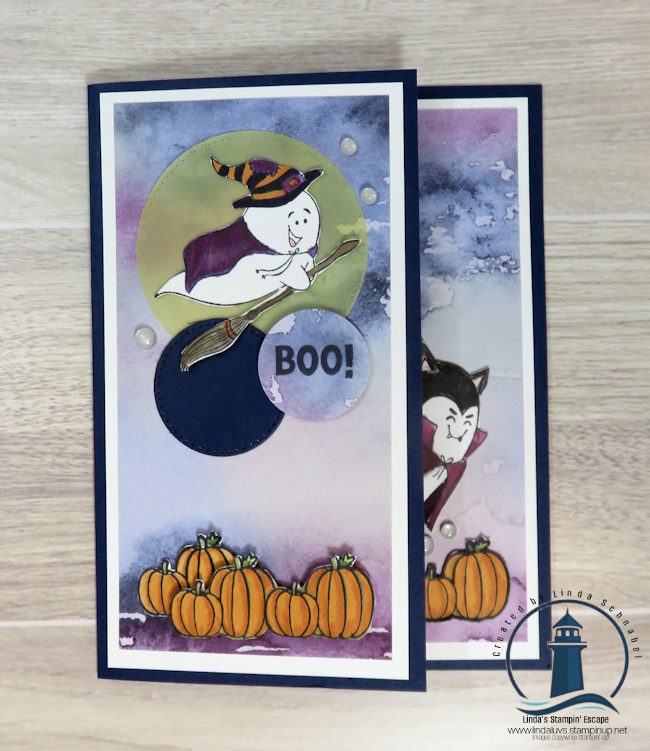
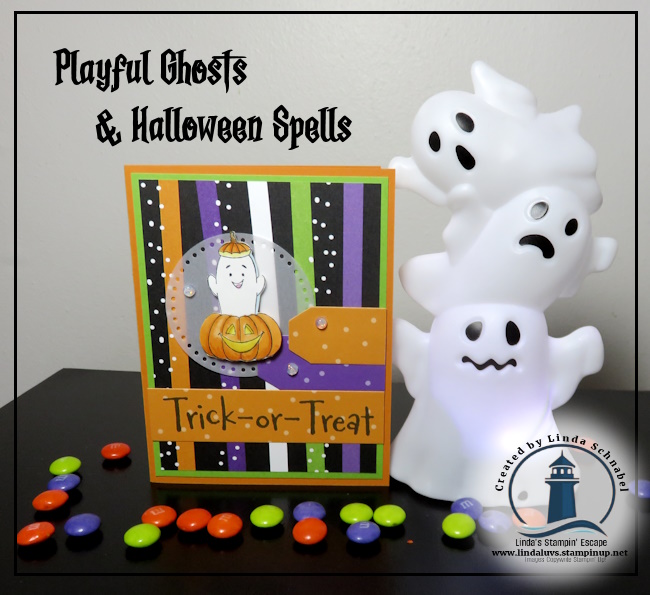
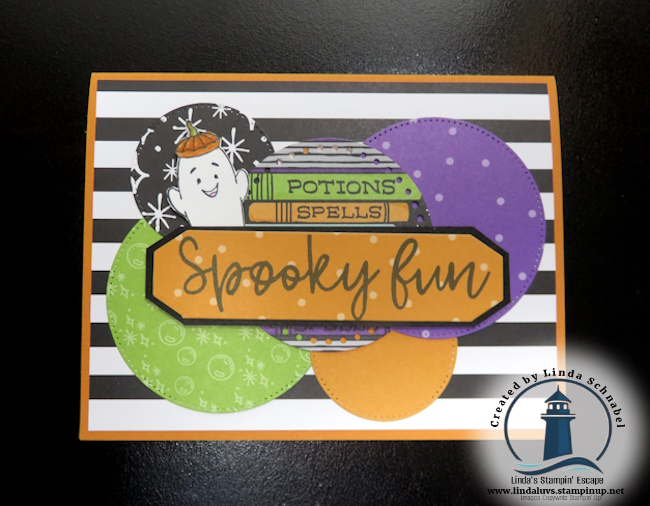
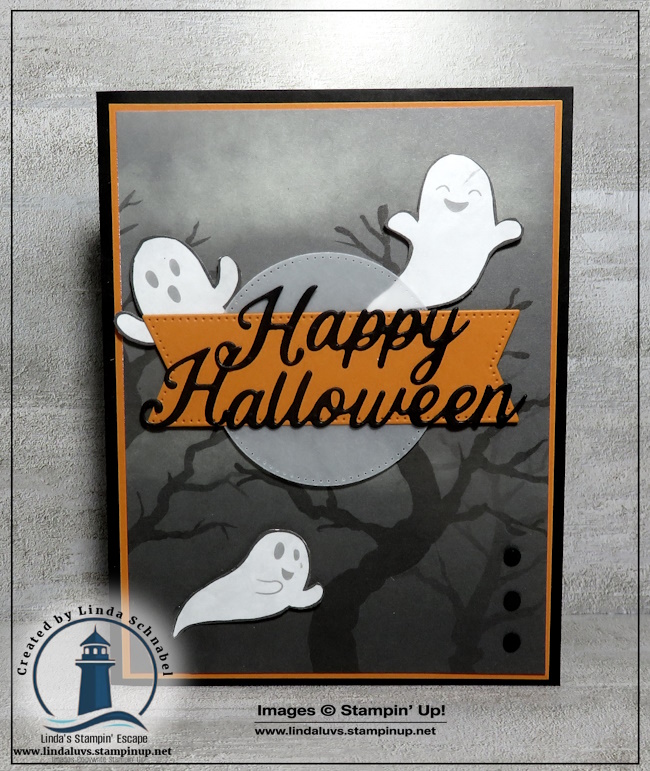
Card #3 – Happy Halloween Ghosts
Simple Die Cuts! A few happy ghosts, a bold greeting, and that beautiful moonlit background do all the work. It’s quick, simple, and perfect when you need to make several Halloween cards in one sitting.
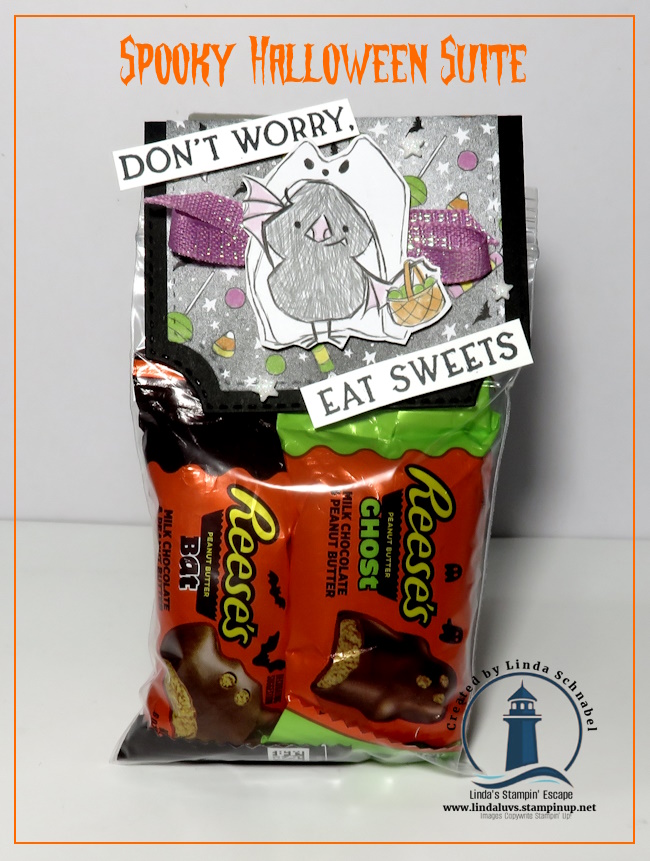
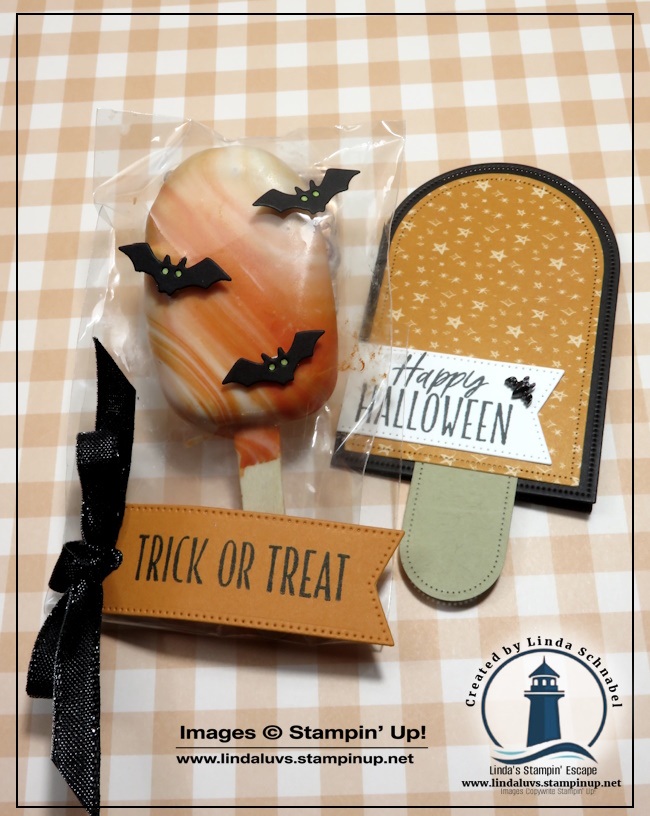
Bonus Project – A Sweet Popsicle Treat!
Because every Summerween party needs a treat!
I’ll also show you how to create this fun little Popsicle card that’s perfect for party favors, classroom treats, neighbors, grandchildren, or anyone who could use a little Halloween surprise. It’s quick, easy, and guaranteed to bring smiles.
If these projects inspire you, you’ll find links below to the products I used so you can start creating your own Summerween cards and treats.
Whether you purchase one item or the entire collection, I truly appreciate your support of my small business. Every order helps me continue bringing you free tutorials, videos, inspiration, and classes.
🎄 Before You Go…
If you enjoyed today’s video, I’d love to have you join me LIVE tonight on my Linda’s Stampin’ Escape Facebook Page as we switch gears from Summerween to Christmas in July!
We’ll be creating beautiful holiday cards featuring the A Stitched Season Suite, sharing lots of tips, techniques, laughs, and inspiration along the way. Grab your favorite beverage, invite a friend, and come spend the evening crafting with us. I’d love to see you there!
Until next time…
Happy Stamping! ❤️
Linda
Shining the Light on Creativity 🌊
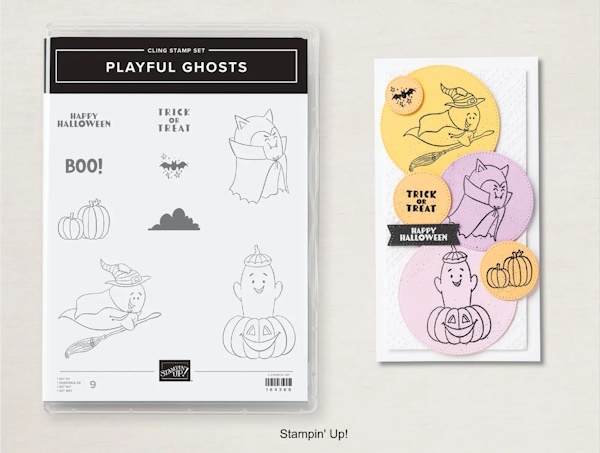
🛍️ Shop the products below and start creating your own Summerween fun!


Price: $17.50