
Hello Stampin’ Friends ~
How are you doing this fabulous Friday? I’m actually doing quite well … I’m back at work but only during the morning hours when the store is closed, so I’m home in plenty of time to get things done! So the studio is cleaned and I got a cute fun fold for you today!
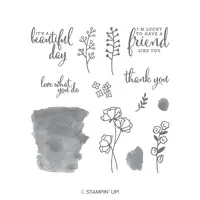
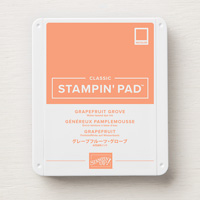
I’ve done this fold before and it’s easy to do and just a little different than sending the same old flat card (those are pretty too!). I used the “Love What You Do” stamp set in Grapefruit Grove … one of the In-Colors that will be retiring this year.

How would you like some instructions? OK … Let’s do this! … oh my!! I forgot to put my Early Espresso Base on!!
- Cut your card base (It will be on the next picture) 5-1/2″ x 4-1/4″
- Folded (Grapefruit Grove) cardstock: 9-1/2″ x 5-1/4″ then Score at 2-1/2″ and 5-1/2″
- Inside (Very Vanilla) cardstock: 5″ x 3-3/4″
- Fold Grapefruit Grove piece in have (at 5-1/2″ score line)
- Then fold “back” your piece scored at 2-1/2″ so its over the top and the edge is to the left.
- Either die cut or punch 2″ through the folded piece (slightly less than 1″ from top) Die cutting is easier than punching!
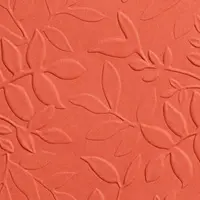
- Emboss the front piece (ONLY) Bring your folder to the score line and run it through your embossing machine. I used the Layered Leaves 3D folder.
- Glue the Scalloped Lace trim onto the back of the embossed edge (Let Dry).
- You can either glue the flap down at this time, or leave it open to add a little more drama to your card!
- Set your vanilla piece inside (do not glue yet) fold flap over so you can determine where you will stamp your flower. I place my finger there to hold the spot before I fold the flap back over … then stamp. If you are a “perfectionist” … draw a light pencil mark around your punched opening so you know exactly where to stamp. Then erase the pencil line.
- Color in your flowers … be careful, I used Early Espresso, this will smear when coloring with the marker. I was just very careful. Otherwise, you can use the Momento ink pad. Add a touch of the Wink of Stella to give it a little sparkle!!
- I did not measure my cardstock for the greeting … I stamped it onto a scrap piece and cut it to fit.
- Finish card by adhering the vanilla to the inside, and card front onto the Espresso base.
Here is the sample with the Early Espresso base attached…

The Espresso base really makes the card “pop” and it ties in the Early Espresso mat behind your greeting and your stamped image. I forgot in my instructions the Grapefruit Grove Grosgrain Ribbon on the banner. That too will be retiring this year 😦 Love the 2018-20 In-Colors.
I prepared a list of ingredients for you as well …


Is there an inside? Or is front glued down around the flower? Thanks, really pretty card.
Hi Karen,
You are seeing part of the inside of the card … the entire Grapefruit Grove & banner “opens up” to expose the rest of the inside, which gives a a little room to write a note! I should have taken a picture of it “opened”.
Thank you so much for your comments and I’m thrilled that you like the card…. and for checking out my blog.
Have a wonderful day! Linda