Happy Friday, Stampin’ Friends!
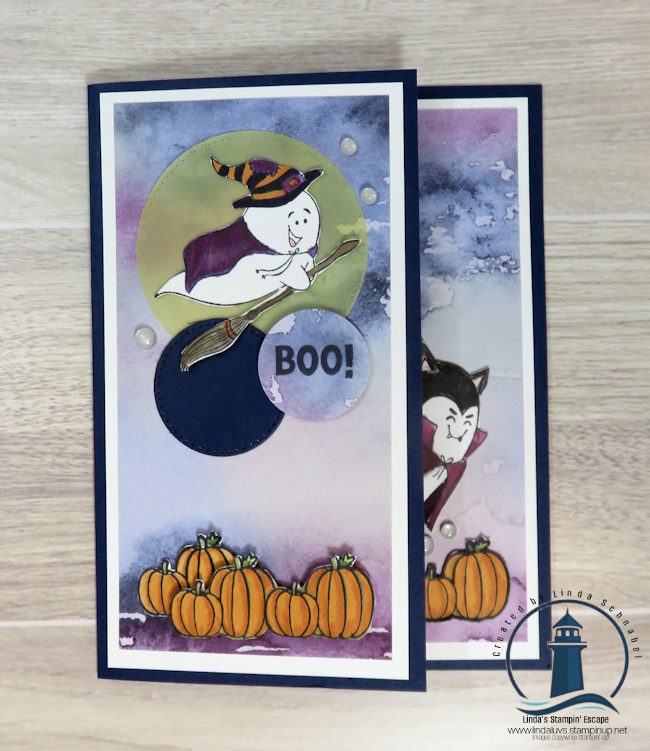
We’ve reached the grand finale of my Wild Bunch series, and I couldn’t think of a better way to celebrate than with all the critters together on one card! 🐌🐄🐧🐨 If you’ve been following along this week, you’ve already met each of these adorable friends individually. But apparently, once I set out a chair from the Waterside Retreat Collection, everyone decided they wanted a seat at the party!
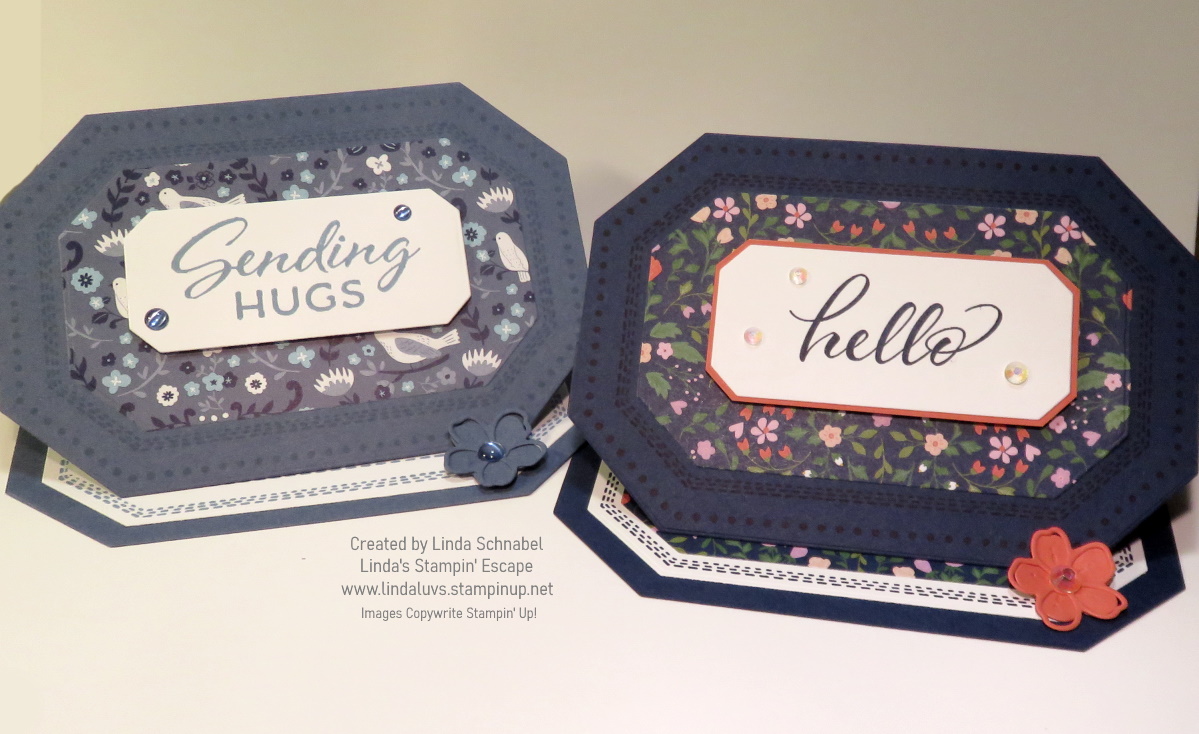
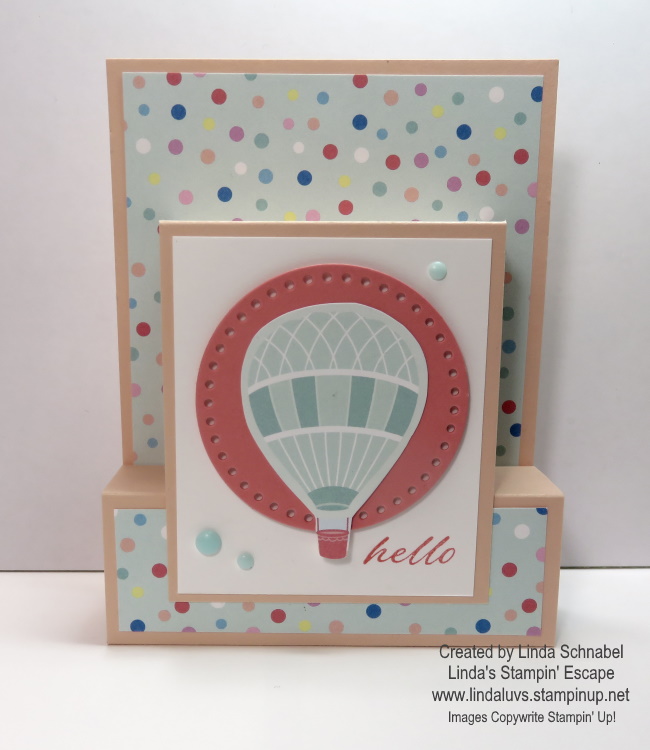
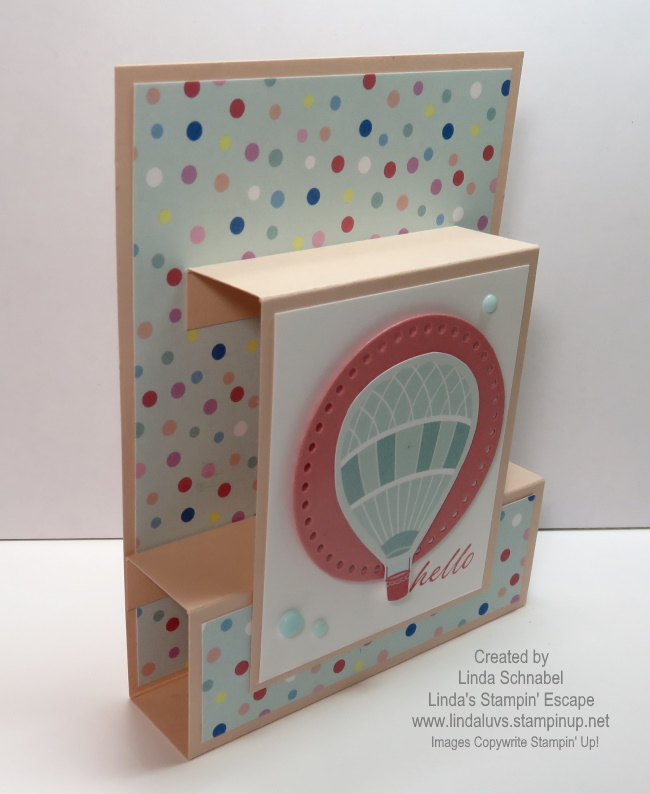
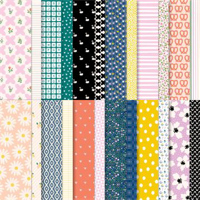
Today’s fun fold combines two of my favorite collections. The sweet animals from the Wild Bunch Stamp Set take center stage, while the Waterside Retreat Designer Series Paper and Relaxing Waterside Dies provide the perfect backdrop. I added colorful little banners to the “step” portion of the card for a festive touch, and then placed my chair front and center. Before I knew it, those playful critters started hopping on! I especially love the penguin perched on the arm of the chair—he looks perfectly content sitting there and enjoying the celebration.
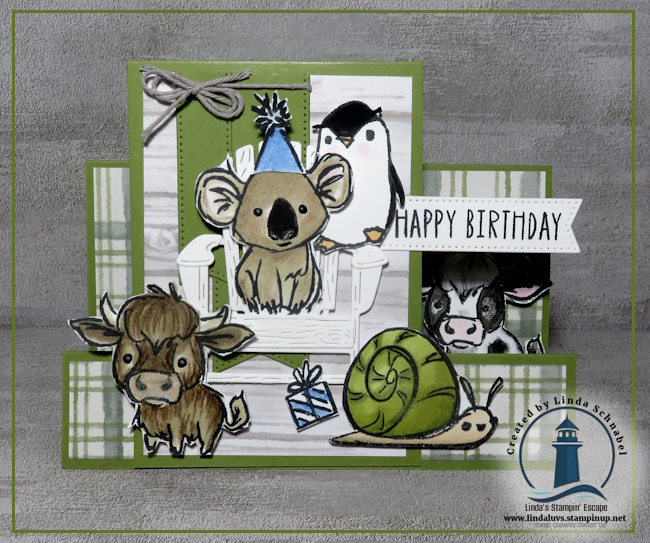
Throughout the week I’ve shared several coloring techniques, and all of those ideas came together on today’s card. From watercolor pencils to soft shading with Stampin’ Blends and markers, these little friends have been such a joy to bring to life.
This card has an extra special purpose, too. It’s headed to my great-grandson, who is turning three! He absolutely loves animals, so I know the cows and that curious little penguin are going to make him giggle. Nothing makes my heart happier than creating something handmade for someone I love.
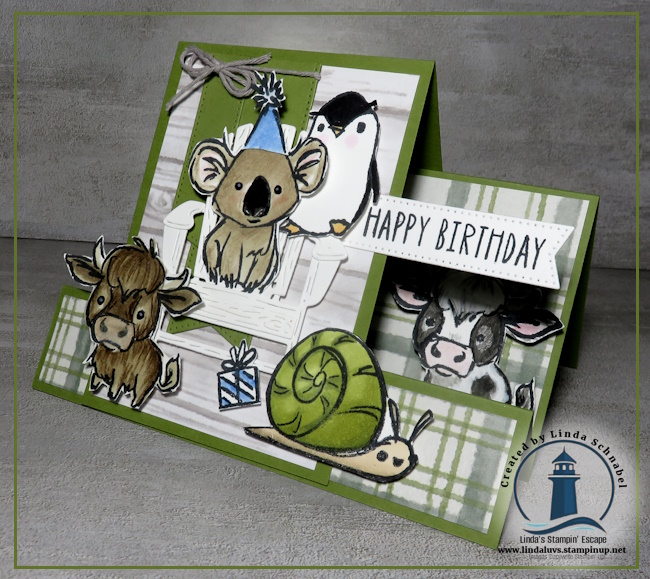
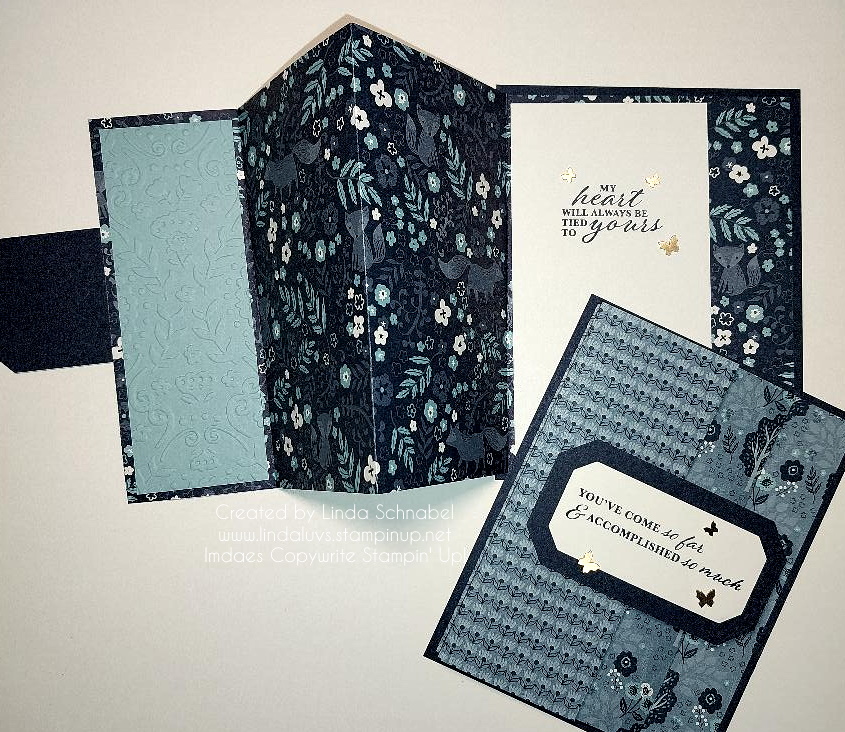
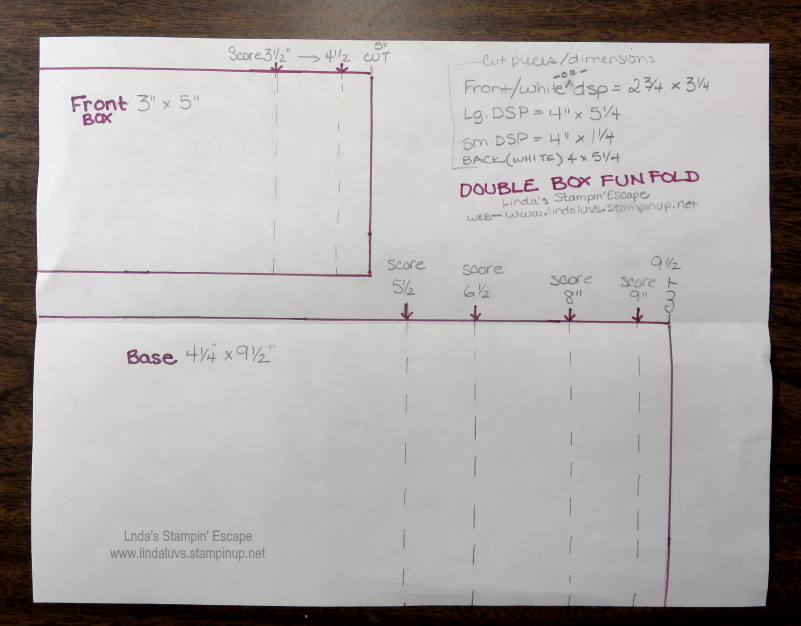
Since it’s Friday, I couldn’t resist adding a fun fold to the mix! I’m skipping the measurements and instructions today, but don’t worry—stop back tomorrow because I’ll be featuring this “Faux Step” Fun Fold with the Waterside Retreat Collection, complete with dimensions and step-by-step instructions.
Until then, I hope these adorable Wild Bunch friends have brought a smile to your face all week long. Happy Friday, and remember… creativity is always more fun when the whole gang is here!