Hello Stampin’ Friends ~
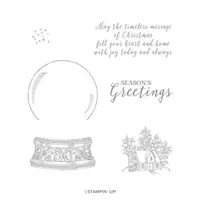
Happy Saturday to you! Today I’d like to share with you a card I created with the beautiful Still Scenes stamp set …

So I began my search for inspiration on Pinterest, and what I found was NO samples using ONLY the stamp set! I agree, the coordinating die set is beautiful … but, what if you don’t have it? (I do … but) I wanted to show the beauty of this stamp set so today I will share that with you …
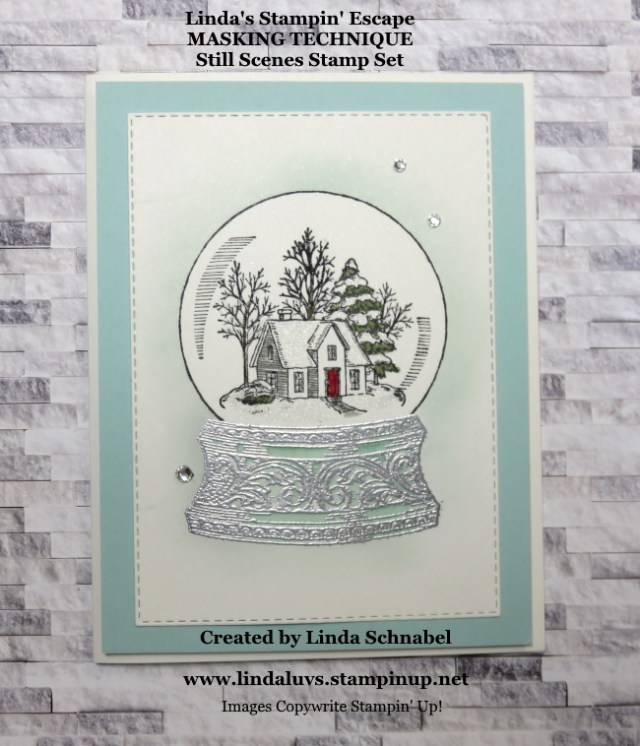
Because I used the MASKING Technique on this card, I started with the Shimmery White Cardstock and it is perfect for the snow globe! I wanted to use ONLY the images from the stamp set.
I began with my base and stamped it with VersaMark and then applied the Silver Embossing powder … once heat set, I moved to the snow globe. If you’re making multiple Christmas Cards, use your Stamparatus for perfect placement every time. Once the globe is stamped, stamp the home scene directly into the snowglobe. Now it’s time to mask …

You will need to stamp your globe image (base if desired) This is where the Stamparatus comes in handy, as it gives you the same alignment as your card. Stamp images onto a plain piece of paper, not cardstock … you could stamp it onto a sticky not and use that to adhere to the stamped card front.
With your Sponge Daubers and Pool Party ink …. gently apply ink (I do my application by small circular motion so you do not get any stopping and starting points of ink on your cardstock. You just want a soft glow of color behind the image … or that is how it appears! It adds dimension to your card without using die cuts, and we got texture from the embossing!
Don’t put that Pool Party ink pad away, you will need it to watercolor your silver base of the globe….

I used the Water Painters which hold water for easy watercoloring. Just squeeze your ink pad together so you have ink on the top inside and use that for your watercoloring tray … the squeeze a few drops of water from the Water Painters, mix and begin painting the ink into the base … you can add as much or as little as you want to make it darker or lighter … the painters give you more control and do not harm the embossing.
Color as needed, then assemble …

I forgot to mentions that I cut out the front with one of the larger rectangle dies… just to add a touch more texture. I added some brown to the trees using the writing tip of our regular markers, the sidewalk and sides of house are Smoky Slate, the tree is Old Olive and the door is Real Red.
You can see by the photo that the card front itself is adhered directly onto the Pool Party mat … it is the mat that is popped up using the Stampin’ Dimensionals directly onto the Shimmery White base.
Sometimes just the simple stamping techniques you learned when you first began stamping are still amazingly beautiful. Don’t forget to add the Wink of Stella in the snow and on the roof top! Santa needs something soft to land on!
Thank you for joining me today, and I hope that you learned a new technique or a stampin’ tip or two.
Enjoy this beautiful day ~

TODAY’S STAMPIN’ SUPPLY LIST … If you liked the products used in todays projects, I have links for you below. Just click on the item you would like more information on, or to begin your shopping. It will take you directly to my website. Thank you ♥