
Hello Stampin’ Friends ~
Today I have a pretty card for you along with the step by step tutorial … enjoy! A list of supplies used are located at the end of my post.
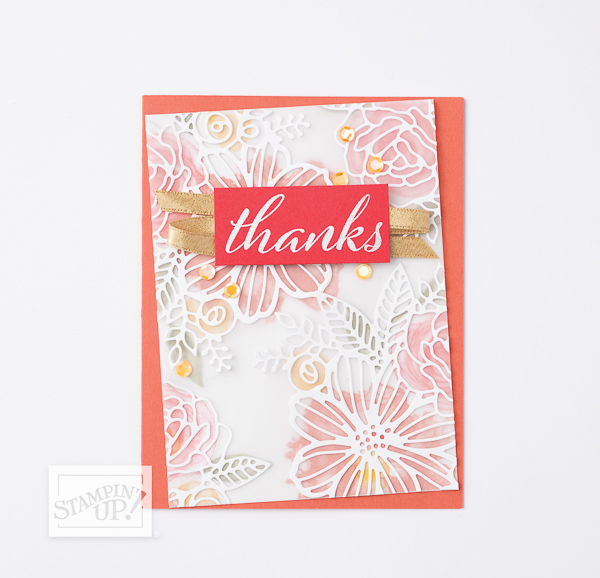
| Thanks Card |
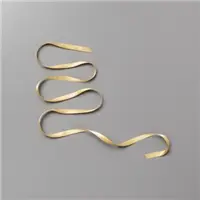
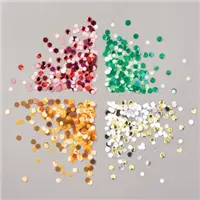
| INSTRUCTIONS 1) Cut Calypso Coral cardstock to 5-1/2″ x 8-1/2″. Score at 4-1/4″ along the 8-1/2″ side. 2) Cut Basic White cardstock and Vellum to 3-3/4″ x 5-1/8″. 3) Use the grouped detail flower die from the Artistic dies to die cut four sets of flowers from Basic White cardstock. 4) Stamp the flowers and leaves on the Basic White layer using Poppy Parade for the largest flower, Calypso Coral for the medium flower, Crushed Curry for the small flower/flower center, and Old Olive for the leaves. Use the die cut flowers as a loose guide for the layout of the stamped images. You’ll be layering the die cuts over the stamping. Don’t worry about them being exact, the abstract, watercolor is part of the beauty of this set! 5) Once the Basic White layer is mostly covered with stamped flower groups, add a bit of adhesive above the center, where the greeting will cover it. Line up the Vellum on top of the stamped layer. You’ll add more adhesive later, this will just tack it in place for now. 6) Without adding adhesive, line up the die cut image over the stamped images. They will hang off the edges, that will be trimmed later. Once you have the die cuts where you want them, pick up one at a time and use very small dots of Multipurpose Liquid Glue to adhere the die cut in place. Repeat for each die cut. Allow to dry completely! 7) While the glue dried, stamp “thanks” greeting from Artistically Inked stamp on 2-1/4″ x 1″ Poppy Parade cardstock with VersaMark ink. Cover generously with White Stampin’ Emboss Powder. Tap off excess powder. Heat emboss with the Heat Tool. 8) Once the glue is dried on the Vellum and die cut layer, use Paper Snips to trim off the excess die cuts even with the edge of the Vellum and cardstock. Gently lift the edges of the Vellum and add tiny dots of Multipurpose Liquid Glue behind the die cuts to help secure the Vellum to the Basic White cardstock. Allow to dry. 9) Adhere the layers to the card front at an angle. Add a strip of adhesive where the greeting will be added. Zig-zag a 12″ piece of ribbon. Use Stampin’ Dimensionals to add the greeting over the ribbon. 10) Use dots of Multipurpose Liquid Glue to group about 7 orange sequins from the Sequins for Everything set around the greeting. |
TIP: The easiest way to add the Sequins for Everything to a project is to add a tiny drop of Multipurpose Liquid Glue on the project where you want the sequin and then use your fingers or the putty tip of the Take Your Pick Tool (#144107) to place the sequin on the glue with the curved side down, like a bowl. This way you don’t drop a gluey sequin on your project where you don’t want it.
Thank you for stopping by for the visit today ~

TODAY’S STAMPIN’ SUPPLY LIST … If you liked the products used in today’s projects, I have links for you below. Just click on the item you would like more information on, or to begin your shopping. It will take you directly to my website. Thank you ♥
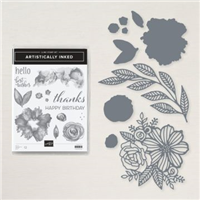


Very pretty card. The combination of colors is perfect. The layering with the die cuts makes it so very beautiful! Another Wow card! Thanks Linda.
You are so very welcome Kathie ❤ I am not the creator of this beauty though, it's from Stampin' Up! but so pretty I had to share you all of you. Have a good day, and thank you!!