
Hello Stampin’ Friends ~
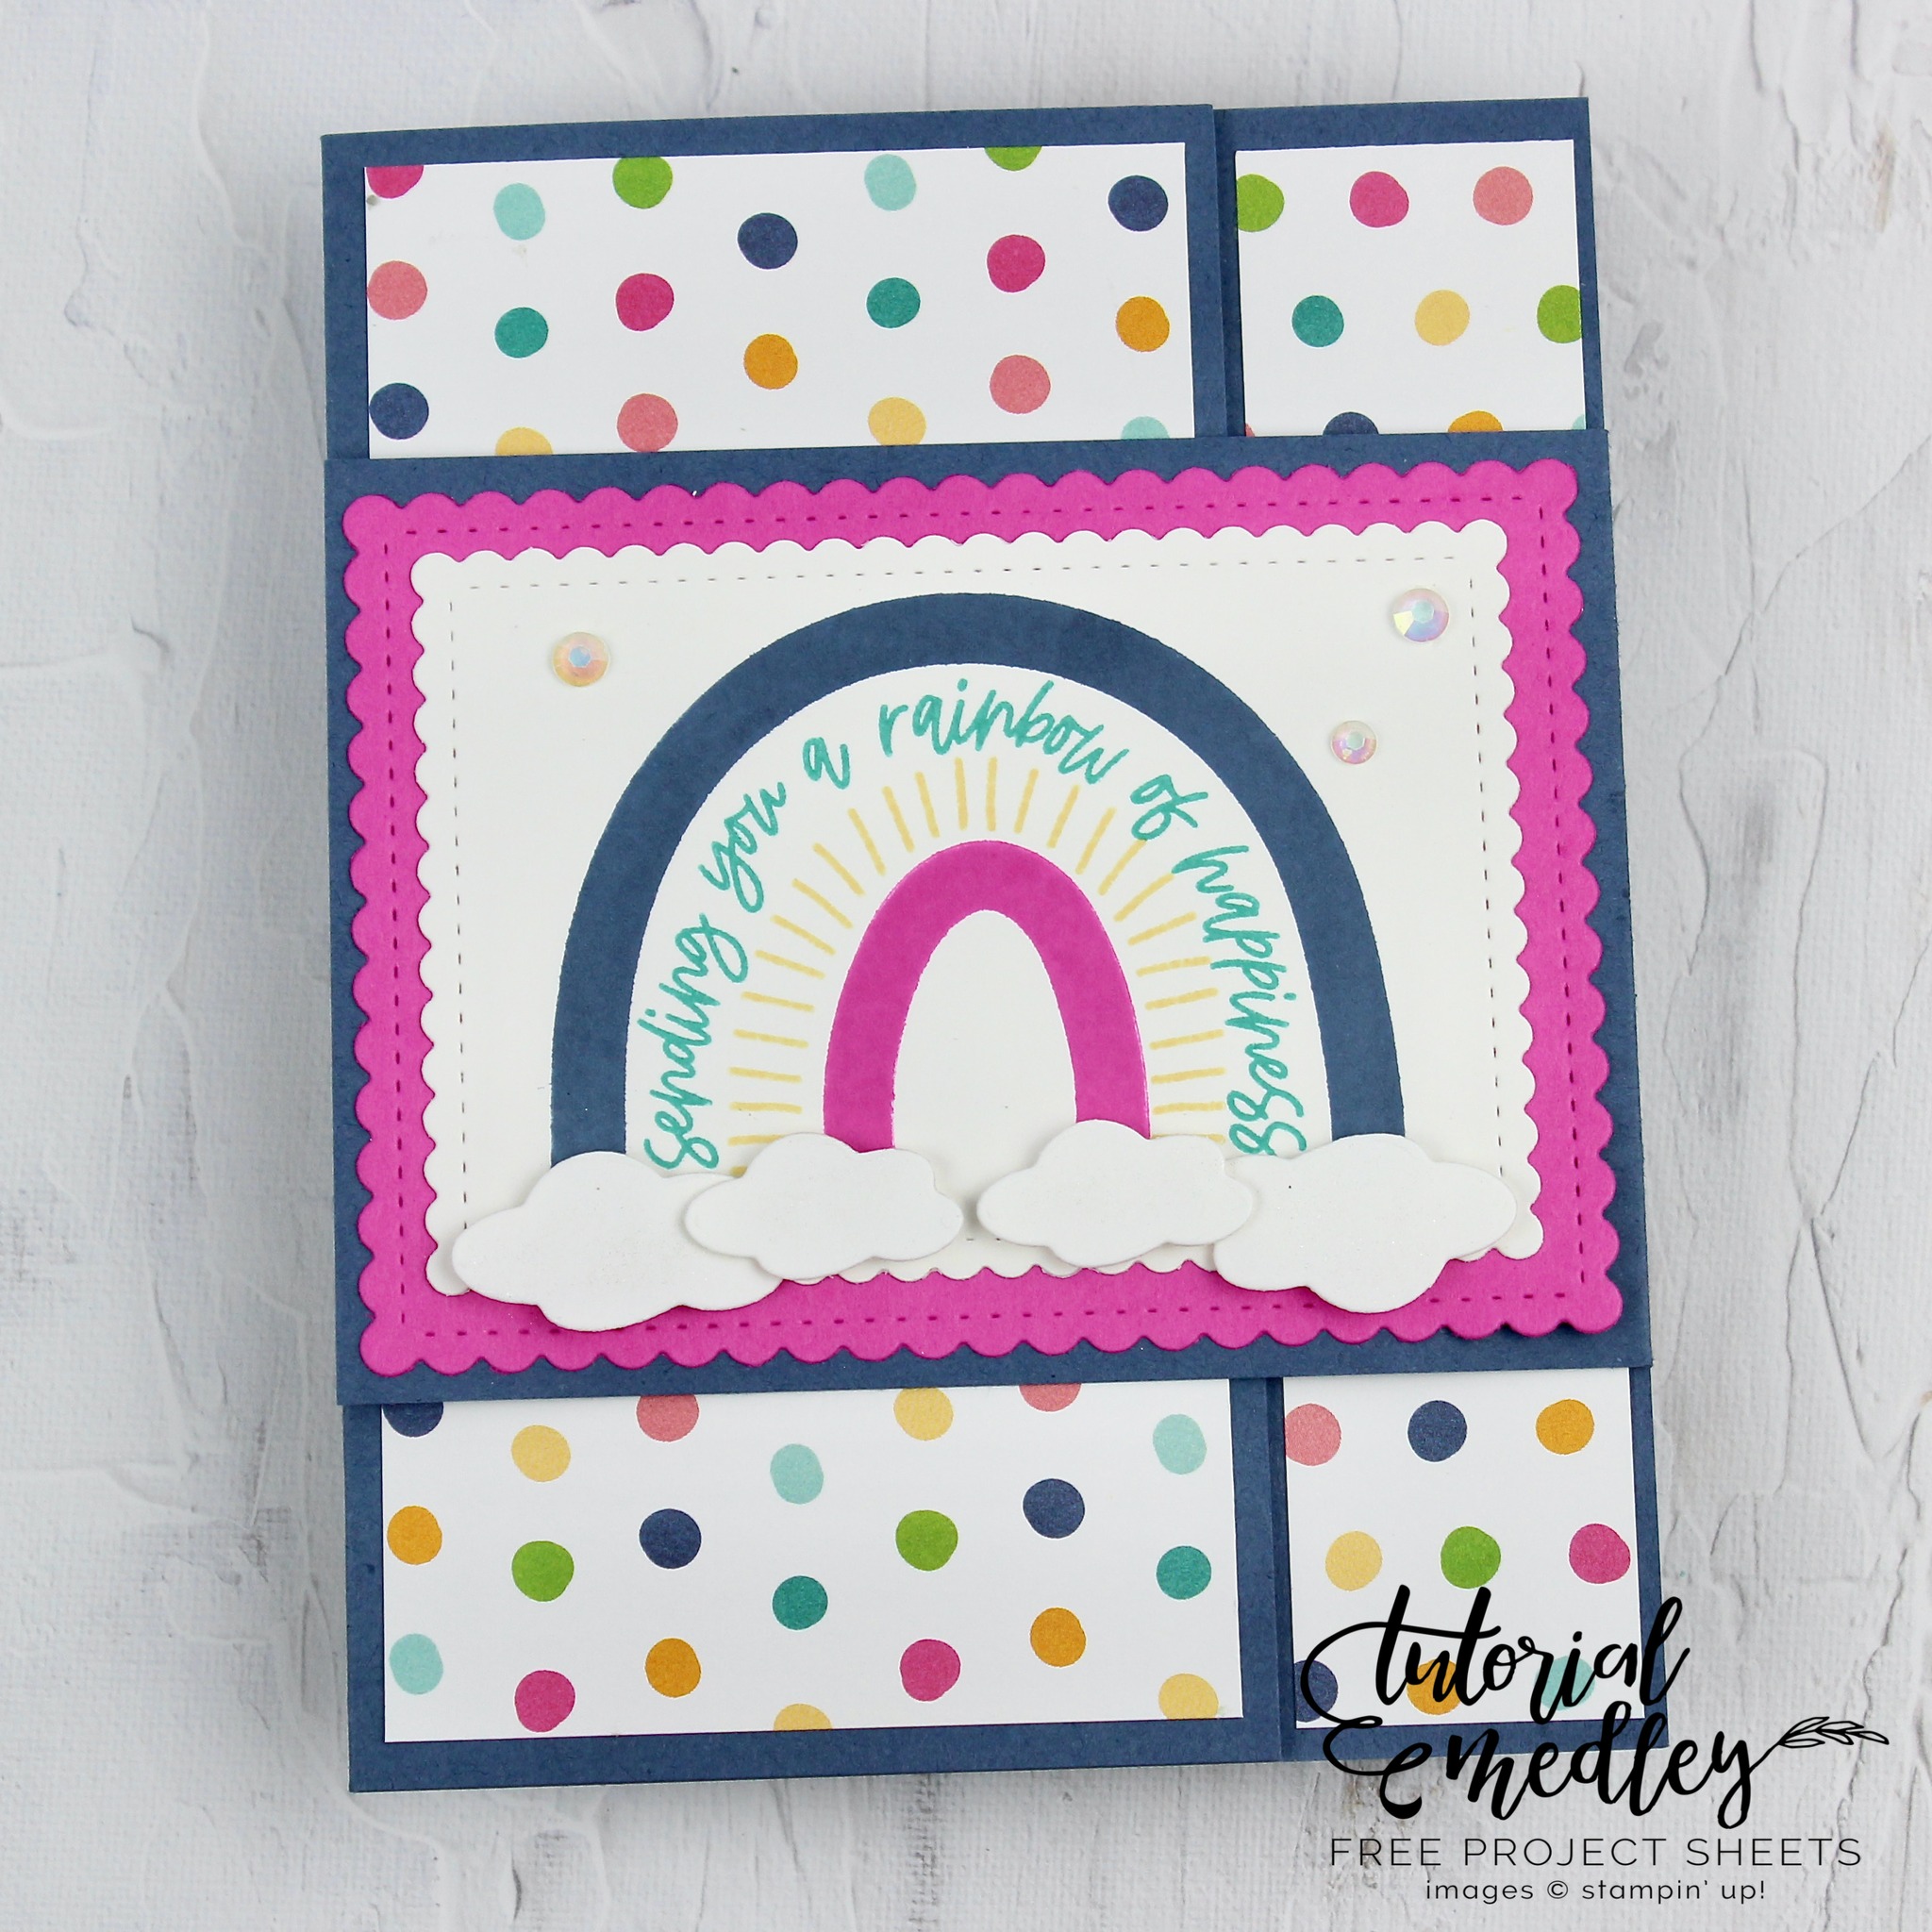
Somewhere over the rainbow … well, you know the rest. We find “cute” cards!! And that is what I have for you today, along with the dimensions and instructions. Today’s card is also a FUN FOLD … gotta love it!
Let’s take a close look at that fold ….

Measurements:
- Card Base: Misty Moonlight 7-1/4” x 5-1/2”, scored at 4-1/4”
- Cardstock #2: Misty Moonlight 4-1/2” x 3-1/8”, score at 1/4” on the right side
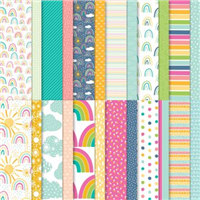
- DSP #1: Sunshine & Rainbows 2-3/4” x 5-1/4” (front of card)
- Cardstock #3: Basic White 2-3/4” x 5-1/4” (inside of card)
- DSP #2: Sunshine & Rainbows 1-1/8” x 5-1/4” (inside of card)
- Cardstock #4: Magenta Madness 4-1/4” x 3-1/8” (for stitched die cut rectangle)
- Cardstock #5: Basic White 3-3/4” x 2-3/4” (for stitched die cut rectangle)
- Scrap of Basic White Cardstock for die cut clouds
Instructions:
- Fold the Misty Moonlight card base so that the smaller flap is on the front of the card.
- Adhere the larger piece of DSP to the front flap of the card base.
- Adhere the Misty Moonlight Cardstock to the right side of the card base by only adding adhesive to the 1/4” flap, then adhere the smaller piece of DSP over the top. (use photos for reference)
- Adhere the Basic White Cardstock to the inside of the card on the left side as shown leaving about a 1/8” space between the Basic White Cardstock and the DSP layer.
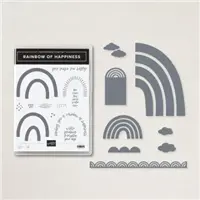
- Die cut the largest scalloped rectangle from the Magenta Madness Cardstock using the Stitched So Sweetly Dies. Adhere to the Misty Moonlight Cardstock on the front of the card.
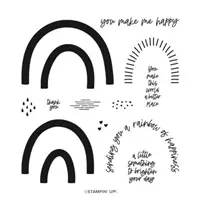
- Die cut the second largest scalloped rectangle from the piece of Basic White Cardstock. Stamp the largest arch of the rainbow in Misty Moonlight ink, the sentiment in Bermuda Bay ink, the striped arch in Daffodil Delight and the smallest arch of the rainbow in Magenta Madness ink.
- Adhere the stamped Basic White scalloped rectangle to the Magenta Madness scalloped rectangle.
- Die cut four clouds (two small, two medium) from a scrap of Basic White Cardstock. Adhere to the card with Mini Stampin’ Dimensionals and accent with Wink of Stella Glitter Brush.
- Add three Iridescent Rhinestones (two small, one medium) to the card front as shown.
Thanks for joining me today … I hope you join me tonight for my Facebook LIVE!

Have a wonderful day ~

TODAY’S STAMPIN’ SUPPLY LIST … If you liked the products used in today’s projects, I have links for you below. Just click on the item you would like more information on, or to begin your shopping. It will take you directly to my website. Thank you ♥


Very pretty card and cool fold. Will be making this fold card soon. Thanks for sharing.
I’m glad you enjoyed the card Kathie, and thank you for taking time to comment.