
Hello Stampin’ Friends ~
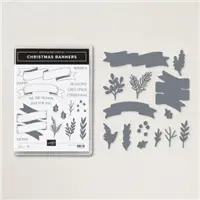
Today I am going to share my card from the Christmas Banners bundle which is part of the mega suite “Sweetest Christmas”. You’ll find these on pages 8 through 11.
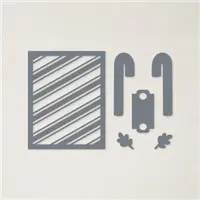
My card also uses the background die from the Sweet Candy Cane bundle. Let’s begin …
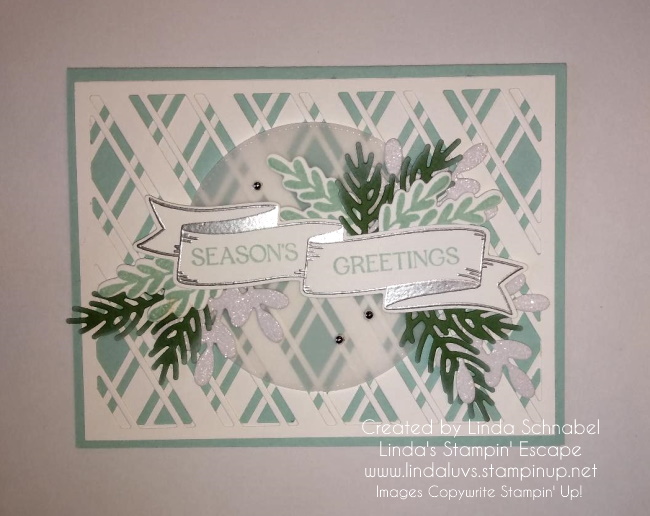
The card base is Pool Party and then I layered two die cut sheet on top. The secret to get that “criss-cross” look is to turn one of the die cut piece upside (flip it over) … I hope you know what I mean. I attached the layers together and to the front of the card using the Tombo Liquid glue. On top of that is a circle cut from our Layering Circle Dies.
Next I inked up my banner with VersaMark and heat embossed it with Silver Embossing Powder. Then using the Christmas Banners stamp set, I stamped my greeting onto the banner using Pool Party Ink. Before you attach this to the card front, you have to die cut all your foliage.
I stamped the foliage in Pool Party ink three times and then die cut it, then I die cut the “sprigs” from Garden Green and using a Sponge Dauber and White Craft ink … I tipped the ends to give it a “frosty” look. The I cut more of the foliage out of the White Glimmer paper. Once all your pieces are stamped, tipped and die cut … you can begin layering them behind your banner.
I added adhesive directly to the back of my banner and then began layer the pieces behind. You may need to add a bit more adhesive to get all you layers done. Then I added Stampin’ Dimensionals on the back to give it dimension and to help secure your foliage to the banner.
Then I added some Silver Festive Pearls to complete my card. I love the way this card turned out and it was one that I featured at my Fall Holiday Stamping Retreat.
Thank you for stopping back. I’ll see you tomorrow for day 4 of my Twelve Days of Christmas.

Here is a list of supplies used for today’s card ….


STARTS TODAY ….


Such a cool idea to use the background die in both directions! I own it! Now I’ve got to use it that way! Thanks for the ideas!