
Hello Stampin’ Friends ~
I am so excited to share my cards and video with you today. Christmas is full of pretty paper and ribbons, and today I’m thrilled to show you the “Twisted Ribbon” Technique. In the video, you will also learn two different tips to creating this technique with ease.
Let’s watch the video and then I will share the cards with you …..
How fun is this technique!?? Oh my gosh …I am addicted!! And with the use of my template, it makes creating these cards fast and simple. Let’s talk “Core” dimensions / What you need to create the card. The punches or dies you can add for greetings and such are endless!! Just have fun with it.
- Card Base: 8-1/2″ x 5-1/2″ then score at 4-1/4″.
- Panel for ribbon technique: 5″ x 2″ … this allows you to add a mat and still layer!
- Ribbons (Designer Paper): 3″ x 1/2″ (Sorry I said 1/4!)
I’ll begin with the card that I demonstrated in the video ….
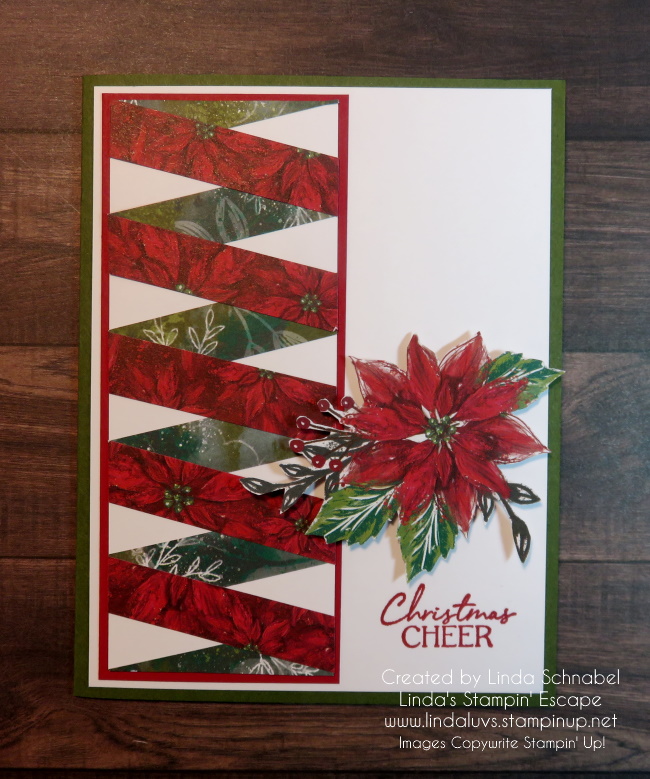
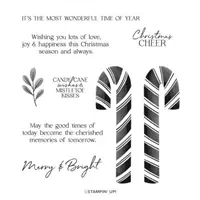
This card highlights the “Boughs of Holly” Designer Series paper. I complimented that with Real Red and Mossy Meadow cardstock. My greeting comes from the Sweet Candy Cane Stamp Set and Real Red ink.

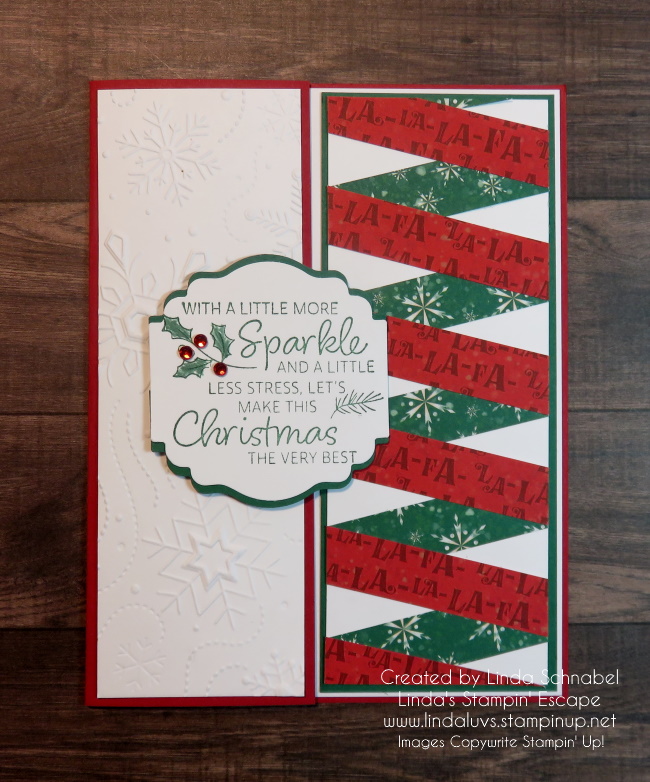
On this card I used the Framed Florets bundle and the Framed & Festive Stamp Set. The designer paper to create the “Twisted Ribbon” is the Fitting Florets! I also used the Timeworn Type Embossing Folder to add some texture to the card.
I got a bit more creative with this card … I cut 2-1/4″ off the front flap of my card and placed my “Twisted Ribbon” on the right side of the card. Now it shows with the card is open or closed!! My designer paper of choice is the “Santa Express” full of fun and whimsy!
To create the texture on the front flap, I used the Wintery 3-D embossing folder. My greeting comes from the Very Best Occasion stamp set and was punched out using the “Label Me Lovely” punch. Cardstock colors are Poppy Parade and Shaded Spruce.
My last card I shared also used the Santa Express Designer paper ….
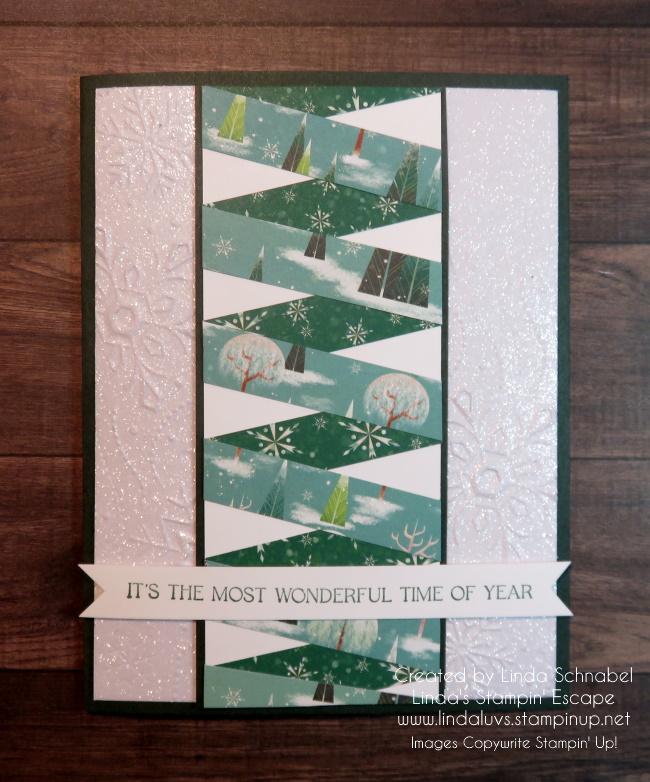
I also used the Wintry on this card but I embossed the beautiful White Glimmer paper! I centered my “Twisted Ribbon” to give it another different look. The greeting comes from the Sweet Candy Cane stamp set and fits this card perfectly.
I had so much fun making these cards and I hope I inspired you to grab some of your designer papers and try out this technique.
Thank you so much for joining me! Have a wonderful day.

Here are some of the supplies used to create my cards. Don’t forget that there are many beautiful designer papers on the Clearance rack at low, low prices!


This is a fabulous way to see both sides of the double-sided DSP that you cannot bring yourself to choose which side you’ll have visible on your card (not that I know anyone who would succumb to “analysis paralysis”)! This way you will not feel like you’re “wasting” an entire side of the DSP!
lol … I have never thought about it that way! Good point and noted … Thank you!! And it’s cute so a win win all around. Thanks for sharing your comments 🙂