Hello Stampin’ Friends!
Today I have something extra special to share with you! I paired the sweet and versatile Scalloped Blooms Bundle with the gorgeous Garden Poetry Designer Series Paper to create not one, but two delightful projects. Best of all, I’ve included the video tutorial below so you can craft right along with me!
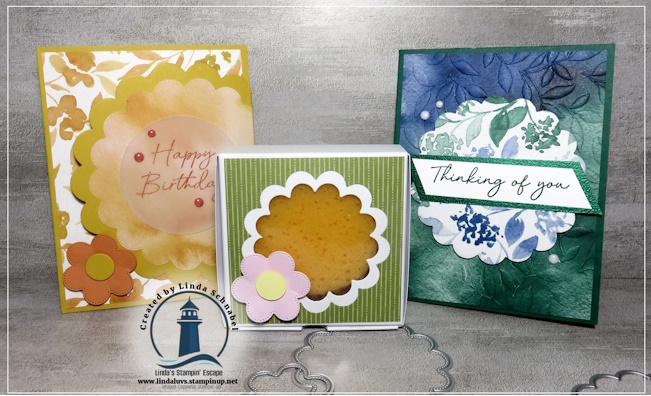
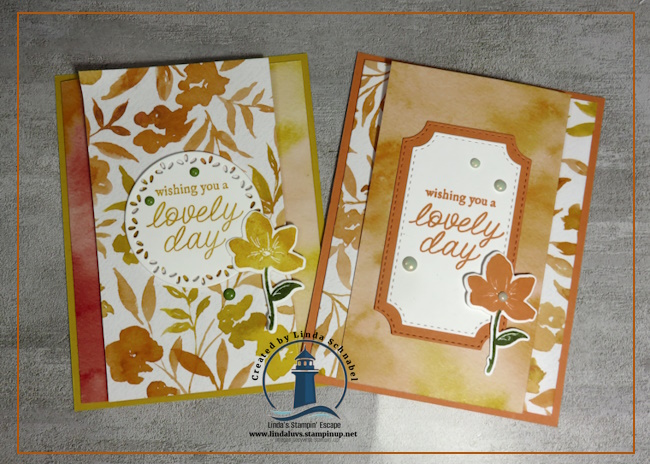
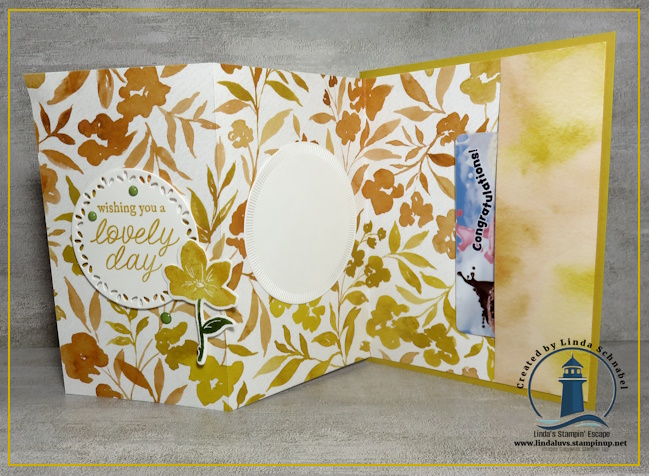
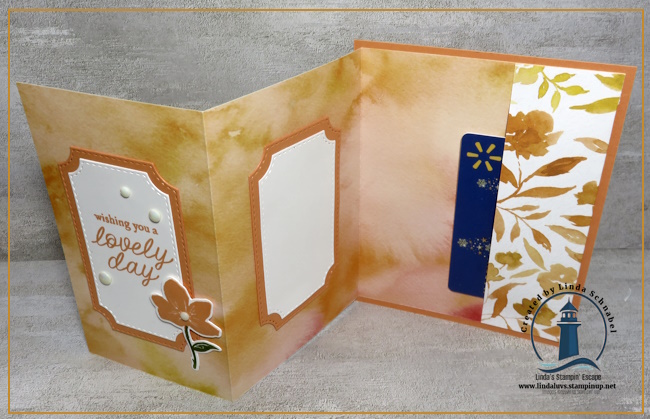
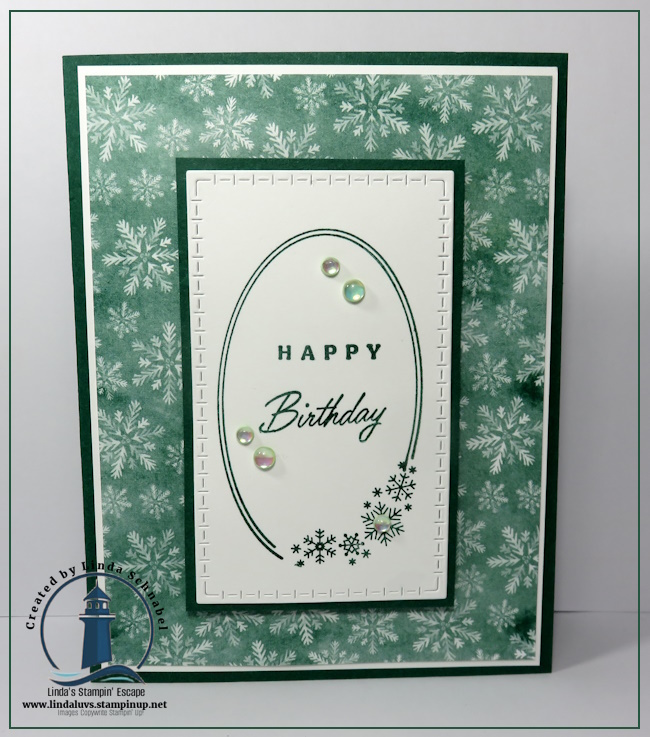
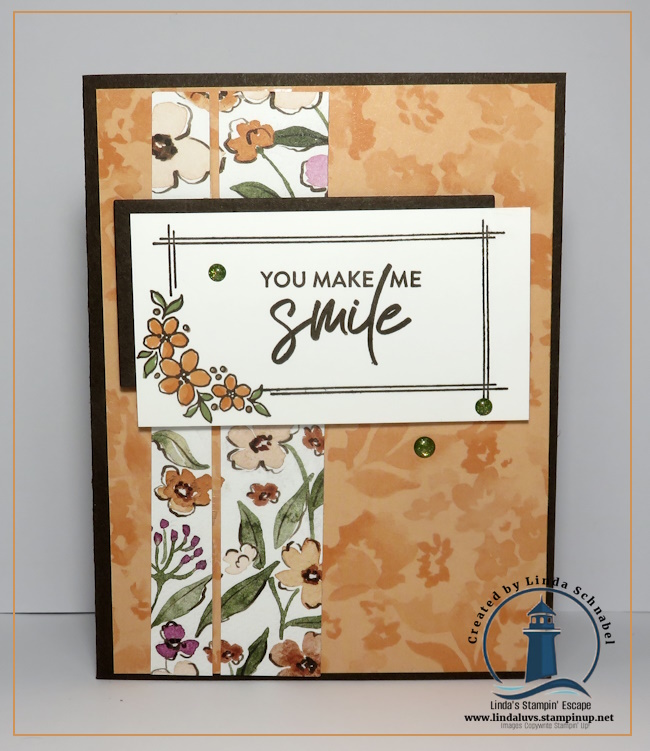
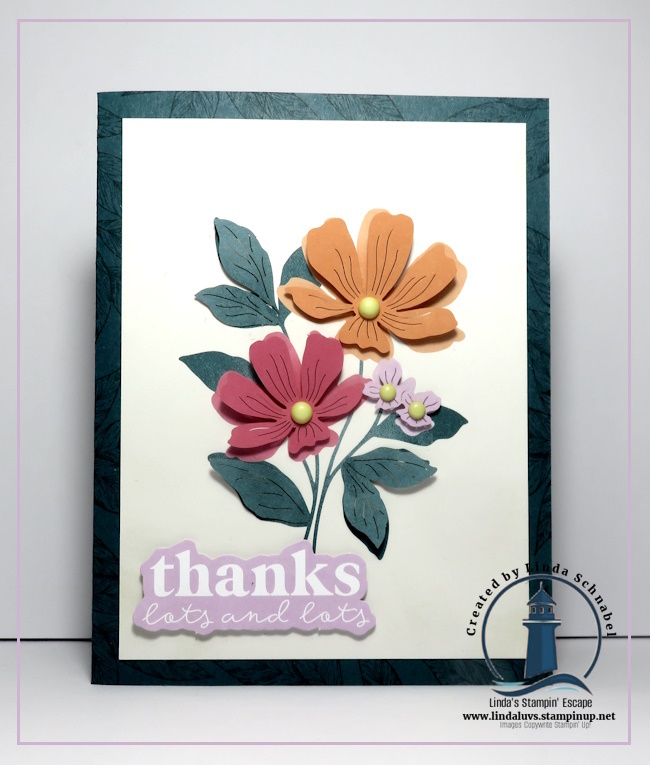
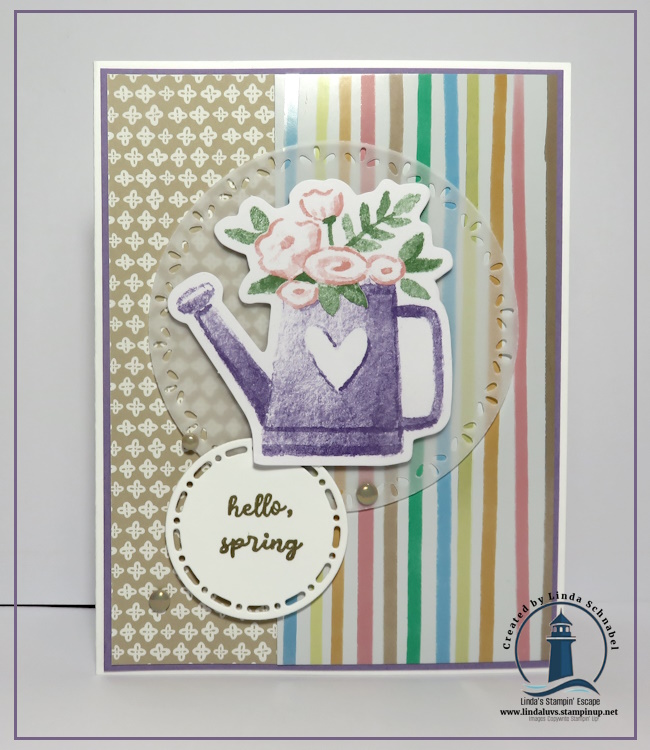
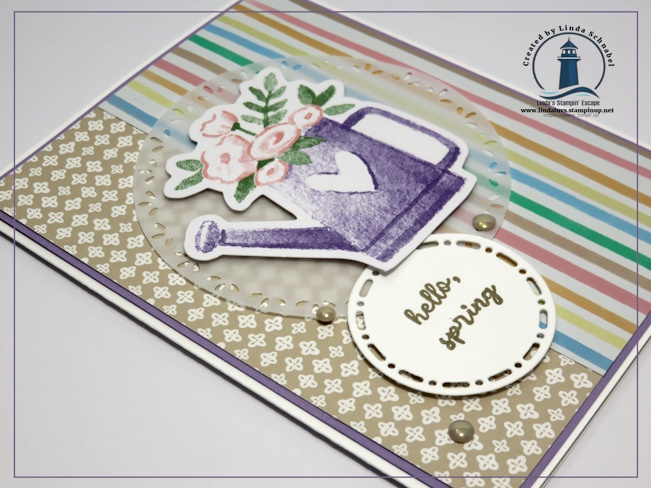
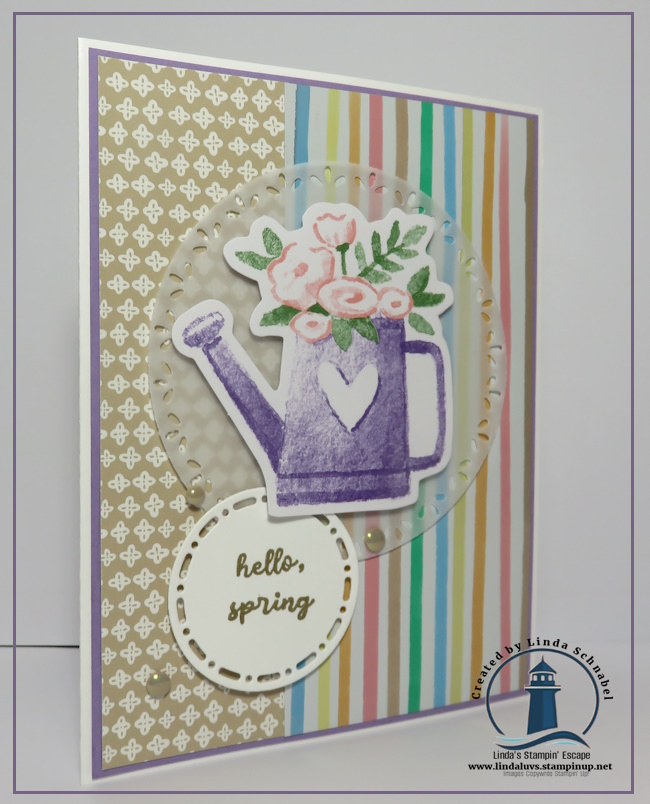
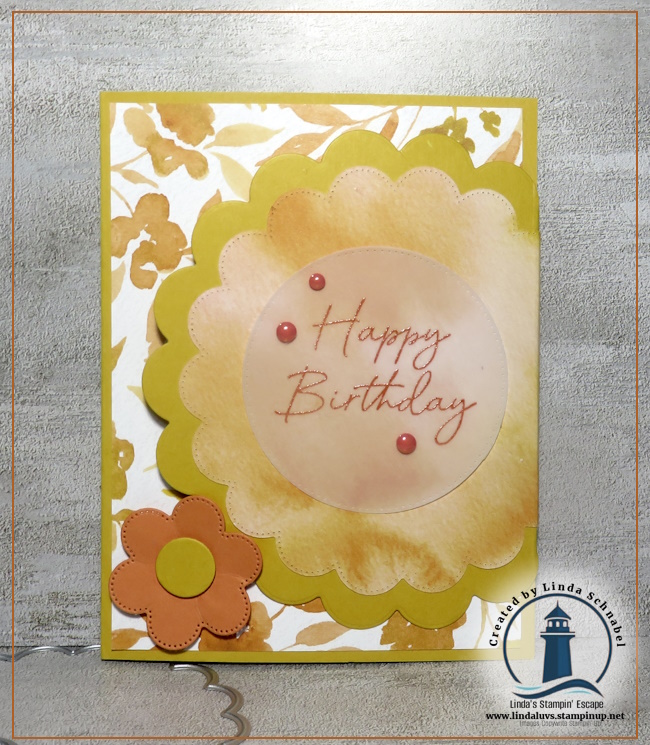
Our first project is a cheerful birthday card featuring layers of scalloped circles, soft ink blending, and warm peach and lemon tones. The Garden Poetry Designer Paper provides the perfect backdrop, adding just enough floral beauty without overwhelming the focal point. A simple flower accent and a few embellishments complete this happy design.
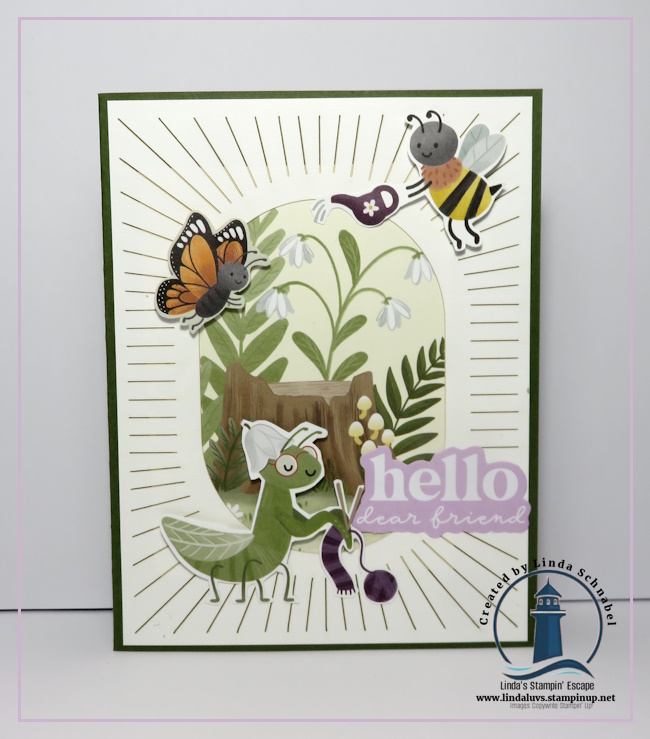
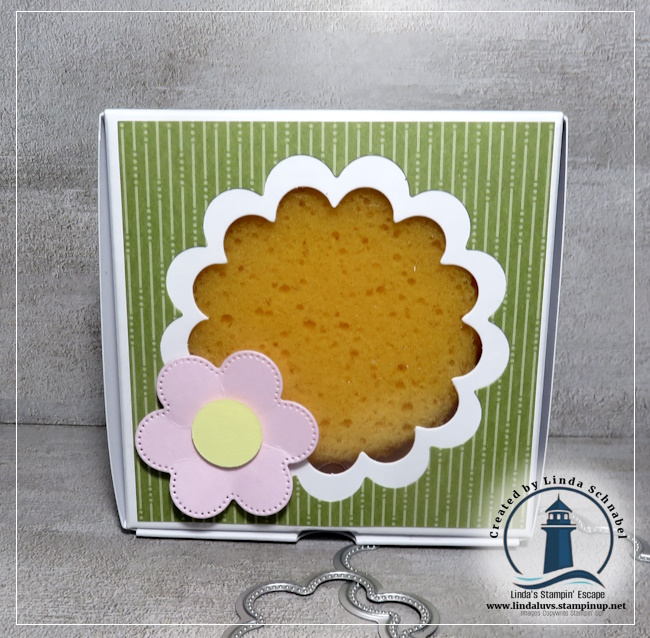
But why stop at a card? I also created an adorable 3-D treat holder featuring a scalloped window and sweet flower accent. It’s perfect for small gifts, candies, party favors, or just adding a little surprise to someone’s day. These kinds of projects are always fun to make and even more fun to give!
One of the things I love most about the Scalloped Blooms Bundle is how easily the dies and sentiments can be mixed and matched for cards, gift packaging, and so much more. And paired with the soft colors and beautiful patterns found in the Garden Poetry Designer Series Paper, the possibilities are endless.
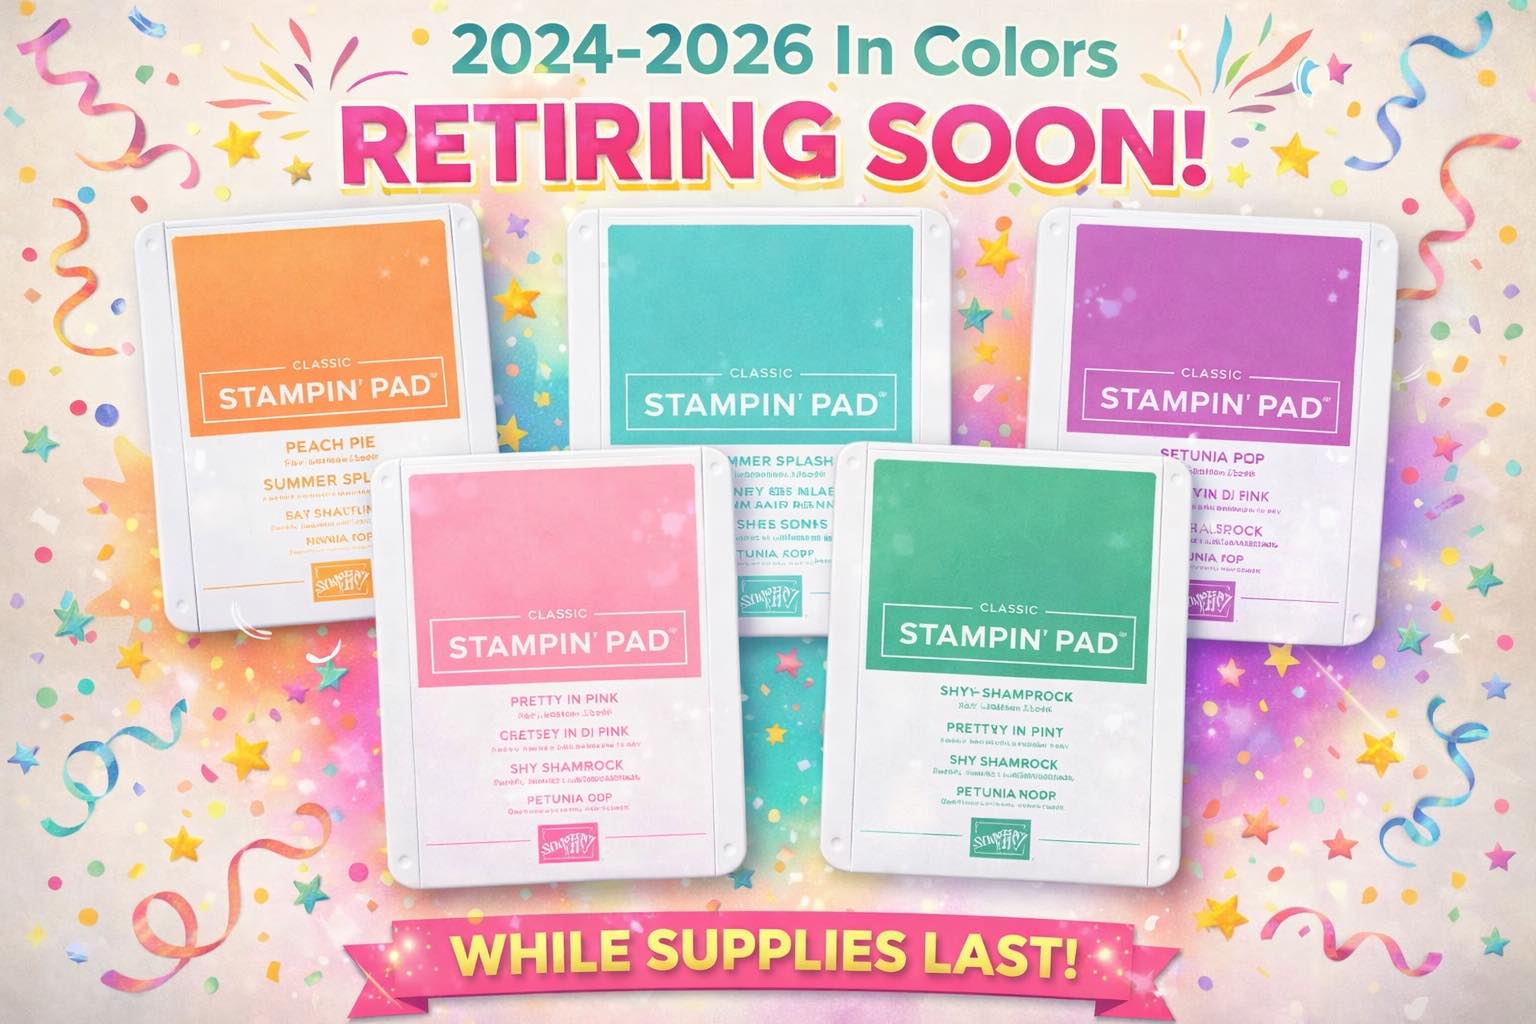
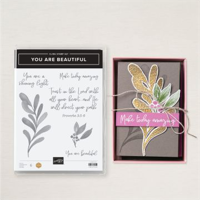
If you’ve had your eye on the Garden Poetry Designer Series Paper, now is the time to grab it! This beautiful paper has made its way onto the Last Chance List, which means once it sells out, it will be gone for good. Last Chance products can disappear quickly, and some favorites don’t last long.
So pour yourself a cup of coffee, watch the video below, and join me as we create these two charming projects together. I hope they inspire you to pull out your supplies and enjoy a little creative escape of your own!
Happy Stamping,
Linda
Shining the Light on Creativity ✨