
Hello Stampin’ Friends ~
Today I would like to share a card with you that used the same technique as I shared last week … the floating elements technique. Quite simple to do and you are going to love the results when using the Adventurous Journey stamp set.
The Adventurous Journey is one of those stamp sets that hit the retirement list. Found on page 85 of the Annual Catalog, you will see how fun this stamp set is.
Measurements:
- Card Base: Thick Basic White: 11” x 4 ¼”; score at 5 ½”
- Layer #1: Thick Basic White: at least 4 ¼” x 5 ½” ; die cut with Stitched Rectangle that measures 3 ¾” x 5 “
- Layer #2: Window sheet: at least 3 ½” x 3 ½” will be die cut with circle 3-inch die
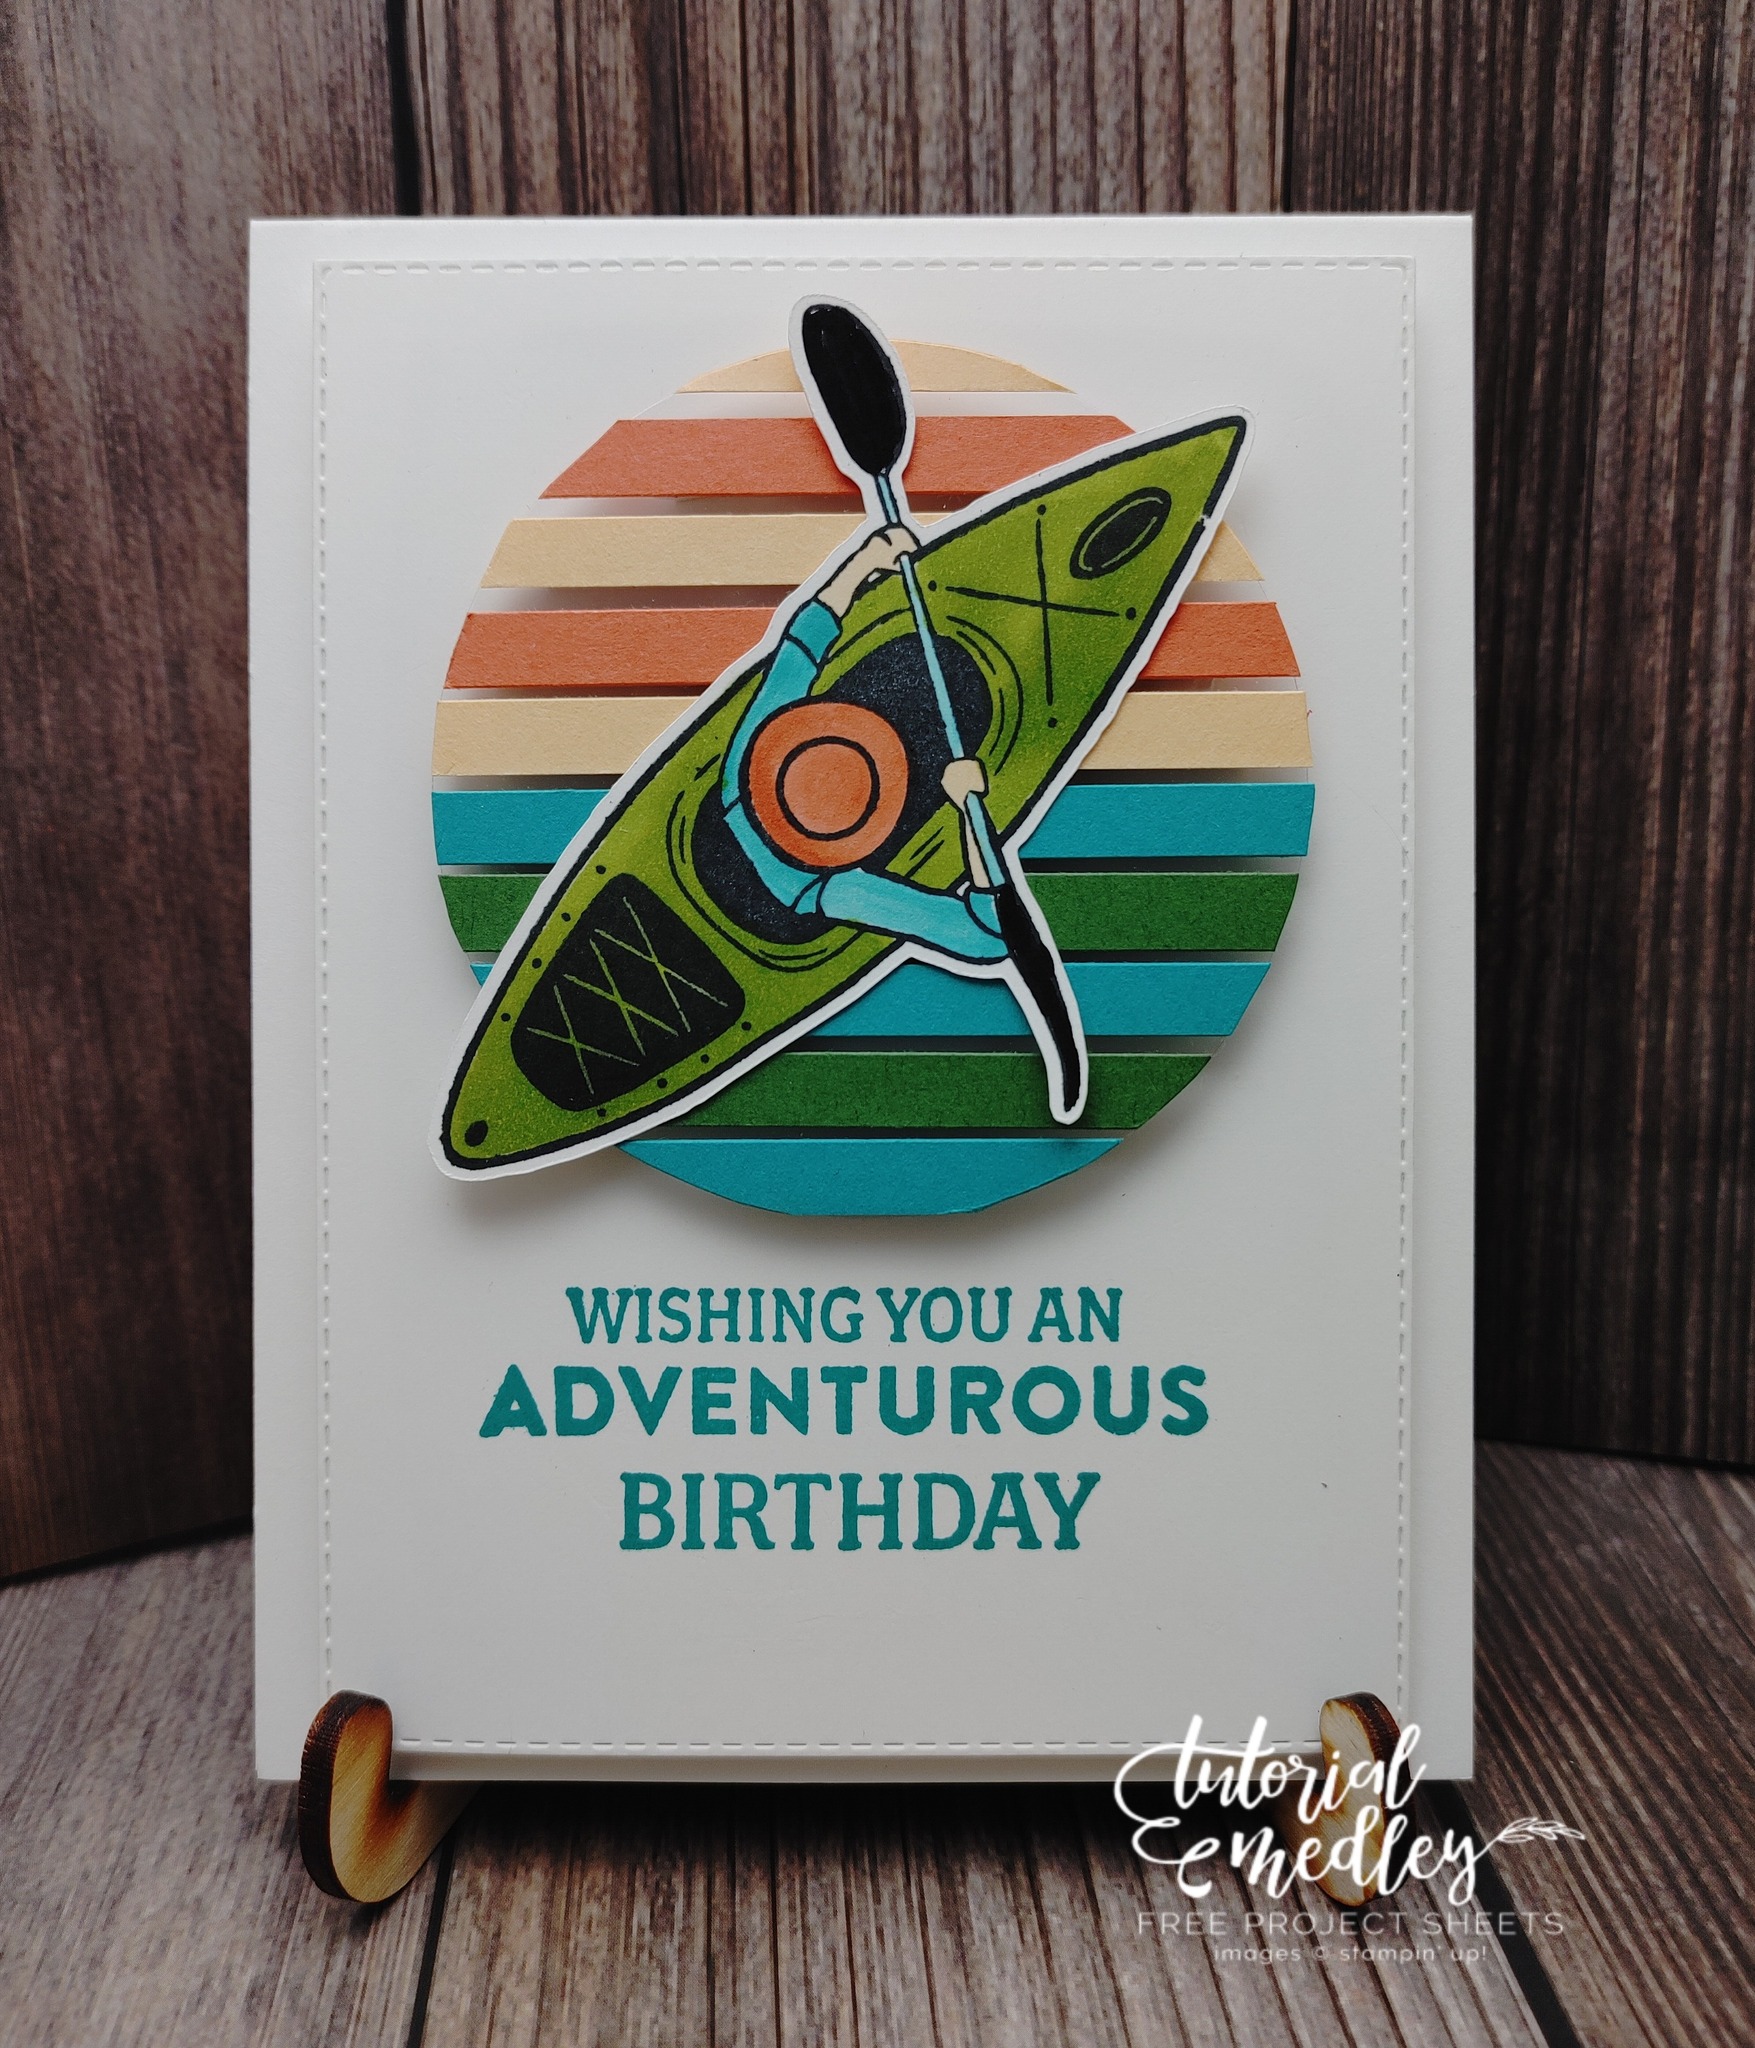
- Layer #3: Strips of Bermuda Bay, Calypso Coral, Garden Green and Pale Papaya cardstocks to be cut ¼” wide and at least 3 ½” long
- Layer #4: Kayak- Thick Basic White piece about 4” x 4”
Instructions:
- Cut and fold card base.
- Die cut Layer #1 with Stitched Rectangle die and Layer #2 Window sheet with 3-inch circle die.
- Stamp sentiment with Bermuda Bay ink on lower third of the stitched rectangle piece.
- Cut Layer #3 strips of the 4 different colored cardstocks as listed above. Attach strips to the window sheet circle with adhesive of your choice leaving small space between strips. If using liquid glue use scant amount so it does not smear on the window sheet. Arrange in order referring to photo. Using scissors trim edges of the strips the entire way around circle. The strips are arranged to simulate water on the bottom half and a sunset sky on top half.
- Add strips of foam adhesive strips directly behind each row of colored cardstock on the back of the window sheet circle being careful to not extend past the edge of the circle.
- Stamp kayak with Memento Tuxedo Black ink on Layer #4 cardstock and color with Stampin Blends and Basic Black marker referring to photo. Fussy cut out the kayak and attach to front the circle.
- Attach circle to front of stitched rectangle using the foam adhesive strips. The stitched rectangle is also popped up with foam adhesive strips then attached to card base. This can be attached flat to card front if want less dimension.
Hope you enjoyed this card as much as I did. I did not make this card but loved how it was constructed and it’s ease to make and color combinations.
Thank you so much for joining me today. Enjoy your Sunday.


