
Hello Stampin’ Friends ~
Join us on a creative journey as we make stunning Christmas Ornament Cards using simple materials and your leftover paper scraps. Gather your window sheets, leftover designer paper scraps, and a die-cutting machine. Ensure you have a variety of scrap papers in complementary colors and patterns, allowing for a mix-and-match design on your Christmas ornament cards.
Begin attaching strips of designer paper onto the window sheet. This is a fantastic opportunity to use up those beautiful but leftover paper pieces from previous projects. Once you’re satisfied with your paper arrangement, run the window sheet through the die-cutting machine, I used the largest circle in the stylish shapes dies. While your machine is out … add some texture to your card by embossing the card front, just be sure you stamp your greeting first, then emboss.

Now that you have your beautifully crafted ornament, it’s time to attach it to the front of your card. Use your favorite adhesive to secure the ornament, ensuring it stands out as the focal point. The transparent window sheet adds a touch of elegance, giving the illusion that the ornament is floating on the card.
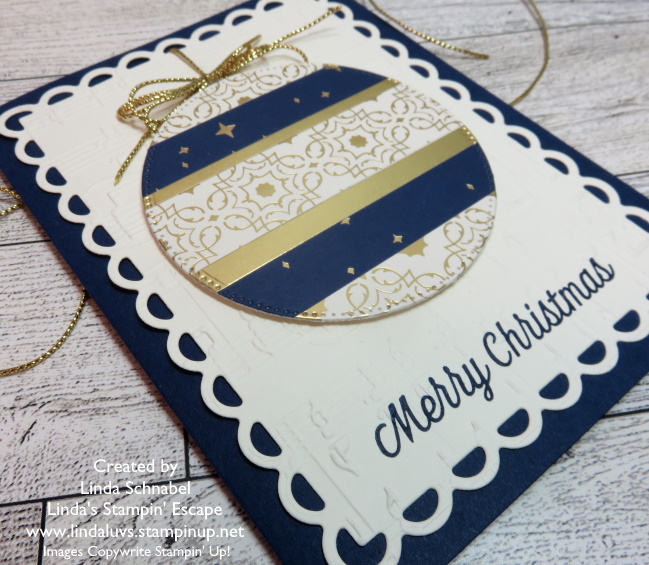
To enhance the festive vibe, add a ribbon or twine bow to the top of the ornament… I used the metallic twine to coordinate with my designer paper. This small embellishment can add texture and dimension to your Christmas card. Don’t be afraid to get creative!

Creating Christmas Ornament Cards from scraps not only allows you to repurpose materials but also results in unique, handmade cards that will surely stand out during the holiday season. Don’t you just love spreading joy while showcasing your creativity, and your friends and family love when you hand craft their cards!
Thanks so much for joining me today … Remember, you can use this technique on any die cut shape you want.


Such a good idea. And boy do I have scraps! 😁