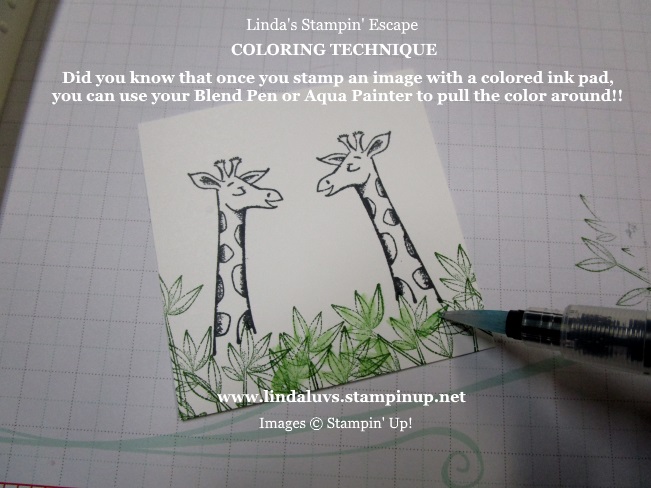
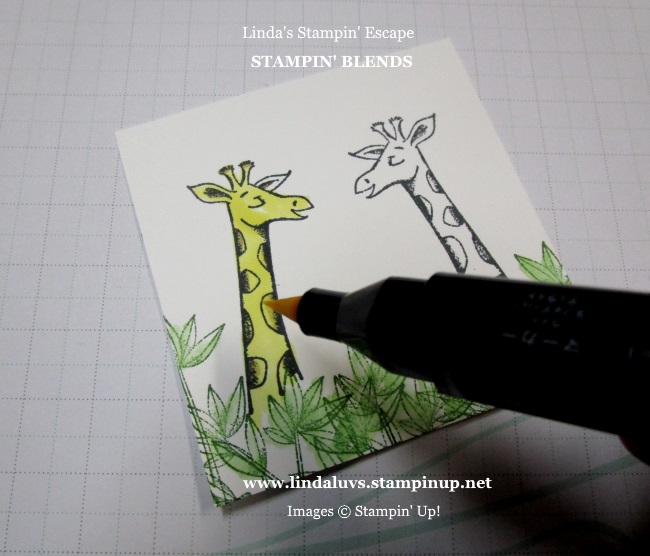
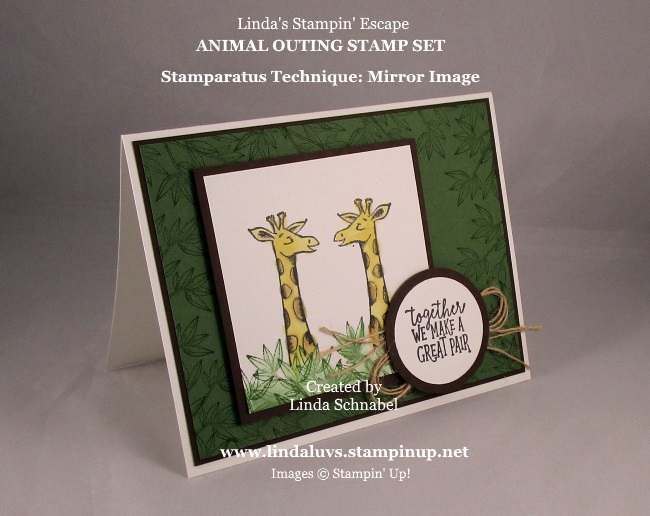
Hello Stampin’ Friends ~
I’ve got two great announcements for you today and a few more card samples!! First, lets start with an addition of new products coming out in a few days to celebrate our Sale-a-bration. The NEW items will be available February 15th!!
Sale-A-Bration Second Release …

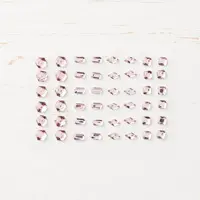
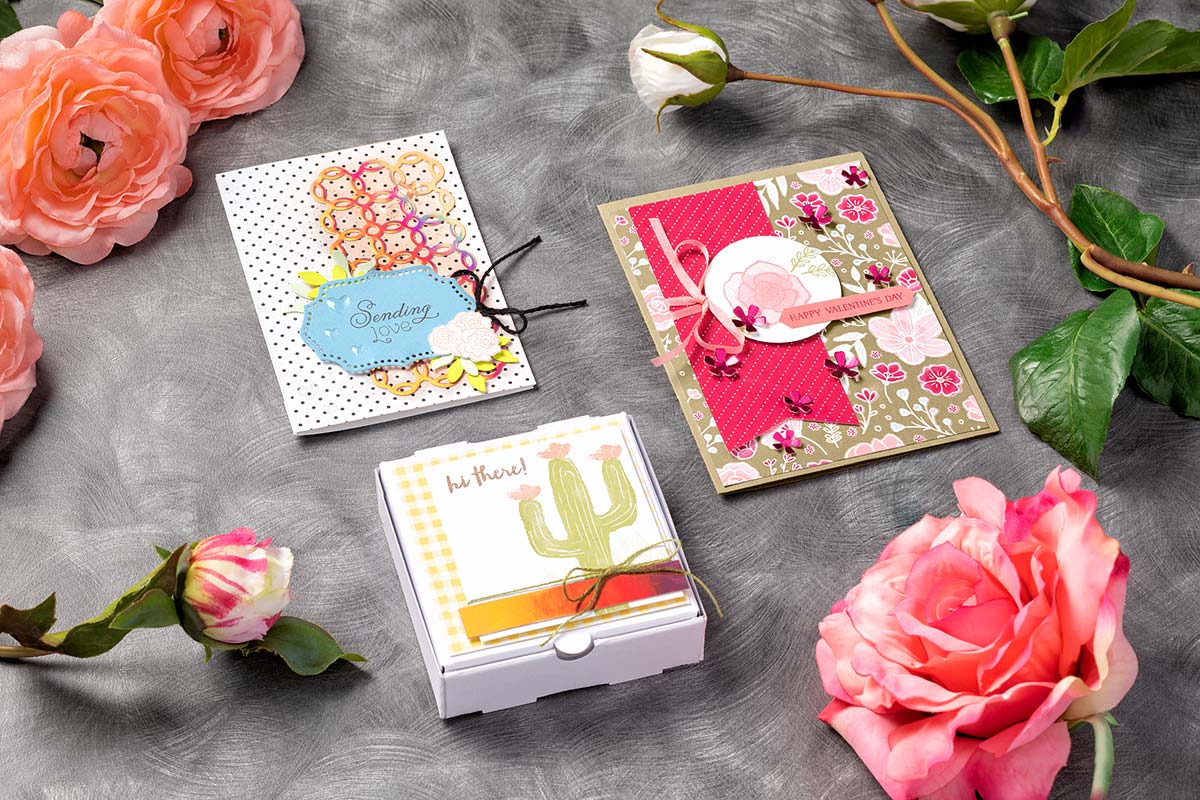
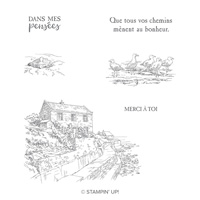
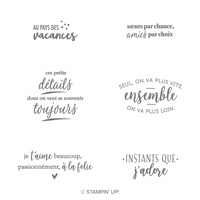
So lets take a look at these goodies … there is a peek in the photo above!

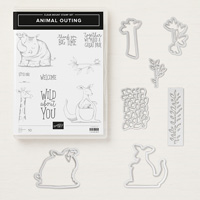
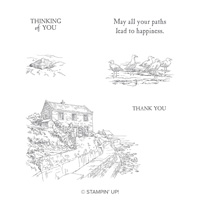
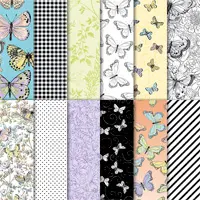
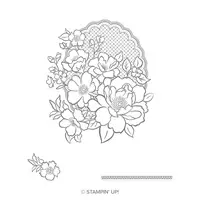
These cute cards were created with the NEW Painted Seasons Bundle. This bundle can be yours with a $100 purchase and includes not only the 7 piece stamp set but the Designer Series Paper which showcases hand-painted imagery for each of the seasons. 12″ x 12″. Acid free, lignin free, with 12 sheets: 3 each of 4 double-sided designs. Perfect for you stampers who keep going all year long!
Our second announcement is NEW to Sale-a-bration!! Our favorite party just got better …

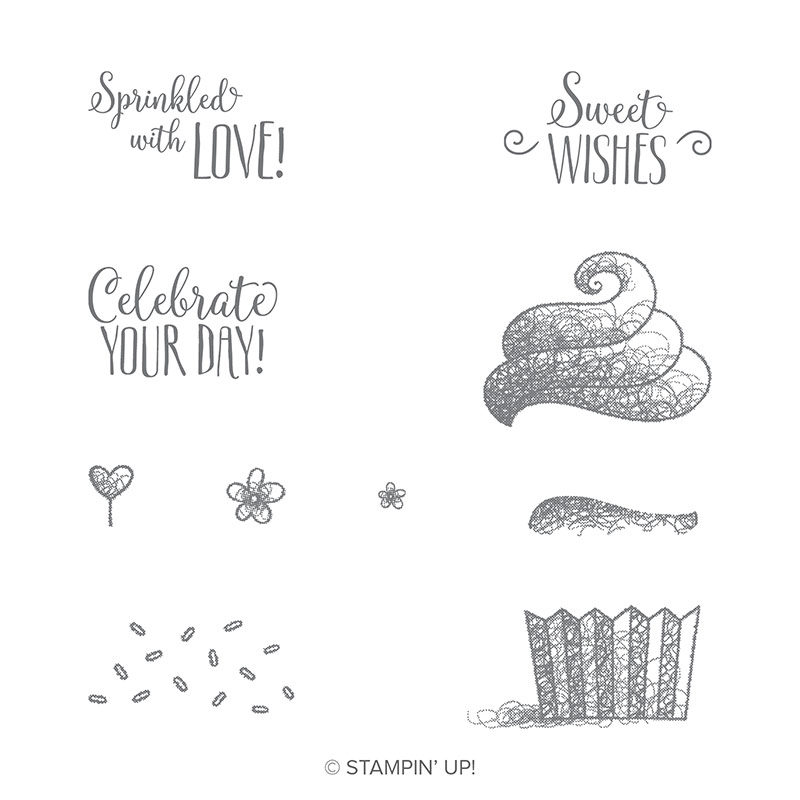
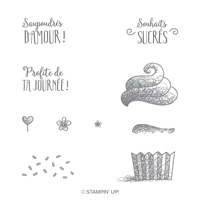
Stampin’ Up! has announced a Sale-A-Bration Coordination … these are exclusive products that coordinate with our current Sale-A-Bration items. These are going to rock your world. If you looked closely at my cards yesterday, you would have seen the dies that coordinate with the Hello Cupcake Stamp set, and there is more …

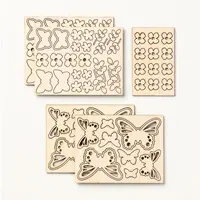
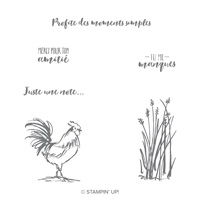
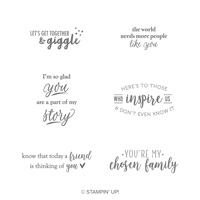
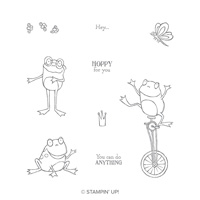
They have created coordinating dies to pair with the Lasting Lilly and Oh So Happy Stamp sets. Not only that … they have introduced a new stamp set “More than Words” that will coordinate with all the stamp sets. It’s a great set to add to your stamp collection.
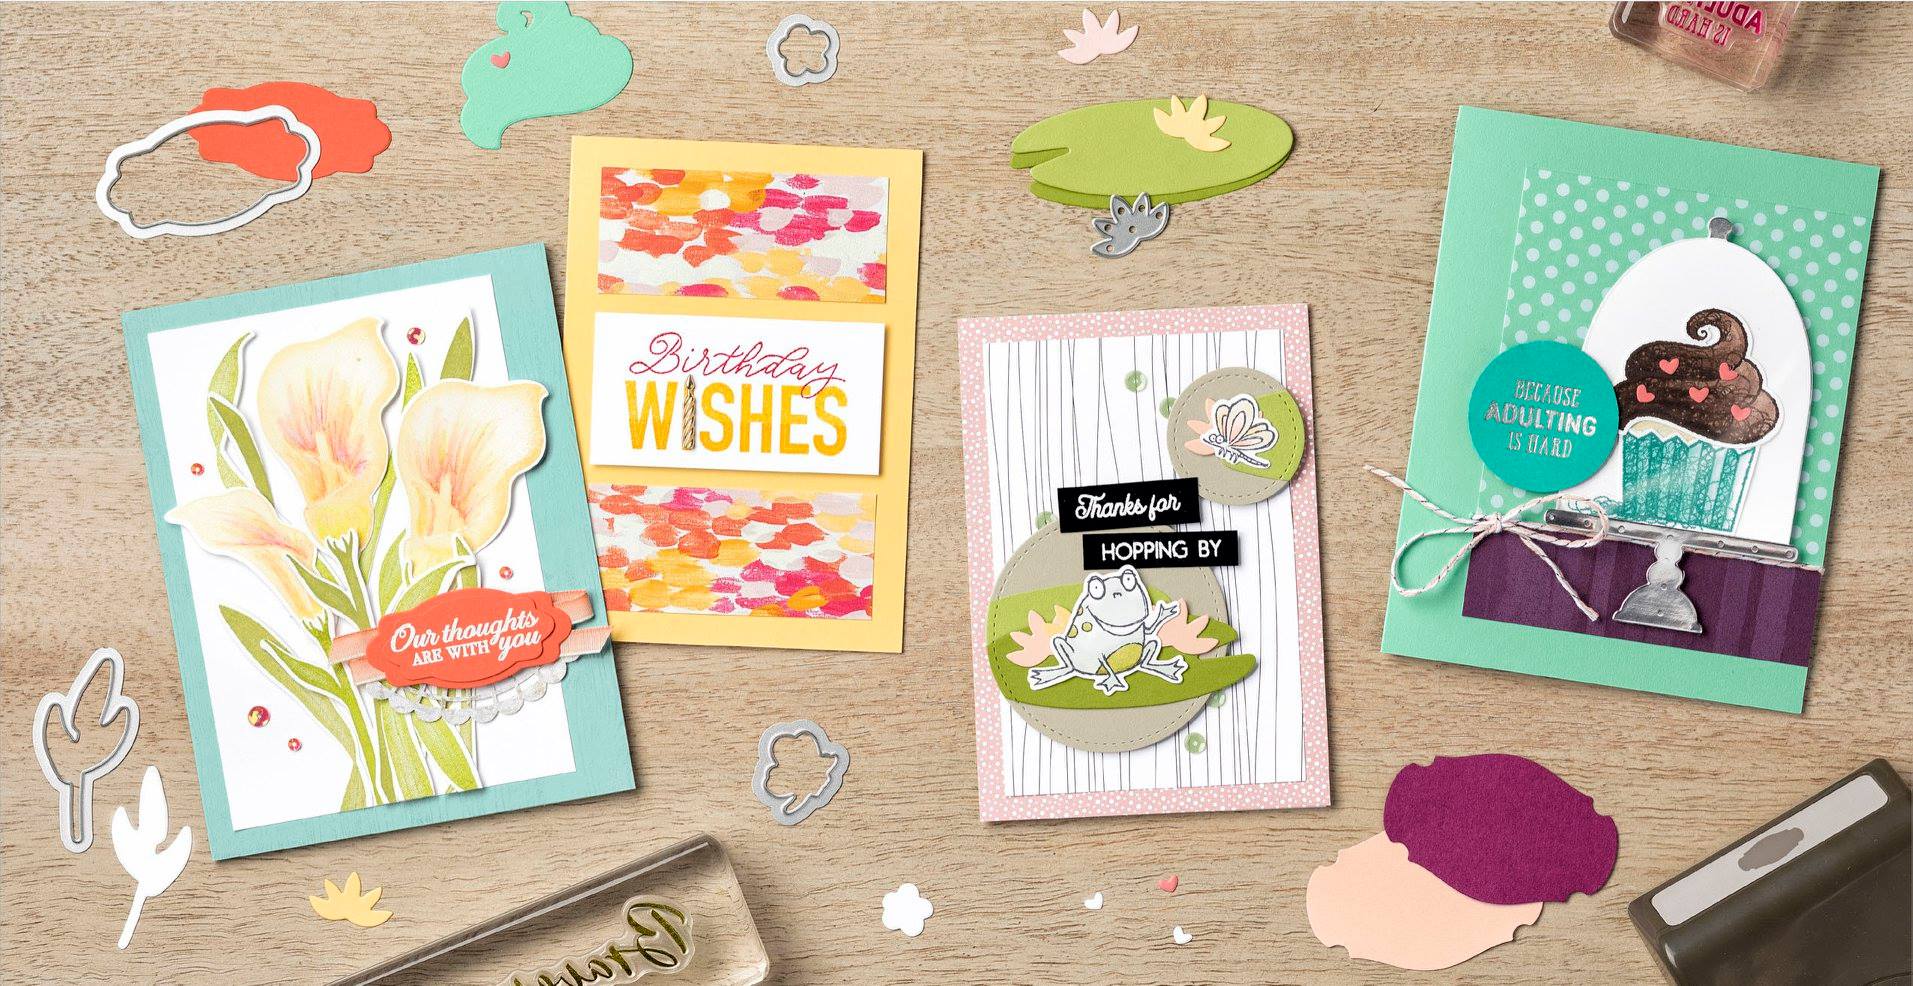
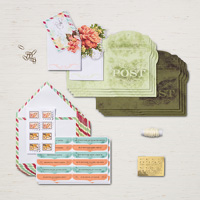
Here are the items from Sale-A-Bration Coordination that will be available to purchase on March 1st, 2019.

So … What do you think? Awesome Right. I love the introduction of not only new Sale-A-Bration items but the Sale-A-Bration Coordination where you can purchase the die cuts to your favorite stamp sets. I will be sharing more samples from the addition to our Sale-a-bration catalog!
Want to know something really cool? When you purchase the coordinating products, you are qualifying for more FREE Sale-A-Bration items. Woo Hoo! Let me know if you have any questions about the products I’ve shown you today, or if you would like to schedule a stampin’ party.
Thanks for stopping by today ~
Have a wonderful Wednesday!