New Photopolymer Stamps and Scrapbooking Share …

Hello Stampin’ Friends,

Just released …

b1_demoheader_photopolymer_Oct1513_NA

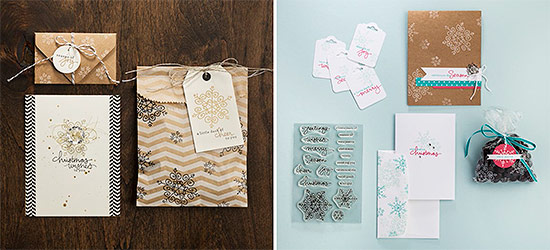
Like it or not, Christmas is just around the corner (hopefully you’re in the “like it” camp). Either way, you’ll want our brand-new Endless Wishes Photopolymer Stamp Set so you’re prepped with festive greetings for all the little gifts, tags, and holiday projects you’ll make this season!

Personally, I love snowflakes (as long as they don’t pile up on my driveway) … they are so easy to create cards and scrapbook pages with them.  And if you live in Wisconsin like I do, you can use them for almost 6 months out of the year!  Besides, the greetings are simply irresistible!  So whether you need tags, cards or scrapbook pages … this stamp set will have you covered!

Stampin’ Up! has several stamp sets in the Photopolymer … check it out here! (Click on link)

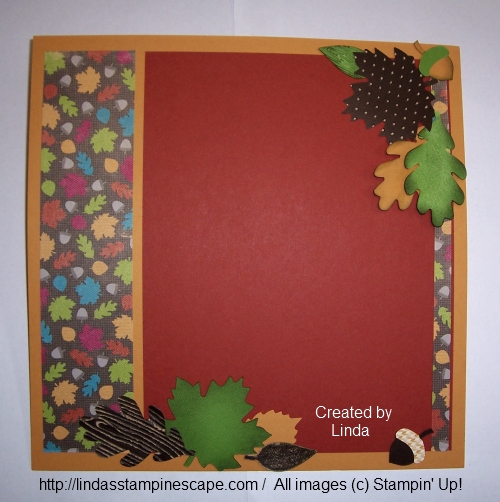
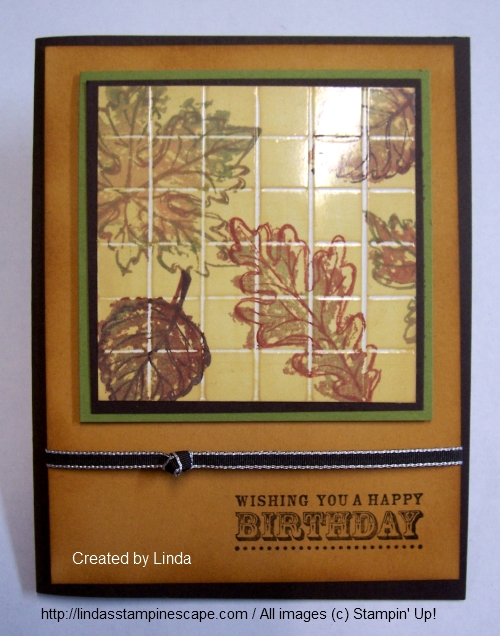
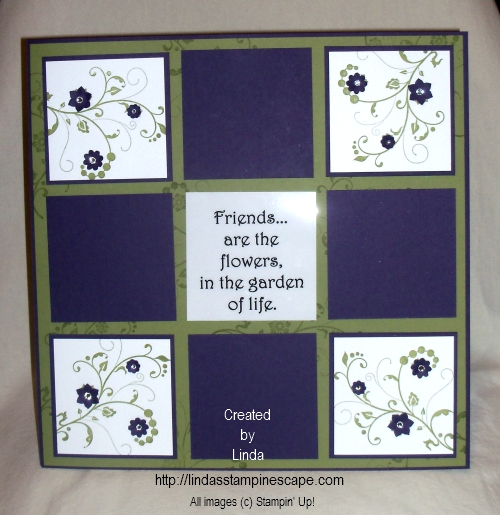
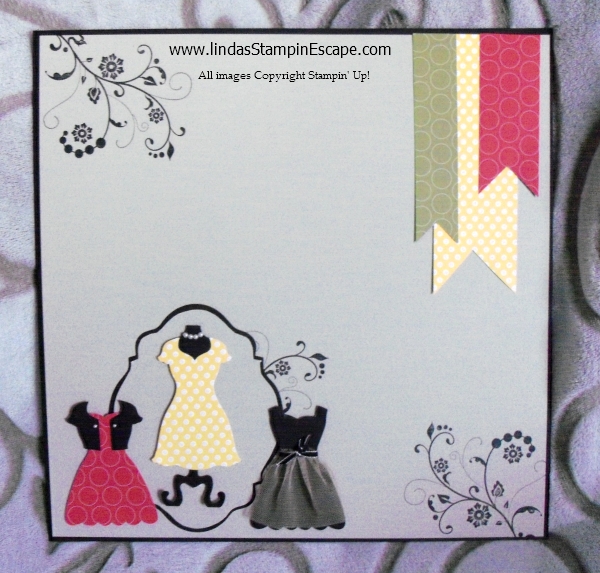
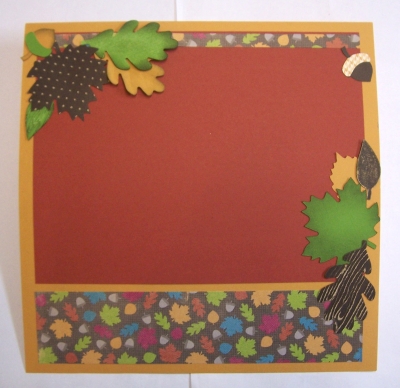
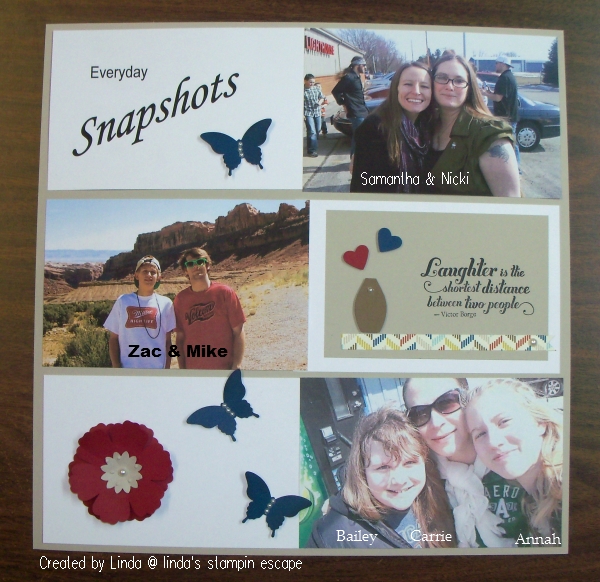
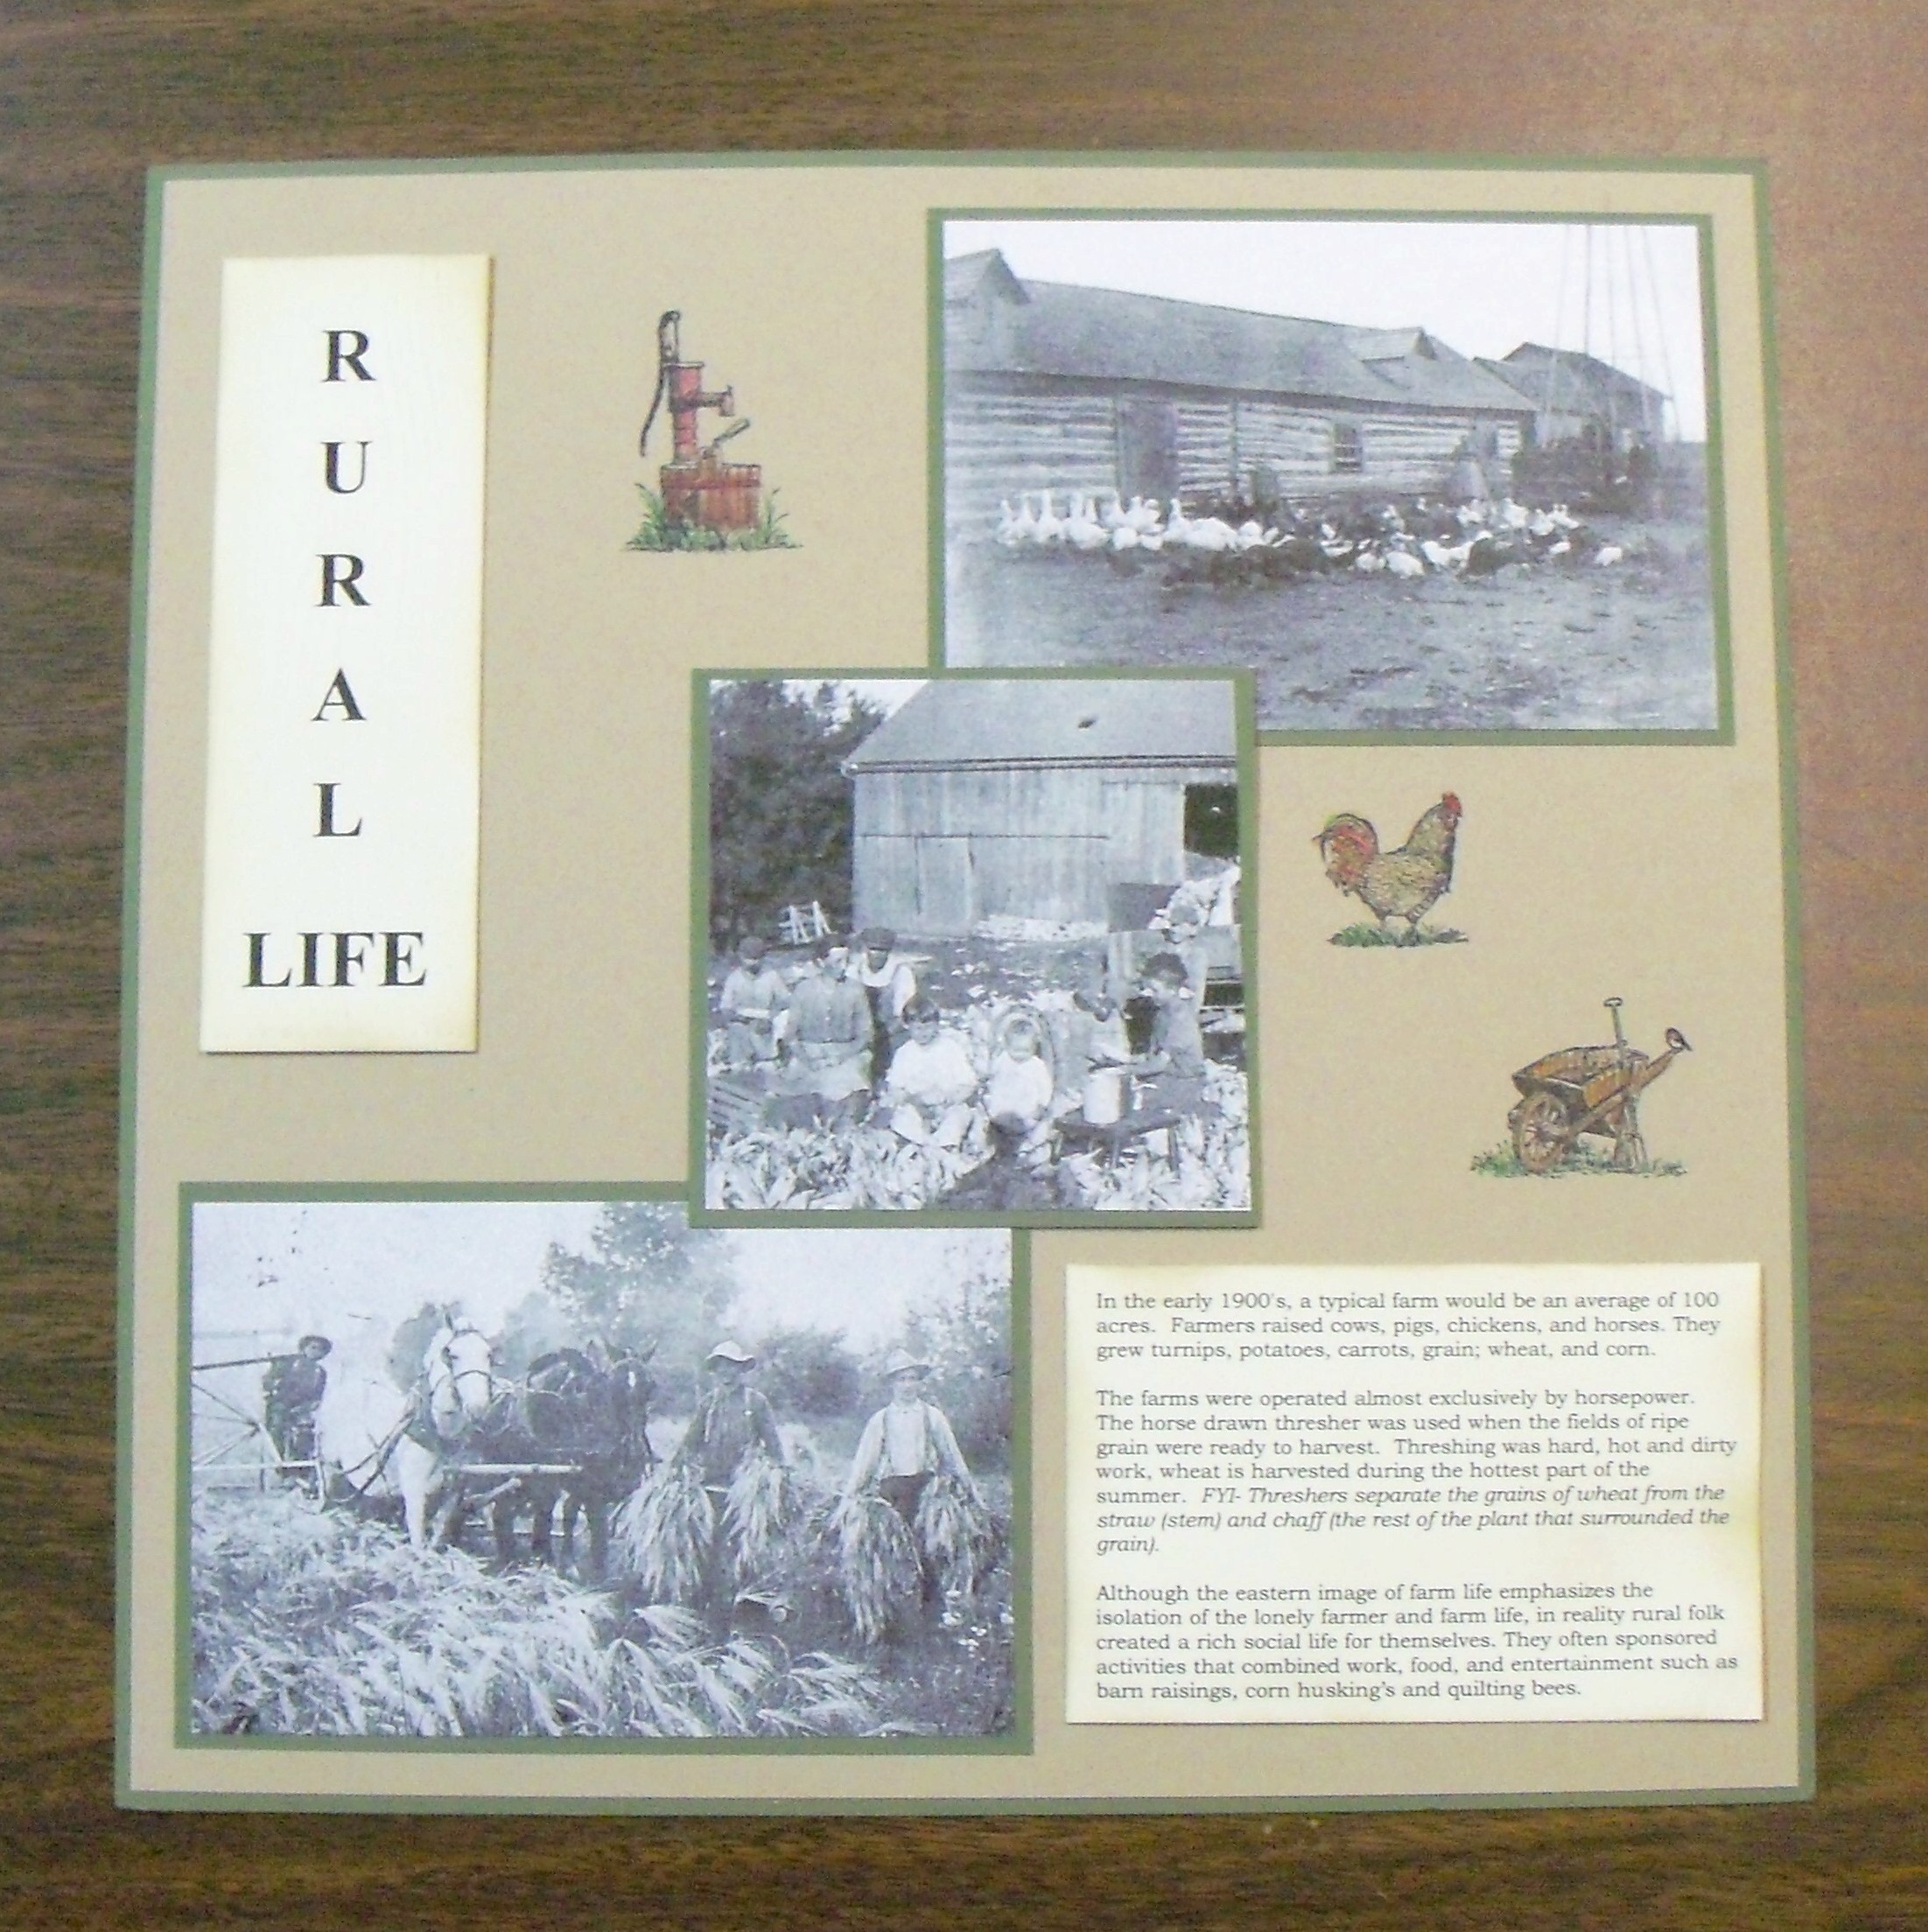
My project share today are 3 scrapbook pages I did as a class at our local Historical Society.

000_1356

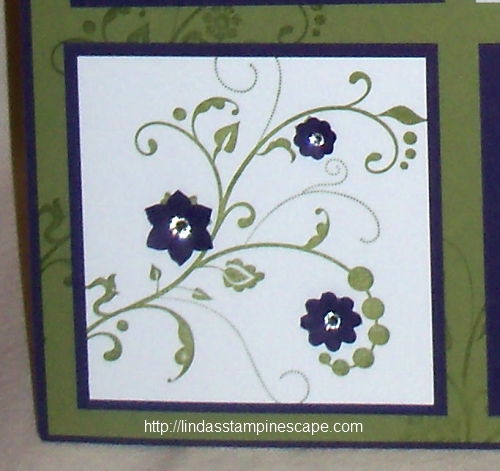
You could easily substitute the new “Endless Wishes” photopolymer stamp set snowflakes for the ones I used on my “Winter in Washington County” page.  I used 3 different shades of blue to create some depth in the stamping.  The technique you see is the “Triple stamp” technique.  See More Here

I love using stamps in my scrapbooking … it gives you so much versatility and depth.  Any of our stamps work great, but the clear photopolymer stamps seem to be just the right fit for scrapbooking.  You could also turn this wintery scrapbook page / technique into a beautiful card.

The pages you see here are quite simple, but my focus when teaching has always been to highlight the photos, along with your journaling … they should really tell the story.  Your stamping and embellishments should compliment your photos, not hide them.

Hope you enjoyed today’s share.

Thanks for dropping by.

blog closing-small

TWO 4 TUESDAY: Scrapbook page & Fun Technique!

Hello Stampin’ Friends,

I missed you yesterday.  I was off catching up with friends, preparing for my upcoming Holiday Retreat, and just life in general.

So, today I will share 2 projects!  First is a Fall Scrapbook page, and the second is a fun technique that I shared with my clubs last year.

My fall page is all about the beautiful colors of fall.

100_5941

The leaves were created with the “Autumn Accents” Bigz die (127812) found on page 192 of our annual catalog.  This die makes collecting leaves quick and easy.  You will also see the “textures” on some of the leaves … a little roll through the BigShot with the “Perfect Polka Dots” embossing folder and the Core’dinations (129956 / pg.157) sandable cardstock – Neutrals collection.  Yep, a little sanding highlights the texture by exposing the core color which is lighter than the outer layers.  Simple to make … just add your pictures and some journaling and you have another page done!

My second project is a cute fall card using the “Faux Tile” Technique:

100_5947

I did create this card last year.  If you have not noticed, we have discontinued the glossy cardstock – which I used here.  If you don’t have any left in your stash … go to any office supply store and purchase the glossy photo cardstock, it works the same.

You will need the “Simply Score” Scoring Tool (122334 / pg.178) for this technique.  By using the  glossy cardstock, you eliminate a couple of steps from the original “Faux Tile” technique.  Cut your cardstock to the desired size for your card.  Place onto “Simply Score” tool and score every 1/2 inch.  Turn carstock 45 degrees (on it’s side) and score every 1/2″ creating a tile pattern.  Now, just simply stamp your images onto the card.  I used the “Gently Falling” (pg.65) stamp set.  My final step was to brayer over the entire piece … careful not to push too hard, you want your “grout” lines to show.

If you don’t have access to the glossy … you can use our Whisper White, score, and stamp, the next step would be to lightly tap your VersaMark pad onto the tiled area (Not too hard … you don’t want VersaMark in the creases).  Then emboss with clear embossing powder.  This will give you a that real tile / grout look!  Just takes a bit longer than the “simple version” described above, but stands out a bit more.

I’d love to hear what you think about this technique.

Thanks for stopping by … I will be back tomorrow with another fun project.

blog closing-small

Friends are the flowers …

Hello Stampin’ Friends,

Today I wanted to share a scrapbook page with you.  It is one that I did with my Scrapbook Club last year.

September kicks off my 2013-14 club sessions, and it’s so great to see all my stampin’ friends again!  We may start out as strangers at the beginning of the year, but by the end … we have made new friends.  Oh yes, and we have learned some fabulous stampin’ techniques too!

My color pallet for this page was inspired by nature.  Next time you go to the Farmers Market or grocery store, take a close look at the colors … this page was inspired by an eggplant.  I used Elegant Eggplant and Old Olive … and think they look beautiful together.

000_0202

The beautiful stamp used comes from the “Flowering Flourishes” stamp set found on page 118 of our Idea Book & Catalog.  I began with stamping Old Olive ink onto the Old Olive Cardstock … color on color produces a rich and beautiful image.  If you prefer a more subtle image… you can use your VersaMark® pad instead.

I then stamped my image, using the Old Olive onto the white cardstock to really make the image POP!  To highlight the flowers on the stamp, I punched out flowers the “Boho Blossoms” punch.  The Boho Blossom punch can be found on page 183 in the Idea Book & Catalog.

000_0202-B

To add some fun dimension to my flowers … I hold them in the palm of my hand and the push the tip of a pen into the center.  It curls up the petals and leaves a perfect mark for me to place my rhinestone.

Using the rhinestones ( pg.171 / 119246) finishes off the page so perfectly.  This page could be used for “friends”, for a wedding page, your grandmother or mother …. for almost any occasion, and how beautiful.

000_0202

I just used my computer and “Word” to create the verse on the page … each of the white squares are 3 x 3, except for the center and the Elegant Eggplant mat which measures 3-1/4 x 3-1/4.

Don’t forget, you can take this scrapbook page and turn it into a card.  Inspiration for our cards, scrapbook pages and for our color pallets can come from anywhere…. just stop and take a look around you.

Thanks so much for stopping by my blog today!

blog closing-small

Dress Up Day …

Hello Stampers ~

It’s that time of year … prom, graduations, weddings and more!  So, I have the perfect scrapbook page for the girlie side.

I created this page for my “Stamp-n-Scrap” club.  Once I got my hands on the “Dress Up” framelit dies (130101) I fell in love with them… like a little girl with her first Barbie!  It’s dress up day!

102_0966

The “Polka Dot Parade” (126902) Designer Series Paper made it easy for dress up, as did the beautiful pearls (119247) used to “accessorize”.  I borrowed the tulle as an item of the last Holiday Catalog for the little black dress.  The used the “Apothecary Accents” framelit (127003) die to create an illusion of a mirror.  My base colors used are Basic Black and Sahara Sand.

102_0965

To draw your eye around the page, I stamped the beautiful images from the “Flowering Flourishes” stamp set: (C – 126367 / W – 131998).  I think it suits this page so nice… Perfect for a Sweet 16 page!  What do you think?

To balance out the page, the banners were added using the “Polka Dot Parade” Designer Series Paper.  The page is now ready for your pictures.  Choose your layout … and don’t forget to journal.

Here’s a tip:  If this is your daughters Sweet 16 or prom page, let them write down their thoughts for the special event.  Then in years to come those thoughts will trigger the precious memories of that day!

Enjoy your day!

blog closing-small

New Digital Downloads …

Hello Stampers ~

Each Tuesday morning Stampin’ Up! releases new digital downloads for “My Digital Studio”.  If you don’t have it, sign up for 30 days for FREE and try it out.

CM554T

Today I’m going to share 2 of the 4 downloads that were introduced!  First, oh my gosh … I just love the Venetian Designer paper!  Truth is … when you purchase the download, you never run out of it, and you’ll have it forever!  Here it is!

Venetian Romance Designer Series Paper – Digital Download    134735134735L

Download includes:
* 12 Designer Series Papers

Features:
* Digital version of the traditional Designer Series Paper
* European-inspired color scheme
* Coordinates with the Venetian Romance traditional product suite

Colors:
Crisp Cantaloupe, Island Indigo, Pistachip Pudding, Soft Suede, Tangerine Tango, Very Vanilla

********************

The second is a totally fun kit that will work great for your scrapbook, cards or cute summer projects.

Summer Possibilities Kit – Digital Download                   134705

134705Lblog closing-small

Summer’s Coming…

Hello Stampers ~

Today I wanted to share a fun scrapbook page I did a while back, but he is so cute I had to share!

crabscrapbookpage

Such a quick and easy page to do.  You will need the Extra Large (119859) Oval Punch, the Large (119855) Oval Punch, and the Owl Builder (118074) Punch …. I used that for his eyes.  You will also need the 1″ Square (124094) Punch to create his legs and punch the ovals to make his claws!  I used circle and star punches to create the sun.

Although the alphabet used to create my title is no longer available… I suggest the “Notable Alphabet” – it’s fun and would look great on this page.

132047S

The waves are created using your favorite blue tones: I suggest Tempting Turquoise, Pacific Point, and Bermuda Bay!  Even sounds like the ocean!  The background (sky) is the tempting turquoise and the sand … Crumb Cake that was sponged to make it look more like sand.

Tear and layer the remaining blue tones and sponge the edges with Whisper White Craft Ink to create the illusion of waves.  I also gently sponged the clouds with the White Craft Ink.

blog insert - shop now

I hope you enjoyed today’s post …

Let me know what you would like to see!

blog closing-small

My Digital Studio … 25% Savings

Hello Stampers!

I know most of you love the feel of a wood or clear block in your hand when your stamping, but for those of you who are fascinated with the digital age … here’s good news!

B1_MDSsale_demo_May0113_NA

First, if you’re not already familiar with My Digital Studio (Creating Cards, Scrapbooks, Calendars and more) on your computer … You can get a FREE Download to TRY IT!  Click on the 30 day Free Trial and sign up to get yours.

CM554T

Are you always on the go, find you don’t have the time or energy to drag out your supplies?  You can rescue those pictures “still” in your camera! MDS is simple … download them onto your computer and right onto a layout (or create your own)!  Don’t you think it’s time you let the kids out! (tee hee)  Here is a little video if you would like to learn a little more!

For those of you who have create projects already, it’s time to print … and you can save on your printing through June 15th!  CLICK HERE FOR PRICE LIST

I’m really excited about this promotion … I’m hoping to finish my book quick, so I too can get the 25% off on my printing.   Let me know what you have created with the My Digital Studio!

blog closing-small

Is it Autumn again?

Hello Stampers ~

Well… if you live here in Wisconsin you might be a little confused on the weather!  Even the forecasters have reported “fall like” conditions!

So it seems fitting that I share one of my favorite scrapbook pages.  A simple page that you could use any number of pictures on, whether it be one in the center or three arranged around the page.

100_5944

I used the “Core’dinations” paper and the “Autumn Accents” Bigz die to create the leaf bouquets.  I am so happy that the core’dinations paper is now in the catalog… and in so many colors!

100_5942

You can stamp on the Core’dinations paper, sand it, and run it through the Bigshot like I did on the Maple leaf.  It is so much fun to use!

Feel free to leave a comment and let me know what you think of this page or the Core’dinations paper.

blog closing-small

Everyday Snapshots …

Hello Stampers and Scrappers ~

Just a quick post today to share a page that I did with my Stamp-n-Scrap club.  We meet once a month and create one 12 x 12 page and a card!  The focus is generally on techniques and / or layouts.

I have to give a nod out to “Mary Fish” who’s design I cased (right center) to create this page!  Thank you Mary.

5-29-13 web

I love to create layouts that can be used over and over again… but with the addition of the photos (most important part) and some embellishments, they never look the same.


101_1211   butterfly

Punches are a great tool when embellishing your scrapbook page or a card.  Then top it off with a pearl or rhinestone!

Hope you enjoyed today’s quick post.  Let me know what you think.

Happy Stampin’

Linda

Rural Life Scrapbook Page

Hello everyone ~

Todays post is a scrapbook page that I did at my local Historical Society. We had a wonderful time, and I had my first gentleman scapper in a class! That means I made “history” too! lol

When working with historical photos or any photos for that matter, photos should always be the focal point (not the accessories)!

The page was created to “highlight” the photos … when working with historical photos or any photos for that matter, that you want to stand out on your page. Photos should always be the focal point (not the accessories!)

I did research to add to my page (journaling) which will brings the photos to life!  Journaling gives your page a “story” and helps future generations understand photos you are sharing.

Even though I kept the page very simple (as life was back in the early 1900’s) I added subtle techniques to help “age” and create a warm feel for the page.