Hello Stampin’ Friends ~
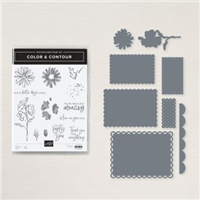
Today I have a card to share that comes direct from our Stampin’ Up! offices. The featured bundle is Color & Contour and the card highlights some fun Colors; Pale Papaya and Fresh Freesia.
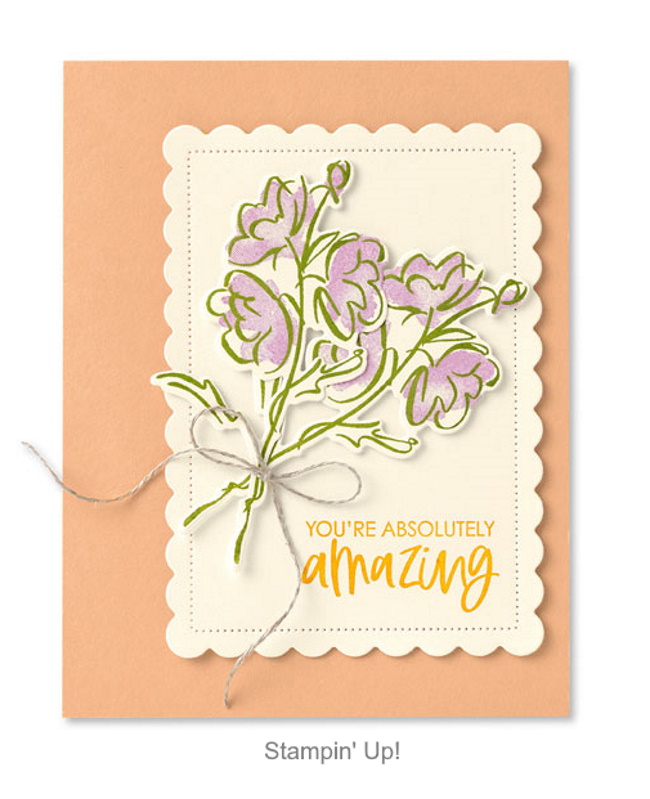
ABSOLUTELY AMAZING CARD
1. Cut a piece of Pale Papaya Cardstock to 5-1/2″ x 8-1/2″ and score at 4-1/4″ (10.8 cm). This is your card base.
2. With the Stampin’ Cut & Emboss Machine, use the Scalloped Contours Dies to die cut a scalloped rectangle shape (4-1/2″ x 3-1/4″; 11.4 x 8.3 cm) out of Very Vanilla Cardstock (5″ x 4″; 12.7 x 10.2 cm).
3. On the lower right-hand corner of the Very Vanilla die-cut piece, stamp the “You’re absolutely amazing” sentiment from the Color & Contour Stamp Set using the Mango Melody Classic Stampin’ Pad®.
4. On a 4″ (10.2 cm) square of Very Vanilla Cardstock, stamp the open-line floral and stem image in two places using the Granny Apple Green Classic Stampin’ Pad. Then, stamp the coordinating Two-Step filler image in Fresh Freesia over both open-line images.
5. Run the coordinating floral and stem die from the Scalloped Contours Dies through the Stampin’ Cut & Emboss Machine to cut both floral and stem images.
6. Cut a 9″ (22.9 cm) piece of Linen Thread. Combine the die-cut floral pieces to create a bouquet, wrap the thread around the stems, then tie a bow.
7. Adhere the bouquet to the scalloped rectangle piece using Mini Stampin’ Dimensionals®. Then, adhere the scalloped rectangle piece to the card base using Mini Stampin’ Dimensionals.
I hope you enjoyed today’s card and inspires you to try this layout … thank you for stopping by. Have a wonderful day!