Hello Stampin’ Friends ~
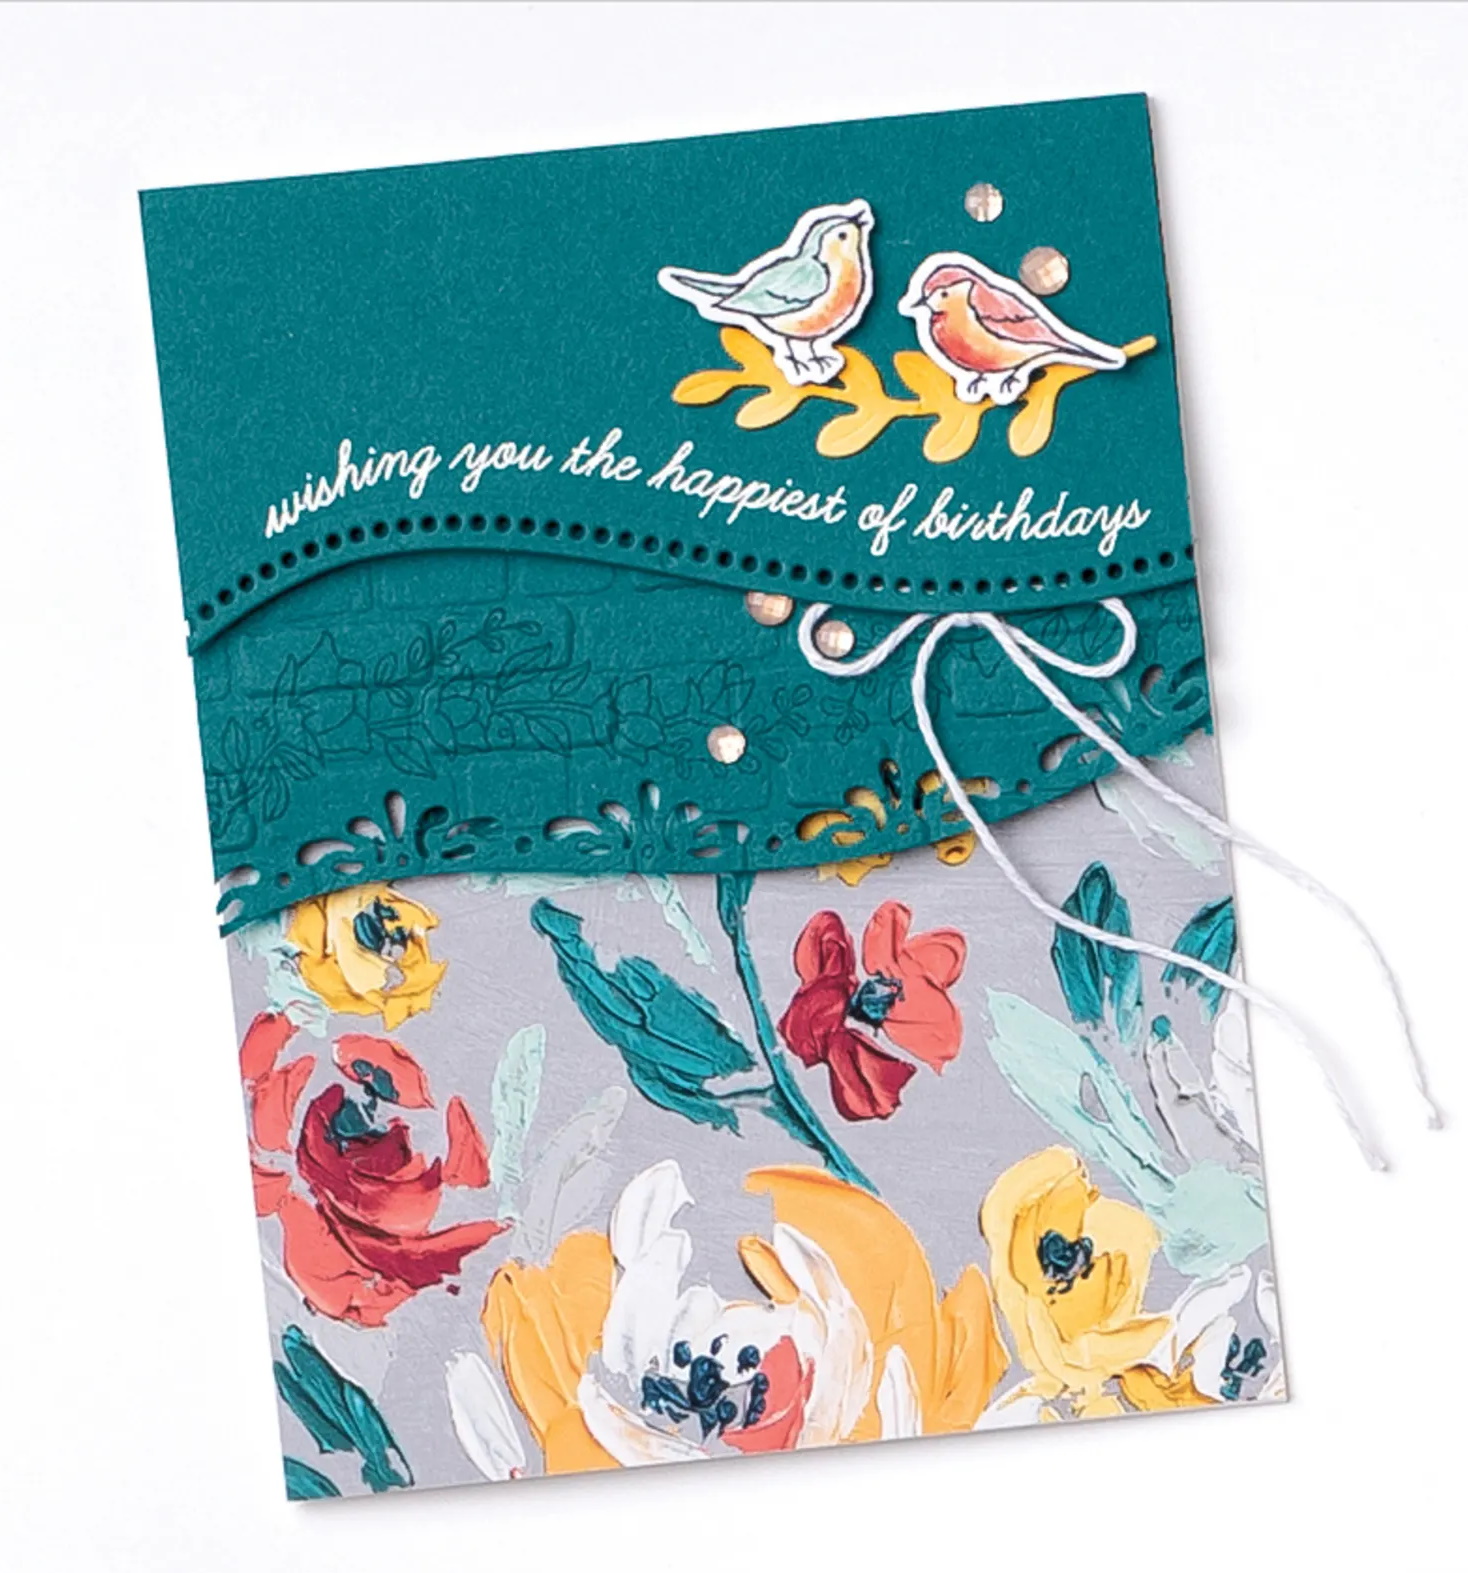
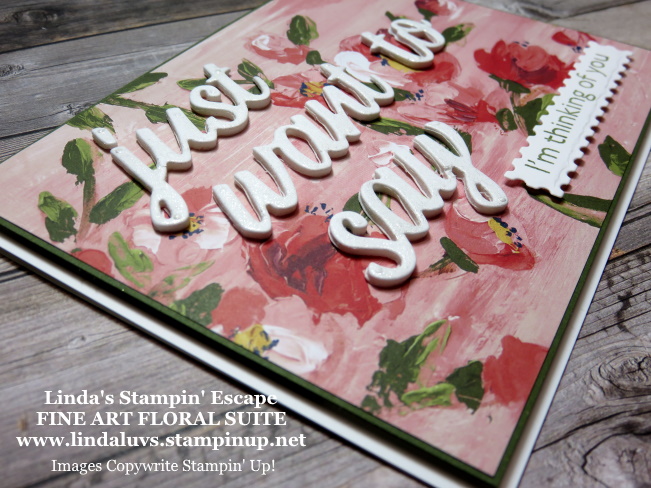
I have a pretty card to share with you today… another retiring casualty! I found the layout on Pinterest and it reminded me of a picture, framed and hanging on the wall.
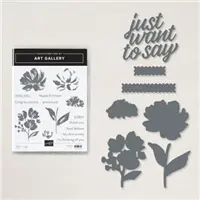
What better designer paper than the FINE ART FLORAL Designer Paper with it’s “actual” painting design ….

The brush strokes come alive in this pattern. I matted the designer paper with Night of Navy to pull out the color from the paper. The larger piece is Mossy Meadow and acts as a frame which creates the picture affect. I chose Basic White as my card base which pulls out the white in the paper and really makes the designer paper POP!!
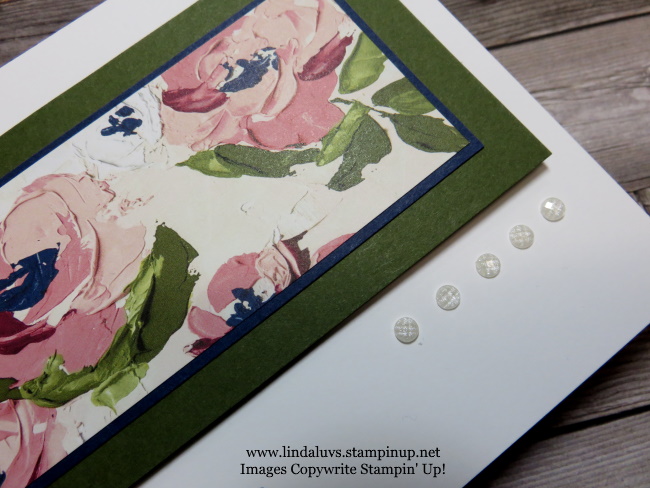
This picture really allows you to see the brush strokes in the designer paper… it gives you the appearance of texture. I added some texture to the card by adding the Elegant Faceted Gems, it also brought out the white in the designer paper.
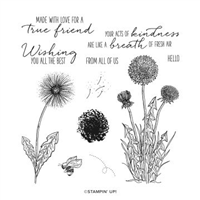
The greeting was stamped in Night of Navy to give a nice flow of color, the sentiment is from the Garden Wishes Stamp Set and it completes my card.
If you like this card … grab up your goodies before they are gone. I have the links below for you. The Fine Art Floral Designer Paper is gone, but this layout works beautifully with any of our amazing designer papers.
Enjoy your day, and thank you for taking time out to stop by today.

TODAY’S STAMPIN’ SUPPLY LIST … If you liked the products used in today’s projects, I have links for you below. Just click on the item you would like more information on, or to begin your shopping. It will take you directly to my website. Thank you ♥