Snowflakes in July

Hello Stampin’ Friends ~

Hope you enjoyed the beautiful day yesterday! I picked up my sister Eileen and escaped for a little day trip to Baraboo! We did the Circus World Museum and the Merrimac Ferry … it was a good day!

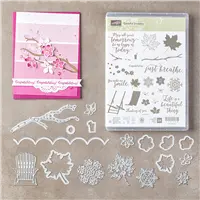
Sunday I shared my Daisy card with you and said I would show you how versatile the Delightful Daisy Designer paper could be, well, I teamed it up with the amazing Colorful Seasons bundle from the Color Theory Suite and here is the result …

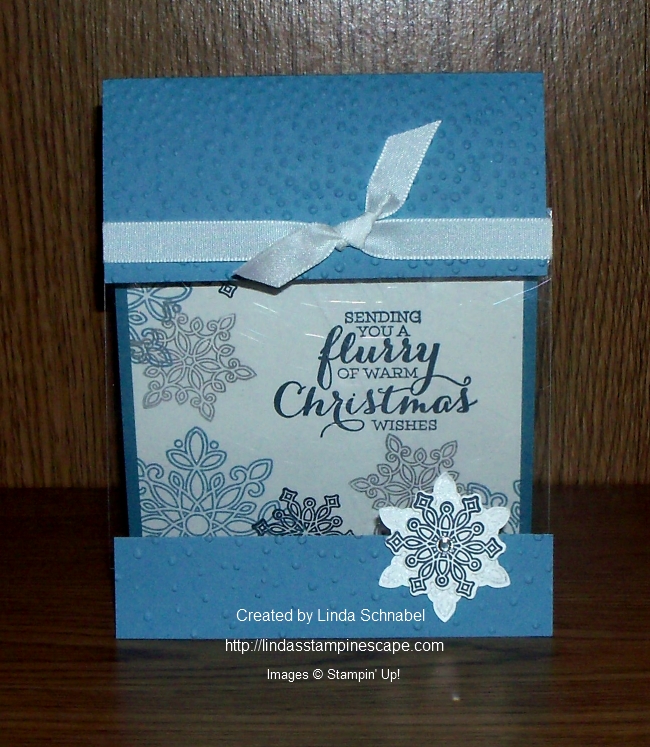
At first glance at the designer paper I got the feeling of a pretty snowfall … the beautiful new Tranquil Tide color, adds to the softness of a snowfall. Kind of brought me back to the days when I was a kid and loved to watch the snow first fall.

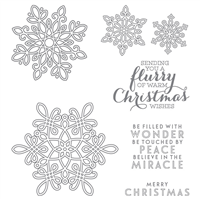
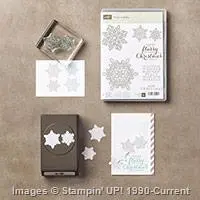
The greeting comes from the Flurry of Wishes stamp set and was stamped in Tranquil Tide Ink. It was cut out with one of the oval shapes from the Stitched Framelits dies.

I made the snowflakes from the Dazzling Diamonds Glimmer paper.  When cutting from the Glimmer paper, I cut from the back (not the glittery side) because it cuts through easier. The new Faceted Gems were added to the snowflakes for even more sparkle and texture.

Another simple layout but the outcome is beautiful. With the heat wave that will soon be upon us … the thought of pretty snowflakes might be a little comforting!

Have a wonderful day, and thanks for stopping by today!

TODAY’S STAMPIN’ SUPPLY LIST …


Flurry of Christmas Wishes

Hello Stampin’ Friends,

First I’d like to send my respects to all our past and present military … As we remember Pearl Harbor.

Today I’m going to share one of the two cards that I designed for our November Technique Club. We are focusing on the different techniques and ways to use the “Window Sheets” … part two of our class will be in their January club dates.

This card illustrates the “window” as the front of our card. The majority of the stamping is done on the inside and the window allows you to see it all.

000_2926

I cut the cardstock … Marina Mist to 4-1/4″ x 11″. Then we score at 5-1/2″ … cut at 7-1/2″ and 8-1/2″. You will need that 1″ piece for the bottom of your card. Your window sheet needs to be cut to 4-1/4″ to at least 3-1/2″ or 4″ depending on how much of the window you want to secure to the back.

We used the “Softly Falling” embossing folder to create a nice pattern on the front of the card, then secured the window sheets to the inside front.

The inside is stamped in Marina Mist, Night of Navy and  Silver Encore ink with the beautiful “Flurry of Wishes” stamp set. I bundled my stamp set with the coordinating punch “Snow Flurry” to receive the 15% discount. We all love a savings a Christmas time.

CHRISTMAS WISHES

We completed our cards with a simple bow using the 1/4 cotton ribbon.

If your in my neighborhood you could join us during our Saturday club session … we have a few spots available.  Check my “CLASSES & EVENTS” Click to View. Club Date is January 9th @ 9am.

Let me know if you have any questions, I’d love to hear from you.   lindaluvs2stamp@aol.com

Thanks for joining me today.

Have a wonderful Monday!

blog-closing-small

TODAY’S STAMPIN’ SUPPLY LIST …