I’m Back & ready to “Dazzle”

Hello Stampin’ Friends ~

First let me say thank you for waiting while I could discover what the “technical difficulties” were creating my laptop to shut down … all it was, was a loose battery!! Who knew?? But I’m back and I have a “Dazzling” and Fun technique to share with you today.

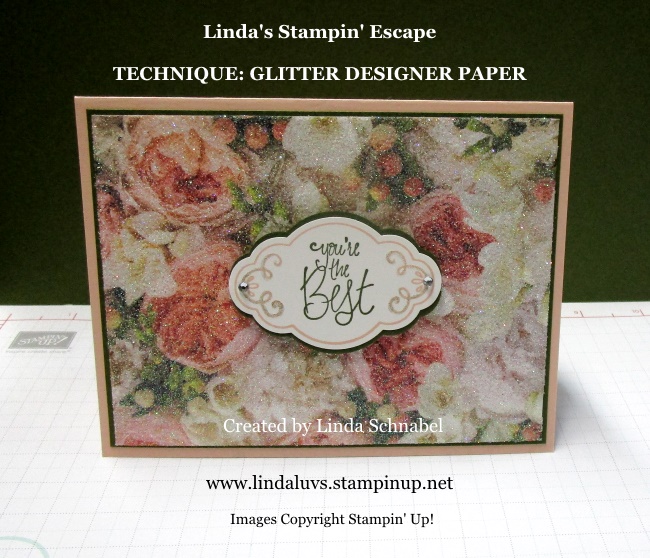
Let’s begin with my Technique Tuesday Facebook LIVE Video, and then I will follow up with a dazzling card that highlights a fun twist to the “Glitter Designer Paper” technique!

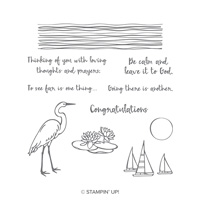
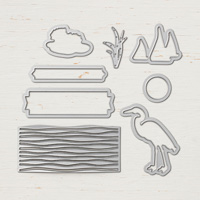
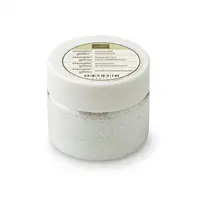
Now that you know all you need is Designer paper, the Adhesive Sheets and Glitter … you can create your own Designer Glitter paper too. Now … let me show you a little twist that is also simple but creates a dramatic effect.

I’ll take you step by step through the process. You begin just as you do in the video with the adhesive sheets, then I cut the the sheets in thirds. One side cut at 1-1/4″ … then turn 180 degrees and cut the other side 1-1/4″ … that leaves you with a center piece of 1-1/2″ … then you will mat the center piece …

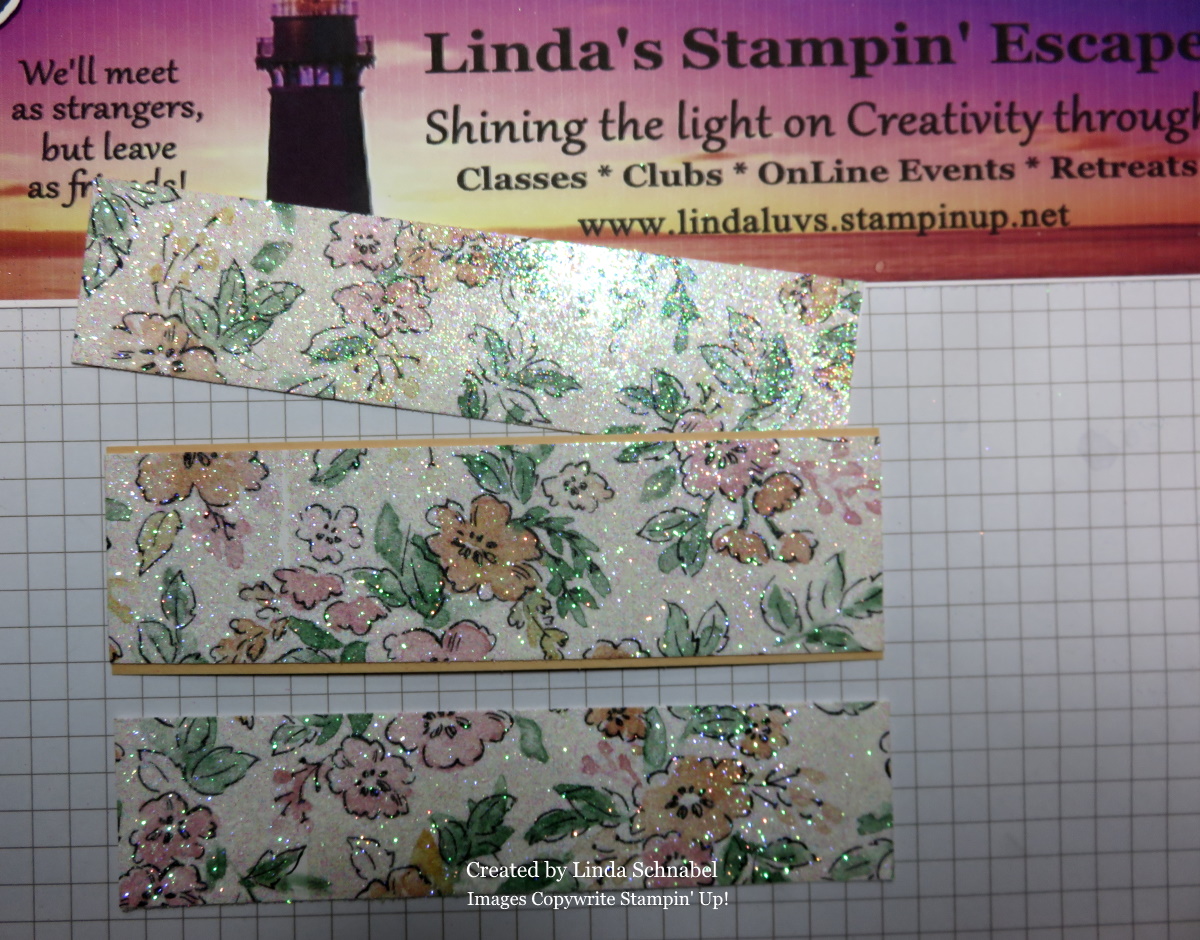
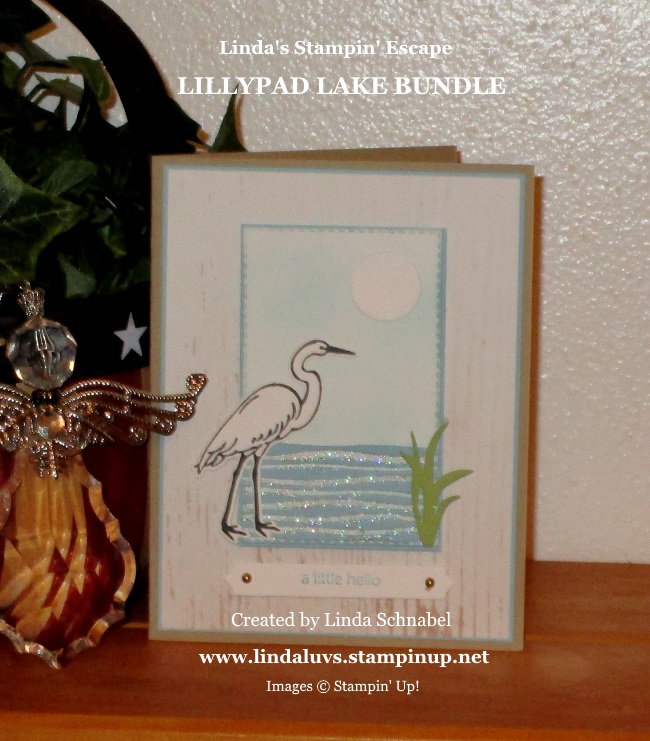
When you preparing to adhere your strips to the card base … make sure your designer paper images align, it makes the card even prettier! I attach the bottom piece and the top piece first, waiting to place then center piece on last …

I tied a bow on first and then used our Liquid Glue on the back to attach to the first two pieces … because your mat is slightly larger than the center piece, it will lay nicely over the first two pieces and still the images will align … isn’t that cool?!!

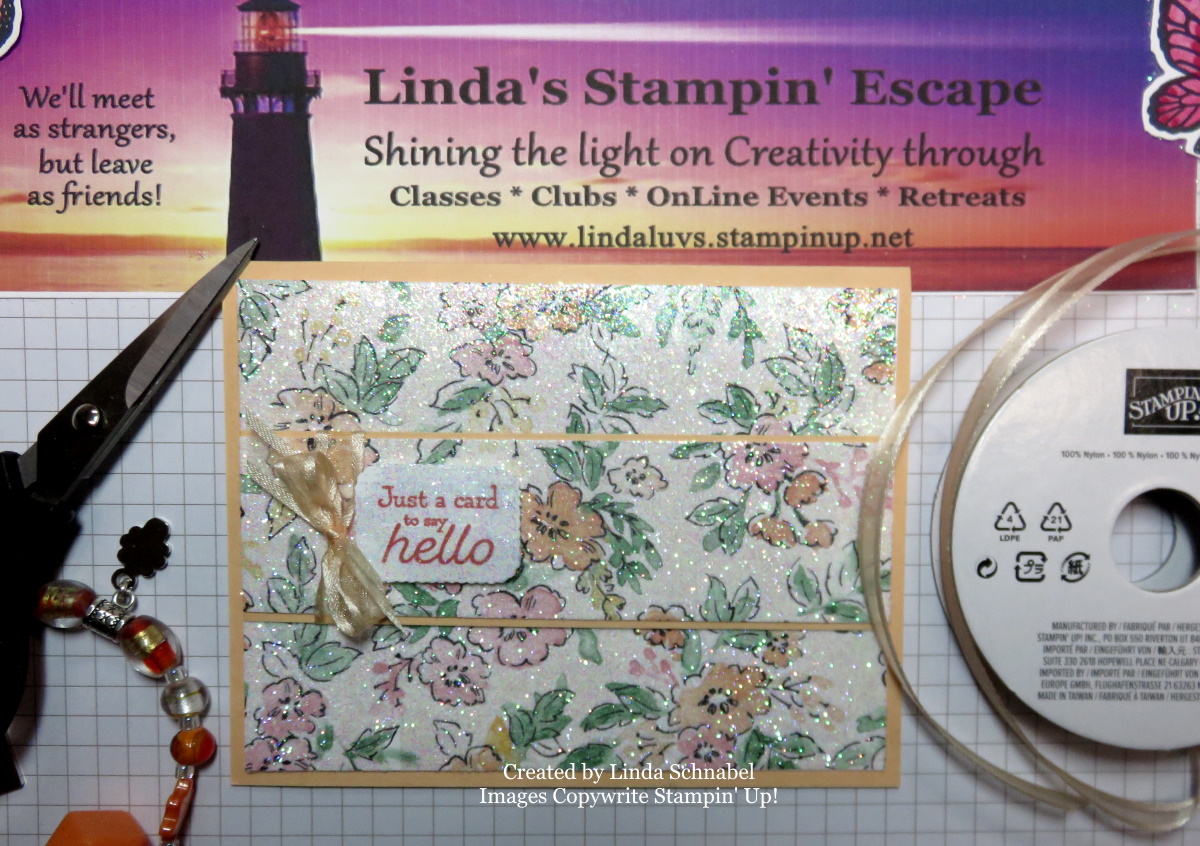
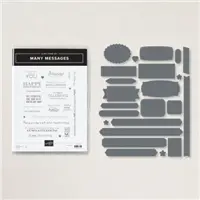
Can you see how the images align even though you have cut it!! This also adds more texture and depth to your card. My little greeting comes from “Many Messages” Bundle which is still available through June at a 10% savings … it is in the new catalog but it’s not bundled so you would no longer receive the bundled savings.

I want to thank you for hanging out with me today. I hope you enjoyed the video and the second card design with a twist.

Have a wonderful day ~

TODAY’S STAMPIN’ SUPPLY LIST … If you liked the products used in today’s projects, I have links for you below. Just click on the item you would like more information on, or to begin your shopping. It will take you directly to my website. Thank you

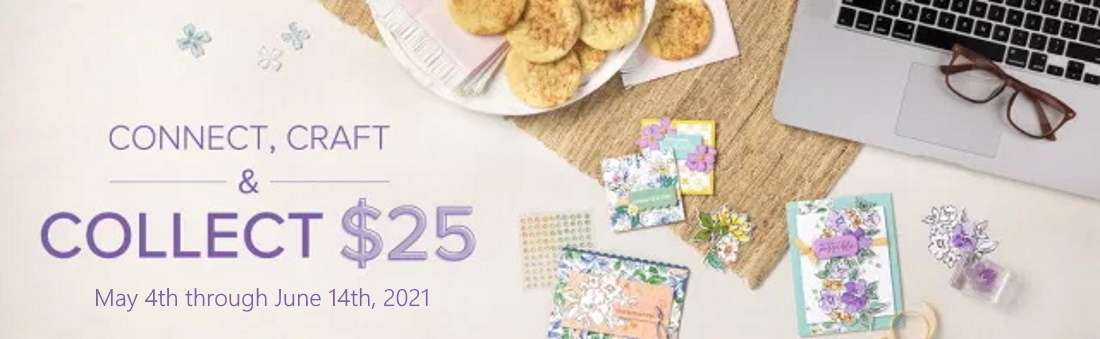
CONNECT, CRAFT & COLLECT 

Stampin’ Up! is gifting an extra $25 in Stampin’ Rewards to all orders that reach the $250+ mark May 4 – June 14! This is the perfect perk for those who host parties or those who place large individual orders. Click here for more details.

JOIN+ STARTER KIT SPECIAL
An awesome Starter Kit special is being offered now through May 31st to help kick off of the new 2021-22 Annual Catalog! Choose up to $155 worth of product ($30 more than usual) and pay just $99. Click here for a few more details.

Please let me know if you have any questions about today’s card share, products you’ve seen or our promotions… I’m here to help you.

Thanks again for stopping by, Linda

Simply Sunday: Saying Goodbye to Lilypad Lake

Hello Stampin’ Friends ~

Today I have two cute cards that may bring the feel of a warm sunny day … and for me, a touch of sadness as I seeing a stamp set and dies retire. It’s the beautiful Lilypad Lake bundle, and I wanted to create that “lake” feel … I hope it takes you to the warmth and wonder of the lake.

 I cut out my background in Whisper White with the Rectangle Stitched Framelits Dies (also on the retired list) … This will create the focal point, and was sponged with Balmy Blue.  The sun was cut from the dies included in the bundle.

Our bird was stamped and then cut again with the coordinating dies.  the water is also a die that we cut in Balmy Blue … before we attached it we covered that entire area on the sponged white with our Snail adhesive.

The bottom 1/3 of the piece was coated with the Snail (retiring but being replaced with something better!), then we laid the die cut (which I’m using as waves/water) onto the piece … once secure, we dipped it into the Dazzling Diamonds Glitter (another item on the retirement list) and WOW!!  We just pushed the glitter down onto the Snail to hold it better … It looks so cool.

Here are the core / retiring items that I have used on my cards today.  You can click on any item to check it’s availability … Order through me and I will pay the tax on your order during April.

Stampin’ Supply List …

My second card, also a sparkling water image, is how I’d like to social distance.  Actually … I should be saying goodbye to my retreat attendee’s instead of training at work, but I felt it was socially responsible to cancel my stamping retreat 😦  I am missing my ladies … and this view!

The water was simply stamped onto our card front, the boats were stamped die cut and colored.  Our shimmery lake comes from the assistance of the “Wink of Stella”.

The beach was sponged on to make it look like sand … and the relaxing Adirondack Chair comes from the Seasonal Layers die set (again … retiring!)  You should get a good feel of what you can create with this beautiful stamp set.

Thank you so much for joining me today.  Make sure you come back each day this week as I will be featuring some very special cards and projects!

Have a beautiful day ~


You’re Unstoppable Card with Glitter Technique

Hello Stampin’ Friends ~

Hope you are doing well today, a bit gloomy outside but we are one day closer to the weekend and that is always a ray of sunshine!!  Today I will be sharing another card from our Stamping Retreat afternoon session.  This is one of my most requested techniques … Creating your own glitter paper!  I have been doing this for years, ever since I learned how to heat emboss, I have been creating “glimmer paper”!

When our Iridescent Ice embossing powder was discontinued I thought all was lost, but then Stampin’ Up! introduced the Adhesive Sheets and I was back it glimmer heaven.  However, the Adhesive Sheets are on the discontinued list … so, you will want to order them right away!!  I am using the Pretty Promenade Designer Series paper, although any of your favorites will work … I’ve even glittered the Bokeh style papers!!

You can see the sparkle on the card, just like stars in the sky … it’s so pretty!!  And you can’t go wrong with the Pretty Promenade Designer Paper, perfect for Mother’s Day or Grandma’s birthday! My grandmother would have loved this card, flowers and sparkling (now I know where I get it from!) lol

Technique: Glitter Designer Paper

  1. You begin by cutting your Adhesive sheets to the size of your designer paper.  Your adhesive sheets have an edge that you can hold onto when pulling the protective backing off the adhesive (This is where you want to begin measuring your adhesive sheets) or your adhesive will be short on your designer paper. 
  2. Once it’s cut and you peel back the backing – carefully place your designer paper onto adhesive. Make sure the side you want glittered is the side your laying onto the adhesive. 
  3. Then rub it down with your bone folder to secure, and peel off the protective sheet and expose the adhesive on your designer paper.
  4. WHAT HAPPENS IF THERE IS A SPOT OR SECTION THAT DID NOT ADHERE?  Simple … take out your Snail and run it over any place that does not have adhesive! A very simple way to ensure full coverage!  
  5. Now you are ready to dip your designer paper into your Dazzling Diamonds Glitter.  Place a piece of paper over the top and rub your bone folder over the top to secure all the glitter.  Sometimes I use a “block” that I put my stamps on to push the glitter into the adhesive, it’s just bigger than the bone folder.  Both work
  6. Time to create a beautiful card … Have fun!

Once the designer paper was transformed to glimmer paper, we added the Mossy Meadow gorgeous die cut from the Beautiful Promenade bundle, it really compliments the glitter.  The greeting, same as yesterday’s card came from the Strong and Beautiful Stamp Set and we added one of the Petal Pink Rhinestone Gems.

Did you know that the Beautiful Layers Thinlits Dies that comes in the bundle also has a die to cut an envelope piece … I love it, and what better way to coordinate your entire card that you are sending out.

This designer paper is stunning and is on the retiring list 😦 so sad, but there is still time to get it, I have added a link below. It is also something I tucked into my guests Saturday night Pillow Gift. There was plenty of designer paper left over once I cut for their cards, so, I cut them into 4 x 6 sheets and tucked them into a pretty envelope, along with adhesive sheets, Dazzling Diamonds Glitter, and some Gingham Gala Designer paper and Glitter Sheets!!

Each guest got 2 sheets of each color in the Gingham Gala Designer Paper and 4 sheets each of 3 colors of the Glimmer Sheets. The top was put on and it was tied up with a pretty bow.

I hope you enjoyed todays technique card share as much as all the ladies at our retreat enjoyed making it … I would love to hear your thoughts below, thank you.

Have a wonderful day, and thanks for stopping in to visit.

STAMPING SUPPLY LIST FOR TODAY’S PROJECT … If you do not have a demonstrator, I’d be honored to have you as a customer and stampin’ friend. If you like this technique and card and need to purchase supplies, just click on any of the items below, it will take you to my online store.  Thank you so very much. 


Technique Tuesday: Glitter Designer Paper

Hello Stampin’ Friends ~

If you are a glitter addict then I have the perfect technique for you… Glitter Designer Paper!  I have been doing this for years … the only thing that has changed is the adhesive that I used.  Today I’m using the fabulous Multipurpose adhesive sheets! Quick * Clean * Glitter perfect!!  Pictures do not do it justice!

I’m using the beautiful Petal Promenade Designer Paper. If you love fresh flowers, you will love this paper, the patterns are so pretty and look like they are ready to be picked with the photographic floral designs ❤

I begin with the choice of designer papers … that will set you up for a perfect color pallet (the colors are already listed on the designer paper packaged – Thanks Stampin’ Up!). I chose the returning Mossy Meadow and new Petal Pink, and Whisper White for my greeting.

Using the Multipurpose Adhesive Sheets makes this technique so easy. I cut the adhesive sheet slightly larger than my designer paper, then I trim off the extra.  This ensures I have full coverage of adhesive on my designer paper … don’t want any spots that don’t have glitter!!

Once I have the covering removed … I put the sheet into my glitter tub and sprinkle it with the Dazzling Diamonds glitter.  I made sure to cover it fully and then tap off the excess glitter.  Then I use a scrap piece of paper and cover the glittered paper. My next step is to firmly press the glitter into the adhesive – I use one of my clear blocks.  Remove scrap paper and tap off any excess glitter. WOW! Just beautiful!!

I matted the glitter paper onto the Mossy Meadow cardstock and then onto the card base in Petal Pink.  I used the Label Me Pretty stamp set and stamped the lined decor in Petal Pink and the greeting in Mossy Meadow… then it was punched with Pretty Label punch.  I punched out another label in Mossy Meadow, cut it in half and then attached it to the back … this allows you to mat the label 🙂

I added a touch of Wink of Stella to the filigree lines on the label and the rhinestones to add a touch of bling to my blinged out card!! I used the Stampin’ Dimensionals to pop up the greeting which added a little dimension to the card. Again, the camera does not capture the full beauty of this card.

I thank you for spending a part of your day with me. I encourage you to try this beautiful and fun technique. It really is quite easy as well.  I have listed the supplies I used on today’s card below.

You’re the Best! Have a beautiful day ~

TODAY’S STAMPING SUPPLY LIST … Click on any image for more information on the product or to begin your shopping experience. The link will take you to my On-Line Store.  Thank You for your purchase.


My New Years Wish for You …

Hello Stampin’ Friends,

I have returned! I took a little R & R after the busy Christmas / New Years holiday. After 25 years in the Quality Control field and not having to work holidays and such, it’s been quite a transition to managing a retail store, especially during the holidays! I do however love the fact that I have maintained my Stampin’ business for almost 15 years, and I thank you for supporting me along the way!

I hope you had a wonderful Christmas and enjoyed time spent with friends and family. Today my card share has the sentiment that I wish for you this New Year! “Do more of what makes you happy”.

 000_1855

The sentiment comes from the “Hello Life” stamp set that will be available January 6th from the new Occasions catalog (pg.6) When you look at the catalog it will show 4 of the images at full size and the remaining 6 at 50% or half the size. So you can see by my card that the sentiment is much larger than shown.

The beautiful background paper is the “Painted Blooms” Designer Series Paper that I gave you a sneak peek on my December 28th post. I love the many different patterns and color combinations of this paper.

The base card and stamped sentiment is done in the tantalizing “Blackberry Bliss”.

The cute little heart also comes from the “Hello Life” stamp set … I cut it out, added it to my sentiment, filled it with “Crystal Effects” and sprinkled it with Dazzling Diamonds Glitter. The Crystal Effects absorbs the glitter and holds it in place … it looks so pretty! Love that technique!

000_1858

The inside stamped images is yet another stamp from the “Hello Life” stamp set.  Hope you enjoyed today’s card, it’s quick and easy to make!

Thank you for stopping by today, and for your patience while I took a mini-break.

Have a wonderful day …. and do more of what makes you happy this year.

blog-closing-small

Please note that the “Hello Life” and Painted Blooms Designer Series Paper is not available until January 6th. However the ingredients needed for this card will qualify you for a FREE Sale-a-bration Item!!