I am back … took a little getaway to visit my sister Rita to celebrate her birthday. We all had a great visit and created some wonderful memories.
Today I’d like to share yet another card from the Greatest Journey bundle and Enjoy the Journey Designer Series Paper. It’s easy to recreate but I’ll be sure to share the dimensions and step by step instructions as well.
Measurements:
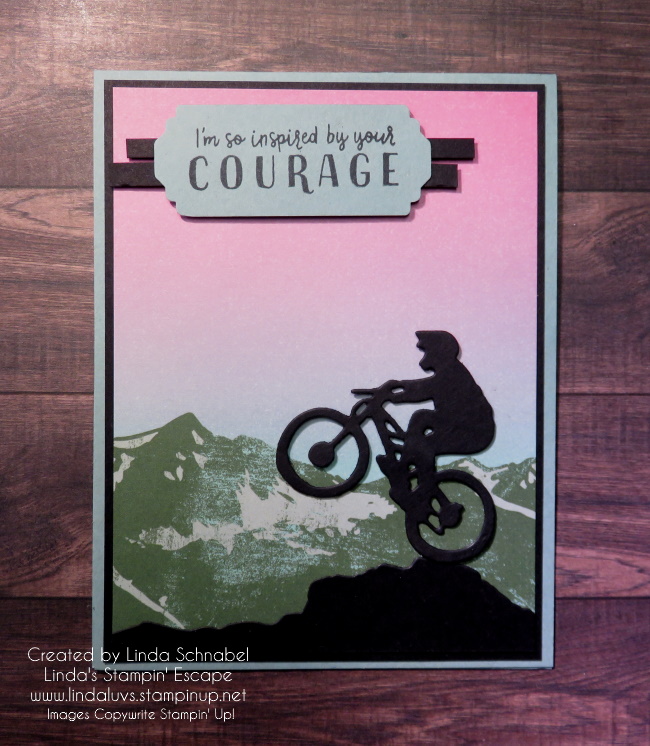
Mint Macaron: 4 1/4’” x 11” scored at 5 ½”
Designer Series Paper: 5 ¼” x 4” (rectangle pattern)
Designer Series Paper scrap (mountain pattern) for Stitched Rectangle Dies
Basic White Scrap for sentiment label with Stitched Rectangle Dies
Basic Black Scrap for cyclist using Greatest Journey Dies
Instructions:
Cut Basic White label and mountain Designer Paper layer with Stitched Rectangle Dies
Stamp sentiment onto label with Shaded Spruce ink
Adhere Designer Paper layers Stampin’ Seal to card base
Adhere sentiment label with Dimensionals
Cut cyclist from Basic Black cardstock using Greatest Journey Dies
Adhere cyclist to card with Mini Dimensionals
Adhere Enamel Sticker Icon as shown
Such a great card and so easy to make! I want to remind you that designer papers will be retiring soon, so take a good look at all of them and grab your favorites before they are gone. I will be sharing the Retiring List with you as soon as I can, and once it’s out … favorites tend to disappear quickly.
Thank you for joining me today. Hope your day is a good one.
I can’t wait for you to see this card, I absolutely love the way it turned out!! Today I have a video … the replay of my Facebook LIVE where I shared two cards the featured the Greatest Journey bundle. I will show you how to create “motion” by using several of the same dies and a slight change of color, then you will see a simple card with a fun pop of color made mostly of scraps!
Join me for a bit and watch the video, after which I will share any dimensions needed for our cards…
So … I didn’t actually start my kitchen on fire, but a little fire inside one of my pans, easily taken care of, but not the way one would like to start their day! lol OK … back to our cards. I wanted to create the appearance of motion with my card, and since there is no coordinating stamp, I could not do the dragging technique (which smears the ink and makes it look like it’s moving).
I thought the layering technique worked well ….
The great part of this is you are using up your scraps! Anything big enough to fit your images on. The colors for my layers are: Basic Black, Basic Grey, Smoky Slate, and Basic White … which is amazingly visible on the card. My Basic Black card base is the standard A2 size: 8-1/2″ x 5-1/2″ scored and folded at 4-1/4. The Basic White Front is 5-1/4″ x 4″. Keepin’ it easy.
The next card was just an easy pop of color and was also done mostly with scraps!
While I was preparing my photos for the blog, I realized that instead of die cutting my runners out of black … I could have die cut the image “out of” the color blocks and let the black show through! Another way to create dimension …. WOW! The possibilities never end.
The color blocks are die cut from the Stylish Shapes dies (as is the banner) the black mat behind it measures 3″ x 4-3/4″ and the Starry Sky piece is 3-1/4″ x 5″ … the Basic Black card base is the standard A2 size: 8-1/2″ x 5-1/2″ scored and folded at 4-1/4.
I hope you enjoyed today’s adventure into creating “motion” on your cards and give it a try. If you are interesting in purchasing this bundle, I have the links below.
Thank you. Have an adventurous day ~
Here is the list of supplies used for today’s cards ….
I have been playing around with the Greatest Journey bundle … for those of you who snagged up the Designer paper in the Sale-a-bration catalog, you should find it easy to create some great cards.
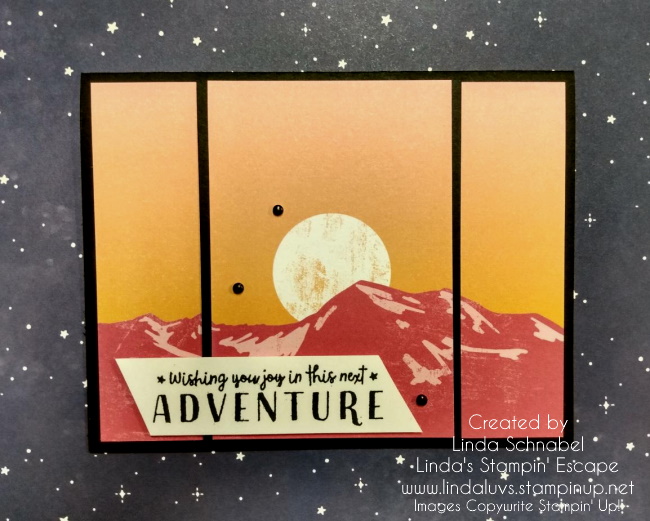
This card simply cuts the cardstock into 3 pieces and then uses a piece of cardstock to “highlight” the center section and create a fun look.
If you are looking for ways to use the stamps and dies without the designer paper, then join me tonight on my Linda’s Stampin’ Escape Facebook page when I go LIVE at 6:30 Central time. I’d love to have you join us!!
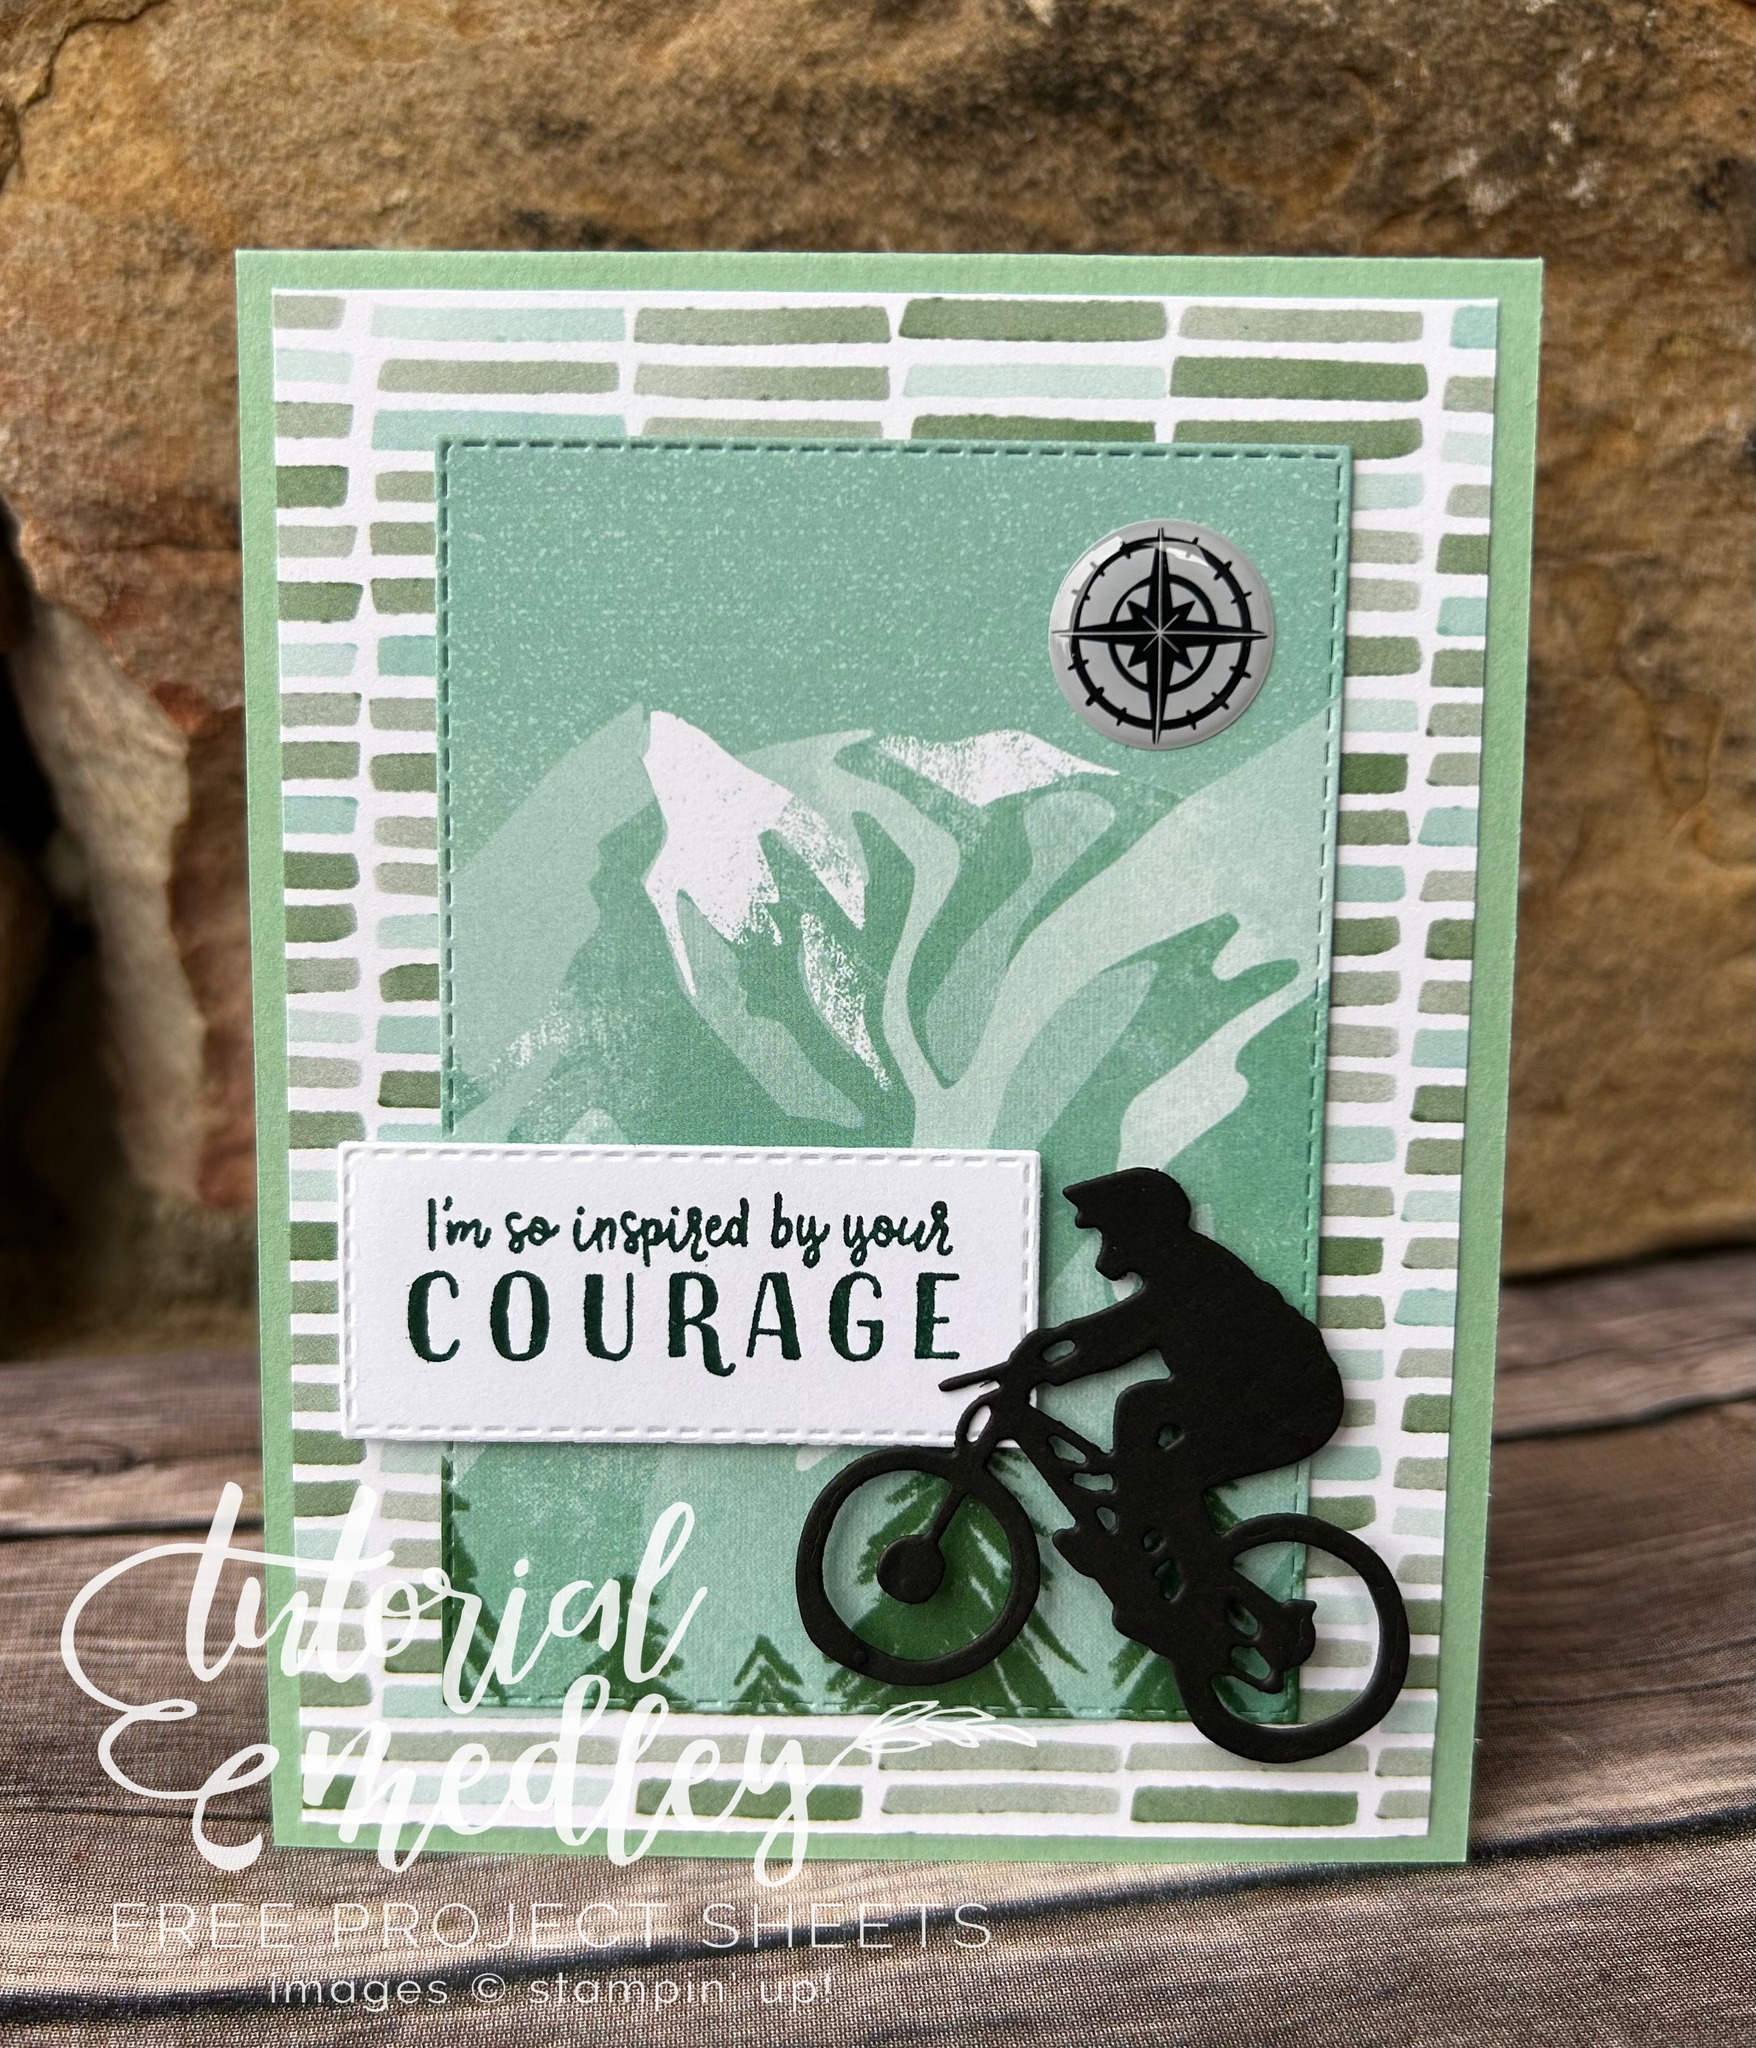
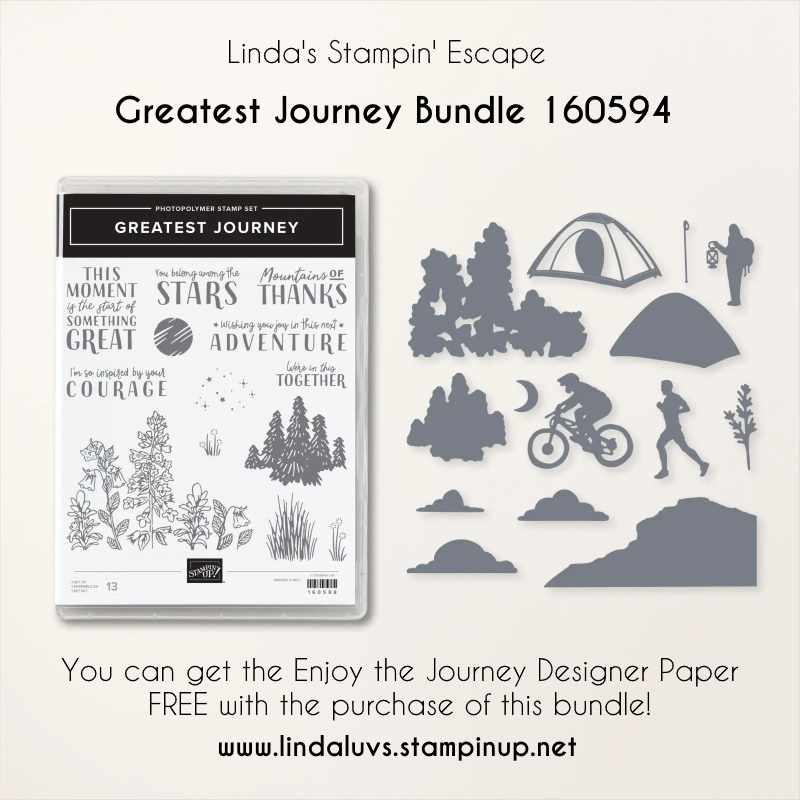
Today I’d like to share a card of inspiration. My card today was inspired by the amazing courage of my neice … Samantha Rose. I’m using the Greatest Journey Bundle … this was on my Wish List from the moment I saw it, and for very personal reasons. I love the sentiments and they are inspirational, yet there is one that is “inspiring” and that is the one I’m using today. I’m also using the dies, specifically the “rider on the bike”.
She was just a little girl, a baby when they discovered that Sammy had CF / Cystic Fibrosis. It affects their lungs and we were told to prepare that she would not have a long life expectancy (things are better now for children) and her health was critical so many times … but this girl persevered.
Approximately 14 years ago she went through her first “double” lung transplant, and has since has another. She is so grateful for her new chance at life (and her donors) that she is not wasting a second … she experiences all she can in life. She has journaled her experiences and connected with others suffering from CF. She has joined in to raise awareness as well …
She continues to amaze all of us .. family and friends, she is a true inspiration. But I have to share the pictures of HOW she celebrates her life that inspired my card today ….
She’s on that bike …
So my card today has the biker in the mountains ….
And I am truly inspired by her courage, the way she chooses to live her life and honor those who gave that second chance to her.
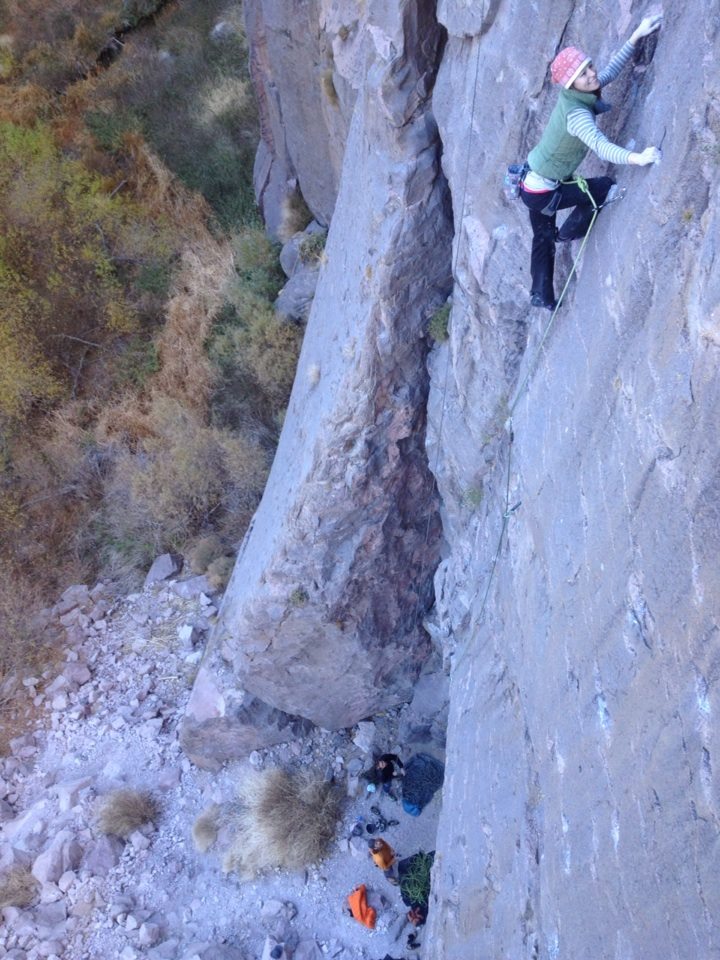
And if she’s nice biking in those mountains, she’s climbing them! Yep … this photo still makes me hold my breath!! Oh Lord, look how high she is!! I could go on for hours about how proud I am of her and the way she honors the life she was given… she is an inspiration. Love this girl …
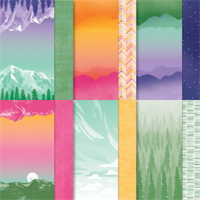
And flowery foo foo cards are just not her style (that doesn’t mean she doesn’t like flowers) but I just felt this was so fitting for Sammy. The designer paper is so pretty and coordinates perfectly with this bundle, so with some paper and a couple die cuts the card was ready for the sentiment … Inspired by your courage!
Oh yes, and my oldest grandson, well a picture is worth a thousand words! And video’s … oh my, they can be hard to watch LOL.
More power to those who follow their dreams and inspire others by living their best life. I’ll stick to my passion of card making and sharing that!!
I hope today’s card inspired you. Just so you know, there’s also a tent and a hiker in that bundle, and I have something floating around my mind for one of the designs in that Enjoy your Journey designer paper. Can’t wait to share that one with you!
I think you will agree that this bundle and coordinating designer paper will be an adventure to stamp with as well. Thank you for sharing your time with me today. Have a beautiful day ~
Here is a list of ingredients that I used on today’s card …. Click on the image for more information or to begin shopping. Thank you. ❤
Today I’d like to share a simple and pretty card created with the Greatest Journey stamp and the Enjoy the Journey Designer Paper (which you can get FREE during Sale-a-bration). This card takes it a step up from just simply using designer paper and a greeting.
We begin our usual 8-1/2″ x 5-1/2″ card base; I’m chose Basic Black, scored and folded at 4-1/4. Then cut a a 4″ x 5-1/4 piece of designer paper, then cut off 1-1/4″ off each side leaving a 2-3/4″ center.
Next cut a 4″ x 3″ piece of Basic Black cardstock which will be mat the 2-3/4″ center piece of designer paper.
I attached the two end pieces on first, then I secured the center piece of designer paper onto the black mat. You can still see the flow of the card but you have the interesting design element by layering it … I did not use dimensionals on the center piece.
I stamped the greeting and just cut the ends off at a slant… then I popped it up. The final touch was to add the black dots from the Classic Mat Dots.
Super simple but with an interesting twist … great for when you need a quick card. Thank you for spending time with me today.
Here is a list of ingredients that were used in today’s card …