Hello Stampin’ Friends ~
Are you a beginner eager to dive into the world of crafting? Or perhaps you’re a seasoned crafter with limited space, seeking a convenient and stress-free way to create beautiful cards on the spot? Look no further than the Hello Hollyhocks Card Kit by Stampin’ Up! This all-inclusive kit is designed to make your crafting experience both enjoyable and effortless.
Why You’ll Love the Hello Hollyhocks Card Kit:
Great for Beginners: The Hello Hollyhocks Card Kit is perfect for those just starting out. With everything you need in one box, it’s easy to create stunning cards without feeling overwhelmed. The kit includes a full-color sheet of directions that guides you step-by-step, right down to which pieces go where and where to place the adhesive. Say goodbye to guesswork and hello to creativity!

Ideal for Crafters with Limited Space: If you’re short on space, this compact kit is a dream come true. It’s neatly organized, ensuring that all your crafting materials are easily accessible and easy to store. You can craft anywhere, anytime, without the need for a dedicated crafting room.

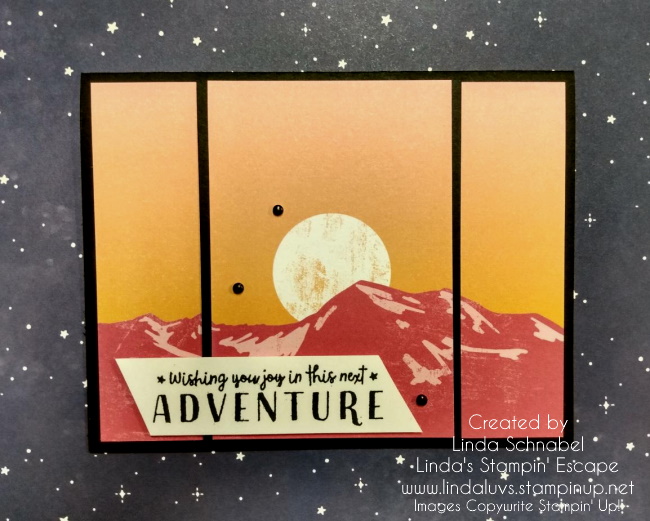
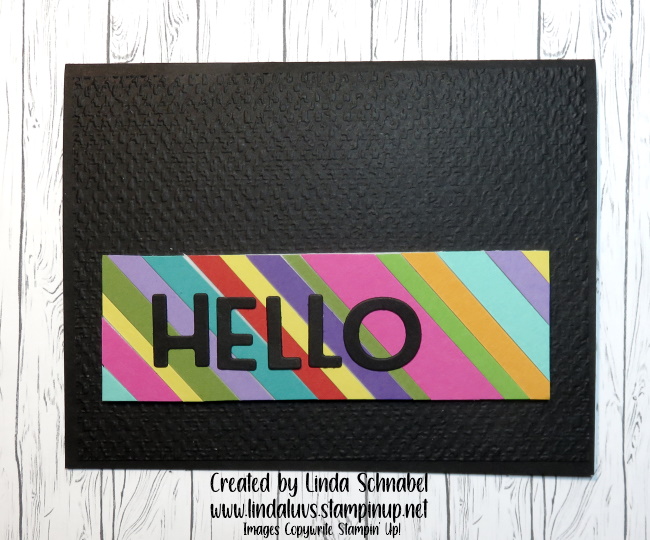
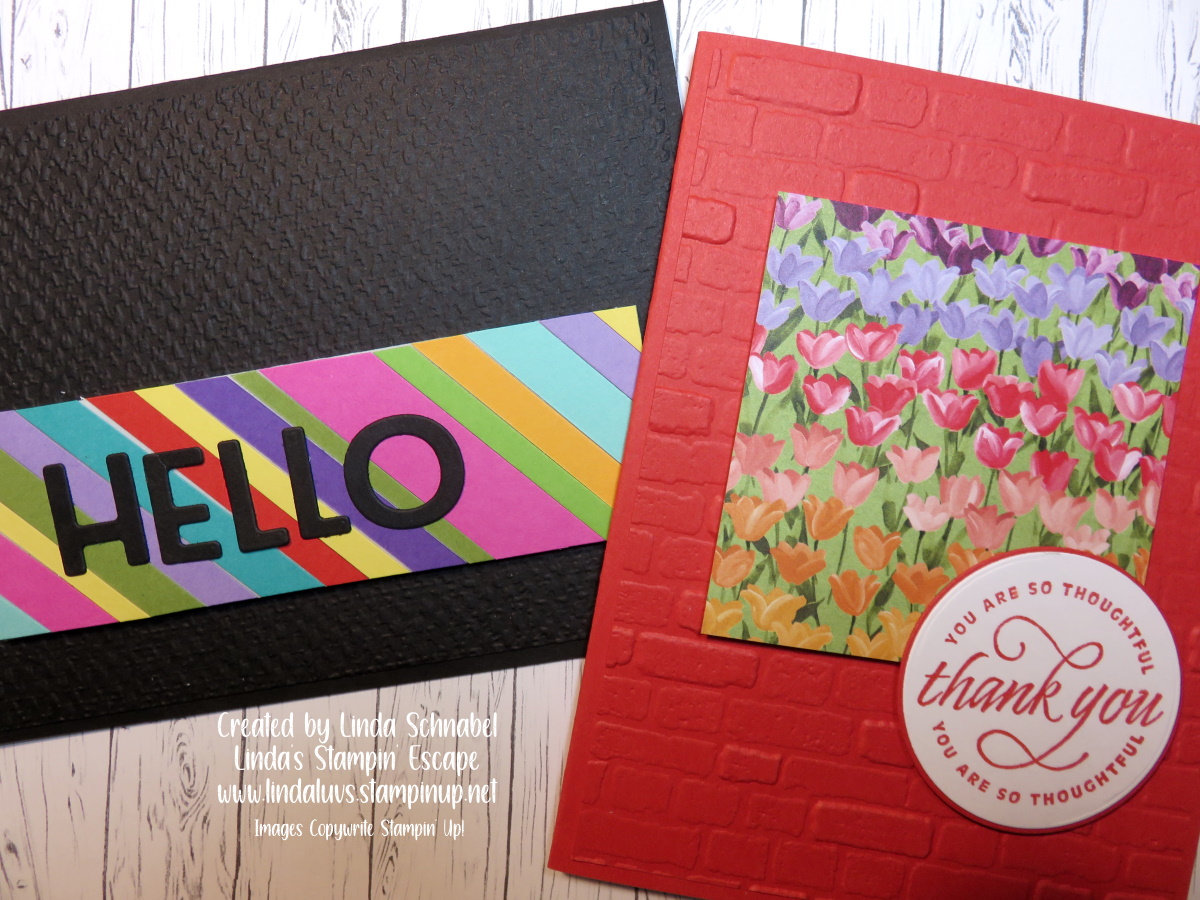
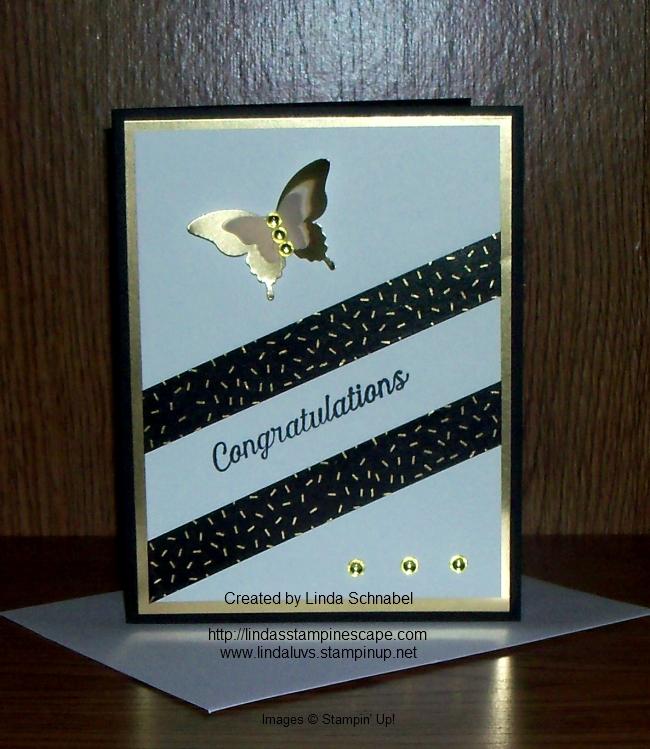
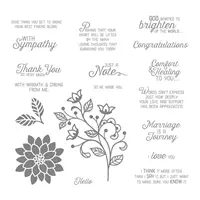
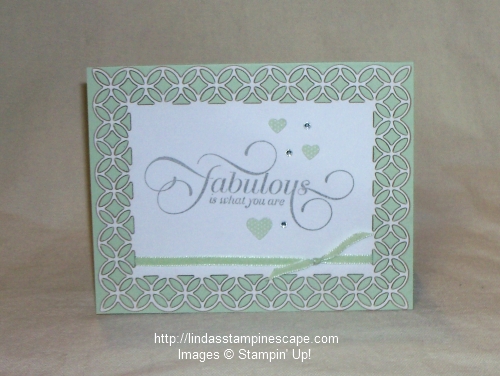
Perfect for Quick and Easy Card Making: Whether you’re crafting on the go or need to whip up a card in a hurry, the Hello Hollyhocks Card Kit has you covered. This kit not only offers beautifully designed materials that inspire creativity but also evokes nostalgic memories with its charming floral theme. All the pieces are pre-cut and ready to assemble, so you can focus on the fun part – decorating and personalizing your cards!

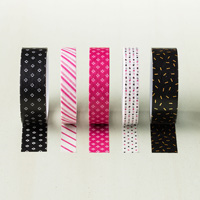
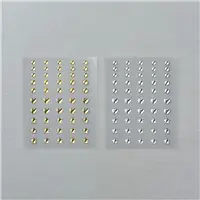
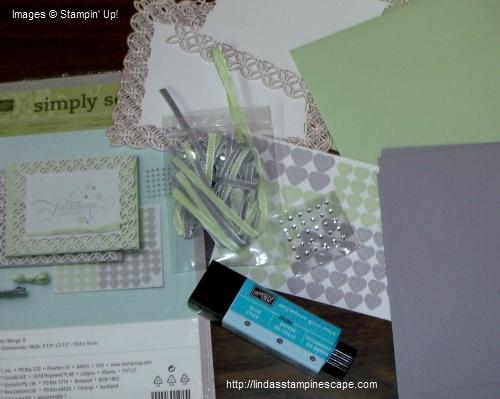
Everything You Need in One Kit: This kit comes with everything you need to create gorgeous cards. From pre-designed card bases with coordinating envelopes and embellishments to adhesives and a full-color instruction sheet, it’s all included. You don’t need to hunt for additional supplies, making it an excellent choice for those who want a hassle-free crafting experience.
Ready to see the Hello Hollyhocks Card Kit in action? Watch the video below to get a closer look at the kit and learn how easy it is to create beautiful, handmade cards. Join us in discovering the joy of crafting with this delightful kit …

Embrace the ease and joy of card making with the Hello Hollyhocks Card Kit. Perfect for beginners, great for limited spaces, and ideal for quick, on-the-spot creativity – it’s the ultimate crafting solution!
Don’t wait! Get your Hello Hollyhocks Card Kit today and start crafting beautiful memories with ease and joy! CLICK HERE