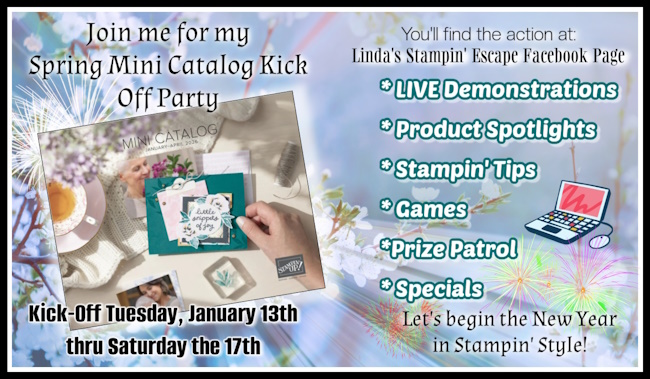
Hello Stampin’ Friends ~
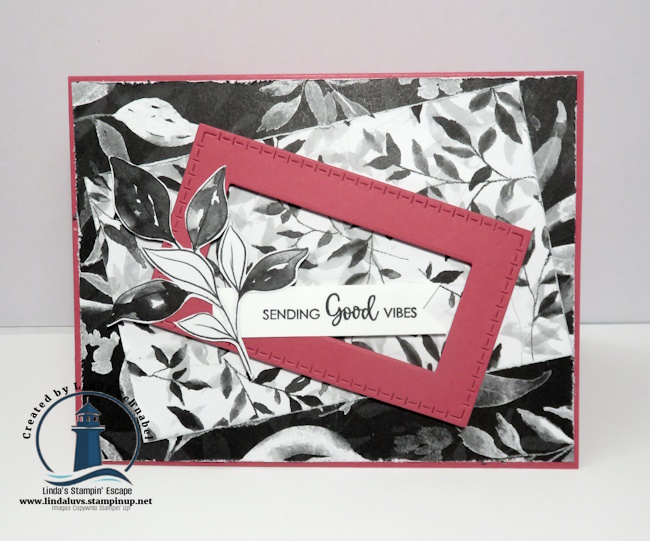
If you liked yesterday’s card … you’ll fall in love with today’s!! When you’re looking for card ideas that are quick, creative, and full of personality, designer paper can truly do the heavy lifting. If you’ve been admiring the Cute as a Bug Designer Series Paper and wondering how to stretch it beyond a single card front, this project may spark a few ideas for your next crafting session.
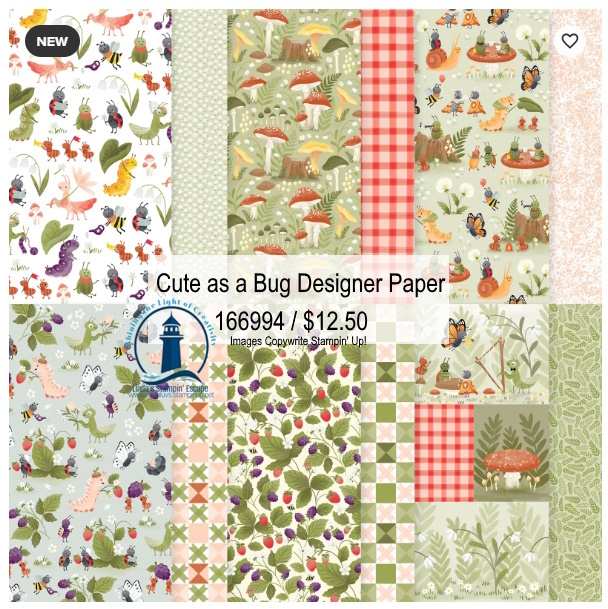
Cute as a Bug is one of those collections that immediately makes you smile. With its charming ladybugs, woodland details, and sweet nature-inspired scenes, it’s playful—but also surprisingly versatile. One of my favorite sheets in the pack features individual scenes, which makes it perfect for cutting apart and using in creative ways. No extra stamping, coloring, or fussing required—just a great starting point for an easy yet eye-catching card.

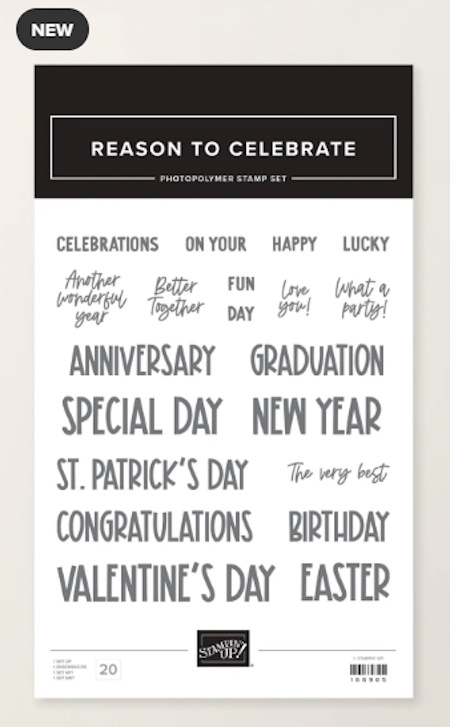
To pair with the paper, I chose the Reason to Celebrate Stamp Set, a wonderfully versatile sentiment set designed to help you celebrate life’s moments—big and small. From birthdays and holidays to everyday encouragement, the playful print-style greetings make this set one you’ll reach for often. It’s also a Two-Step Stampin’ set, allowing you to layer images and greetings to create a look that’s uniquely your own.
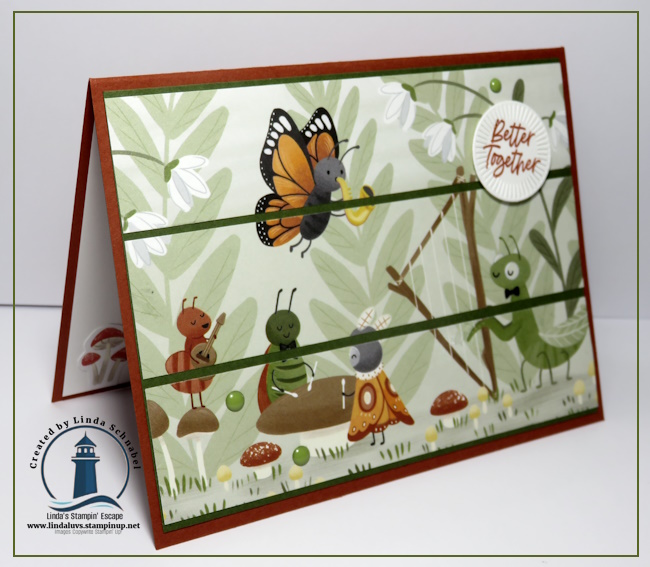
My card starts with an A2-size Cajun Craze card base (8½” x 5½”, scored and folded at 4¼”). I added a Mossy Meadow mat cut to 5¼” x 4″, which grounds the design and complements the earthy tones in the designer paper beautifully. From one of the scene sheets in the Cute as a Bug pack, I cut three strips measuring 1¼” x 5¼” to create a split-front design. This layout adds texture, dimension, and a really fun visual element without making the card complicated.
A little tip when working with strips like this: attach the top strip first, then the bottom, and add the middle strip last. This makes it much easier to line everything up evenly and maintain the flow of the pattern. It’s a simple technique, but it makes a big difference in the finished look—and it’s one you can easily repeat with other papers in your collection.
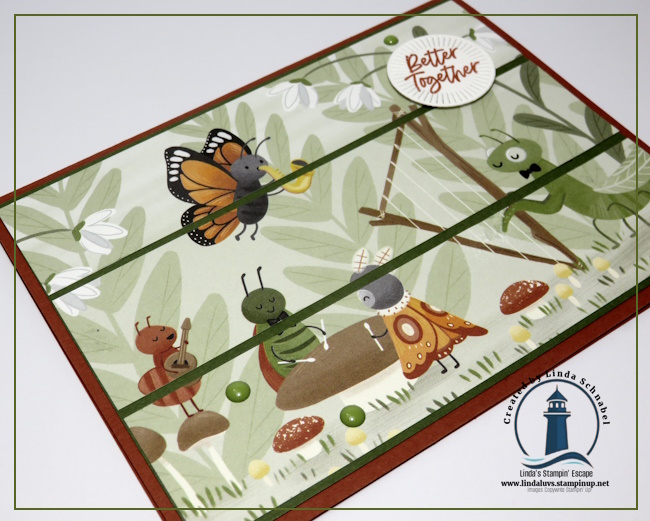
For the sentiment, I stamped “Better Together” from the Reason to Celebrate Stamp Set in Cajun Craze ink and die cut it using one of the smallest dies from the Spotlight on Nature Dies. I loved how this sentiment paired with the scene on the designer paper—it feels warm, happy, and perfectly suited to the card’s woodland charm. Small sentiments like this are wonderful for letting the paper shine while still adding a meaningful message.
Inside the card, I kept things clean and cheerful. The white layer was cut to 5¼” x 4″ and decorated with a few adorable mushrooms that I fussy cut from another sheet of the Cute as a Bug Designer Series Paper. This little detail ties the inside to the front and adds an unexpected smile when the card is opened.
To finish the card, I added Muted Palette Glossy Dots in green. They add just the right amount of shine and texture without overpowering the design—those small finishing touches really bring everything together.
This card layout is a great example of how simple designs can still feel creative and polished. By cutting the designer paper into strips, you add depth and interest while keeping the process approachable and repeatable. If you enjoy projects that look special but don’t require a lot of time or extra supplies, this is a layout—and a paper pack—you’ll want to revisit again and again.
Next time you’re sitting down to create, take a closer look at your designer paper and see what happens when you let it lead the design. With versatile products like Cute as a Bug and Reason to Celebrate, it’s easy to create cards that feel joyful, thoughtful, and ready to celebrate whatever moment comes next. 💚
Till we gather again ….