One Fun Fold—Two Beautiful Looks!

Hello Stampin’ Friends ~

Have you ever admired a Fun Fold card and thought, “I would love to make that, but I’m not sure where to begin”?

That is exactly why I love teaching Stamp Club! Each month, I guide you step by step through creative folds and techniques so you can enjoy the process—and leave feeling confident enough to recreate the projects at home.

Today, I’m sharing a favorite from last year’s Stamp Club: the Tri-Panel Double Z Fold.

This card may look complicated, but once you learn how the pieces come together, it is such a fun design to create! The layered panels give you plenty of opportunities to showcase beautiful patterned paper—and the card looks amazing standing open for display.

One Fold with Two Completely Different Personalities

To show just how versatile this Fun Fold can be, I created it with two of Stampin’ Up!’s popular Designer Series Papers.

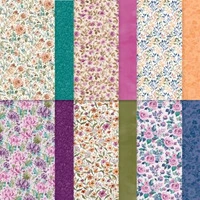
The Floral Charm Designer Series Paper gives the card a soft, elegant appearance. The beautiful flowers and rich shades of purple make it perfect for birthdays, thinking-of-you cards, or any occasion when you want someone to know they are on your mind.
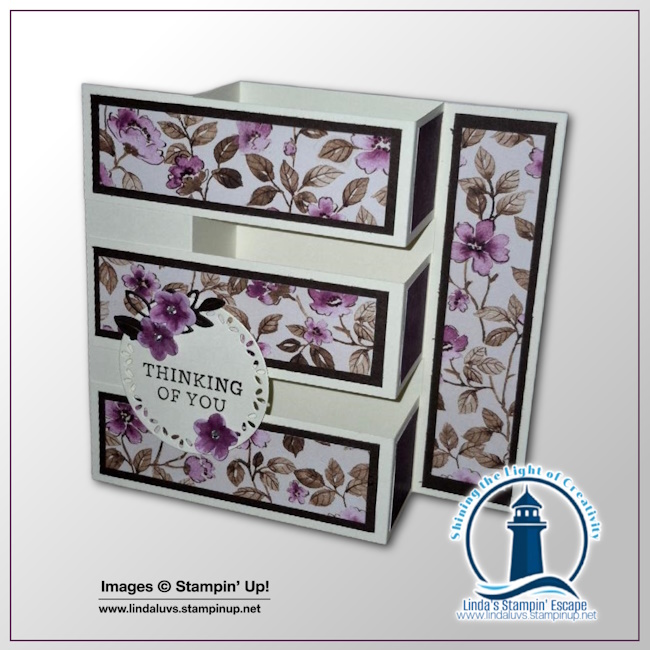
Then I used the Made with Love Designer Series Paper to create a completely different look. The playful hearts, X’s, O’s, and cheerful colors turn the same fold into a bright card filled with love.
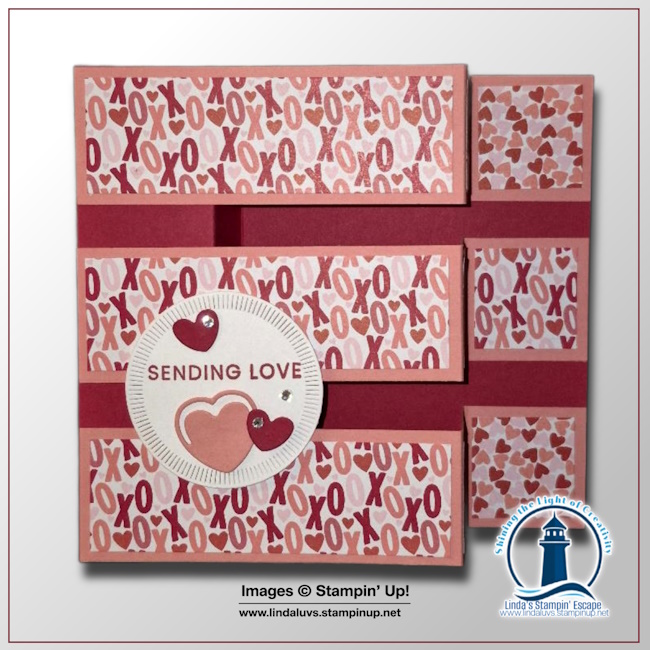
Same Fun Fold—two beautiful styles!

That is one of the things I love most about cardmaking. Once you learn the foundation of a great fold, you can change the paper, colors, greeting, and embellishments to create something for almost any occasion.

Measurements:

  • Real Red: 7 ¼” x 5 ½” plus ¾” strip of scrap for hearts
  • Flirty Flamingo: 3 pieces measuring 7 ¼” x 1 ½” plus 1 ½” x 1 ½” to cut heart
  • Designer Paper: 3 pieces @ 4” x 1 ¼” and 6 pieces @ 1 ¼” x ¼” (may use contrasting designer paper for 3 of 6)
  • Basic White cardstock: 4” x 5 ¼” (back), plus 3” x 3” for greeting.

Instructions:

  1. Cut card base to 7-1/4” x 5-1/2”
  2. Score the card base at 1-1/2” & 3” and Z-fold.
  3. Score three 7-1/4” x 1-1/2” coordinating cardstock strips at 1-1/2” & 3” and Z-fold.
  4. Adhere the 1-1/4” x 4” (X3) and 1-1/4” squares (X6) on the Z-fold strips as shown in the photo.
  5. Lay your card base flat with the Z-fold on the left side, turn over the strips so that the folded side are on the right. Put adhesive only on the left and right edges of the strips and adhere on the card base as shown.
  6. Add your accent/sentiment pieces.
  7. Adhere a 4” x 5 ¼” contrasting color as a mat, and layer with the 3 ¾” x 5” Basic White for your message.

This Is What Stamp Club Is All About!

Stamp Club is so much more than simply making a card. It is your opportunity to learn, experiment, and enjoy a creative escape with people who love stamping too.

Our new Stamp Club begins in September and meets once a month through June. You can choose either a morning or evening session, whichever works best for you.

Each month, you can look forward to:

  • Creating a minimum of two beautiful projects
  • Learning fabulous Fun Folds
  • Trying creative stamping techniques
  • Discovering fresh designs and new ways to use your supplies
  • Playing with some of Stampin’ Up!’s newest and most popular products
  • Receiving project measurements and/or instructions to take home
  • Being among the first to see new products and snag a new catalog
  • Enjoying hands-on guidance in a relaxed and welcoming setting

I design and prepare the projects so you can come ready to stamp, learn, and have fun. You will leave with finished projects, fresh inspiration, and ideas you can use again and again.

Your Monthly Creative Escape

Whether you have been stamping for years or you are ready to try something new, you will feel right at home.

Bring a friend—or come on your own and make a new one! Stamp Club is filled with creativity, conversation, encouragement, and plenty of laughter.

Just imagine having something creative to look forward to every month: new folds, new techniques, popular products, beautiful cards, and time spent with wonderful stamping friends.

Ten months. New ideas. Beautiful projects. Wonderful friendships.

Doesn’t that sound like fun? Space is limited in both the morning and evening sessions, so contact me to choose your session and save your seat for the 2026–2027 Stamp Club.

I would love to welcome you to the club and share a whole new year of creativity with you!

Linda
Linda’s Stampin’ Escape
Shining the Light on Creativity

Hugs & Kisses Tent Fold Card

Hello Stampin’ Friends ~

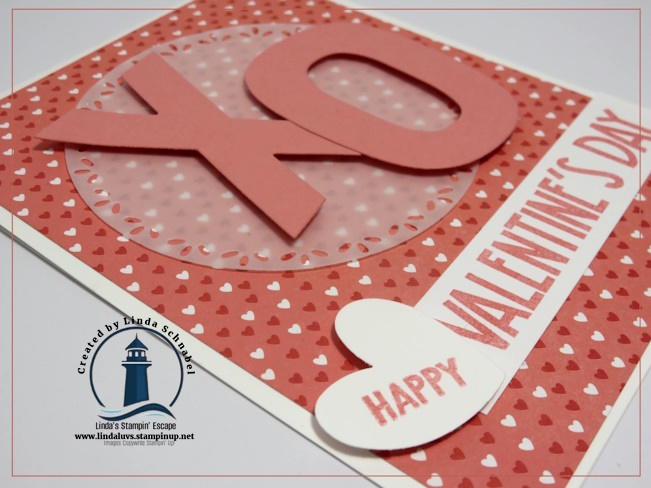
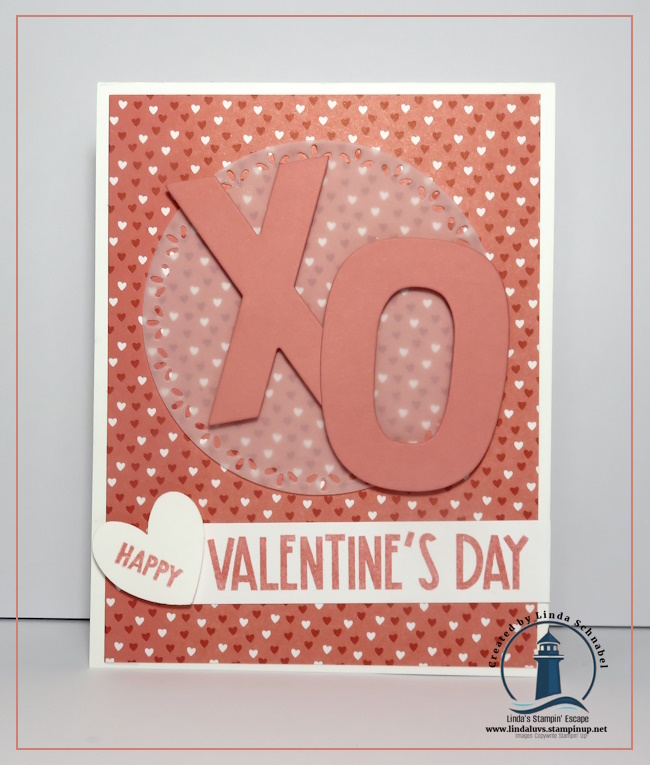
Sometimes it’s fun to take a closer look at those tools in our craft rooms that feel like a bit of an investment—and really explore all the ways they can work for us. Today’s card does exactly that by shining the spotlight on the Party Alphabet Dies in a completely different way. These dies aren’t just for birthdays or big celebrations… they’re perfect for everyday cards, heartfelt messages, and yes—even hugs and kisses!

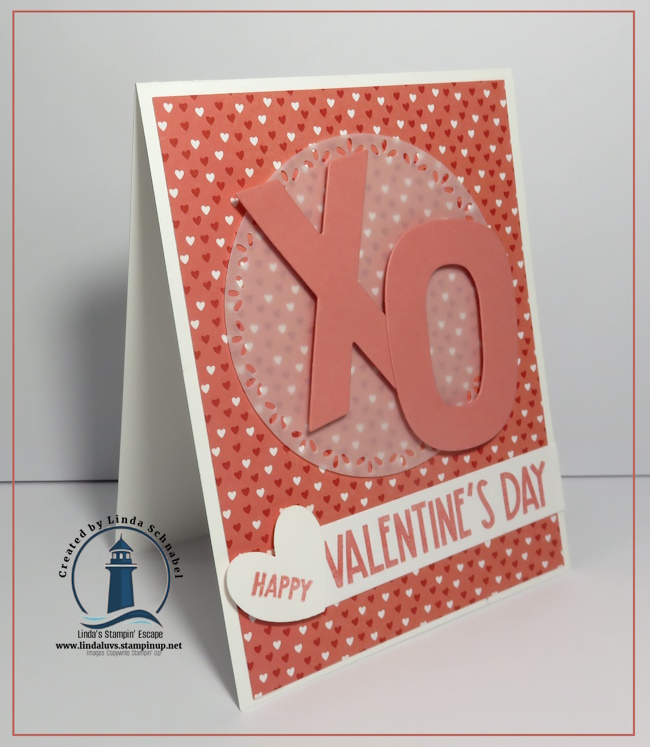
For this project, I started with a classic A2 tent-fold card base, cut to 11″ x 4 1/4″ and scored at 5 1/2″. This simple fold is always a favorite because it’s easy, sturdy, and gives you plenty of room to let your layers and focal point shine. I selected a different pattern from the Made with Love Designer Series Paper and cut it to 4″ x 5 1/4″, mounting it directly to the card front. The delicate pattern instantly sets the tone and makes the card feel cheerful and fun.

Because the designer paper is such a statement on its own, I wanted the focal point to stand out without competing with the background. A soft vellum circle, cut using the Spotlight on Nature Dies, was the perfect solution. Vellum is one of my favorite tricks for grounding a focal point—it softens the busy background while still letting that gorgeous paper peek through.

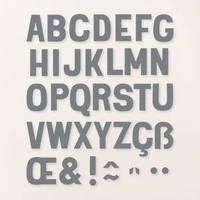
Next came the stars of the show: the X and O, die cut from Flirty Flamingo cardstock using the Party Alphabet Dies. Simple, bold, and full of meaning—who doesn’t love sending hugs and kisses? I popped them up with Stampin’ Dimensionals to add depth and draw the eye right to the center of the card. This is a great example of how these alphabet dies can be used beyond words and names to create symbols, sentiments, and playful focal points for any occasion.

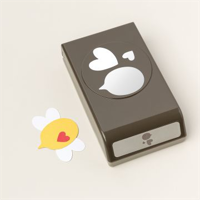
For the greeting, I reached for the sticker sheet that comes with the Made with Love Designer Paper pack. I stamped a sentiment from the Reason to Celebrate stamp set directly onto one of the sticker sections and placed it on the card front. To finish the greeting, I punched a heart using the Bee Builder Punch—how cute is that? It’s such a fun and creative way to use the blank space on the sticker sheet while adding just the right touch of sweetness. Take a peek at the video below …

CLICK HERE TO VIEW ON YOUTUBE

This card is a perfect reminder that versatile products truly earn their place in your craft room showing up again and again in fresh, unexpected ways. The Party Alphabet Dies are a wonderful example of that kind of versatility—perfect for birthdays, celebrations, Valentine’s Day, everyday greetings, and so much more. And don’t worry… there’s plenty more inspiration coming your way!

If this card made you smile, I hope it inspires you to look at your supplies with fresh eyes and have fun mixing patterns, textures, and simple die cuts to create something special. Sometimes it’s those small, thoughtful details that make a handmade card extra meaningful.

Just a reminder to join for our online party filled with inspiration, fun and prize patrol!!

Made to Love: A Slimline Valentine Card with Shimmer & Style

Hello Stampin’ Friends ~

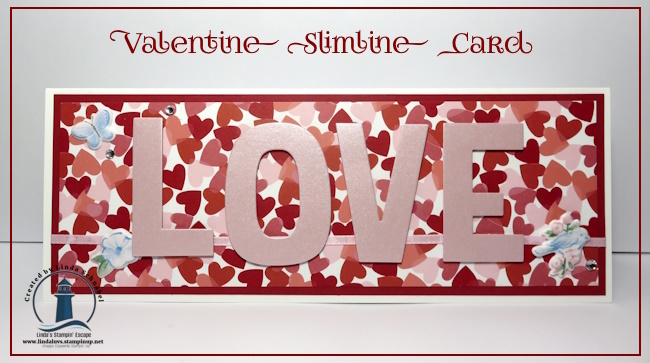
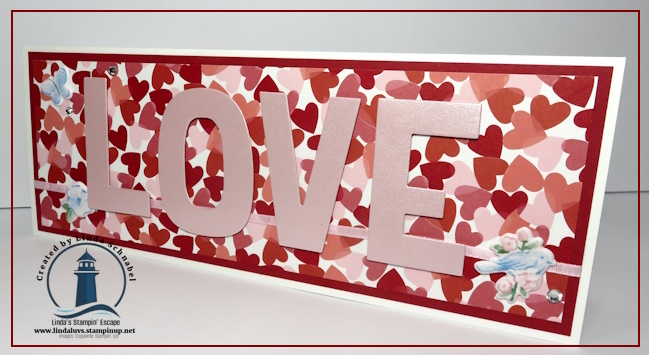
Love is definitely in the air—and this slimline card is the perfect way to celebrate Valentine’s Day in a BIG way! Slimline cards have quickly become a favorite because they offer extra space to showcase gorgeous designer paper and bold greetings, all while still fitting neatly inside a standard #10 envelope (4.125″ x 9.5″). They’re eye-catching, fun to create, and a wonderful option when you want your handmade card to truly stand out from the crowd.

For today’s card, I started with a slimline card base measuring 9 1/4″ x 7 1/2″, scored and folded at 3 3/4″. This size creates a clean, professional look while remaining completely mail-friendly—always a win! To add layers and visual interest, I added a Real Red mat cut to 8 3/4″ x 3 1/2″, followed by the star of the show: the NEW Made to Love Designer Series Paper, trimmed to 8 1/2″ x 3 1/4″. This paper is simply perfect for Valentine projects with its playful patterns and romantic color palette that instantly sets the mood for love.

Before attaching the layers to the card base, I wrapped the NEW Bubble Bath Faux Linen Ribbon across the front. This small step adds softness and texture, and the subtle linen look keeps the design elegant without overpowering the card. It’s one of those details that quietly elevates the finished project.

The greeting is where this card really shines! The word “LOVE” was die cut from the Pastel Shimmer Paper using the Party Alphabet Dies and popped up with Stampin’ Dimensionals for added depth. The Pastel Shimmer Paper adds such a beautiful, soft sparkle—just enough shine to catch the light and make the greeting feel extra special. With delicate pastel shades and a subtle glow, this paper is a lovely addition to cards, scrapbooking, and all kinds of paper crafts. The pack includes 6 sheets (2 each of Bubble Bath, Lemon Lolly, and Pool Party) in a generous 12″ x 12″ size, giving you plenty to play with.

To finish things off, I couldn’t resist adding the Softest Spring Mix & Match Puffy Stickers along with a few Rhinestones. These little embellishments bring in just the right amount of whimsy and sparkle, tying everything together while keeping the overall look light, fun, and full of love.

Slimline cards are a fantastic way to showcase beautiful products, experiment with layers, and create something a little unexpected—yet still practical. This design is perfect for Valentine’s Day, anniversaries, or anytime you want to send a heartfelt message with maximum impact. If you’re looking for products that make creating “wow” cards easy and enjoyable, the pieces used here work together beautifully and are sure to find their way into many future projects. After all, there’s always room for a little more LOVE in our crafting—and in our mailboxes 💕

Thanks for sharing a little crafty time with me today! I hope this slimline Valentine card sparks your creativity and inspires you to give these beautiful products a try. Until next time—happy stamping and keep spreading the love… one card at a time! 💖
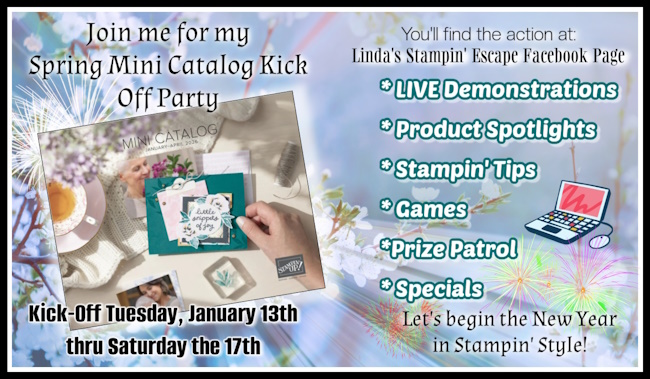
I invite you to join me for the SPRING MINI CATALOG Kick-Off Party ….

Same Fold, New Look… Valentine Card

Hello Stampin’ Friends ~

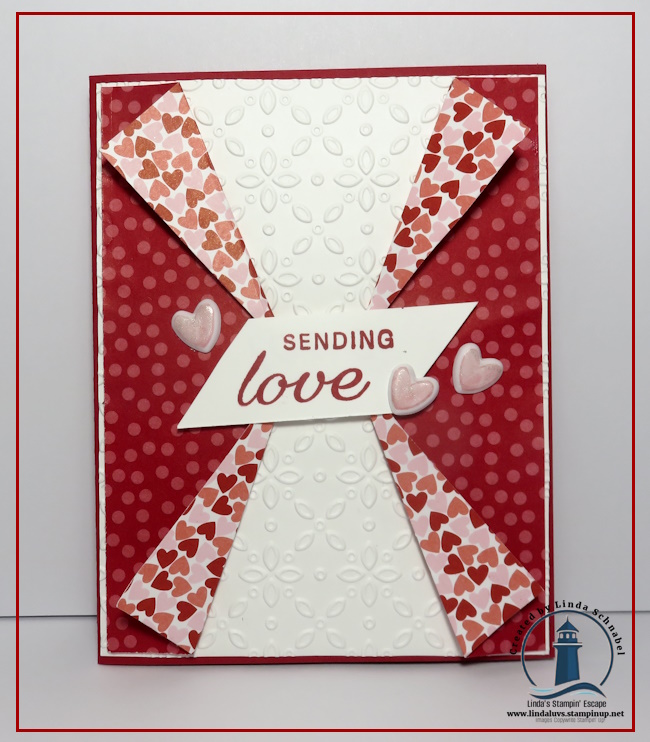
One of my favorite things about card making is how a simple change can completely transform a design—and today’s card is the perfect example of that! This project uses similar measurements and fun fold I shared in my previous post, but with one key twist: instead of using designer paper in the center, I switched it out for cardstock. The result? A totally different look that still delivers that WOW factor while beautifully highlighting the Made with Love Designer Series Paper.

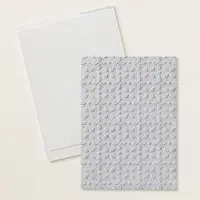
Using cardstock in the center panel creates a wonderful focal point and gives the eye a place to rest, while still letting that gorgeous designer paper shine. It’s an easy way to stretch your supplies, change up the feel of the card, and get even more mileage out of a fold you already know and love. This version feels a little more classic and polished, as I embossed it with the 3-D Eyelet Embossing Folder!

Measurements • Card Base 8 ½” x 5 ½” score at 4 ¼” • Mat / Contrasting Cardstock: 4 ⅛” x 5 ⅜.” • Designer paper 2 @ 1 ¾” x 5 1/4″. The only thing I really changed is the embossing the mat and eliminating the center designer paper!!

If you’re using the Made with Love Designer Series Paper, this layout is a fantastic way to let those patterns do the heavy lifting. Pairing it with cardstock in the center allows the paper to frame the design and truly stand out, making each card feel intentional and thoughtfully designed.

If you missed the original version of this fun fold, be sure to go back and check it out—and stay tuned, because I have even more ideas coming your way using this same amazing designer paper. Great layouts, big impact, and lots of creative fun—that’s what crafting is all about!

Happy stampin’, my friend! 💕✂️ Linda

Don’t forget my Spring Mini Catalog party is going on now, on my Facebook page! CLICK HERE

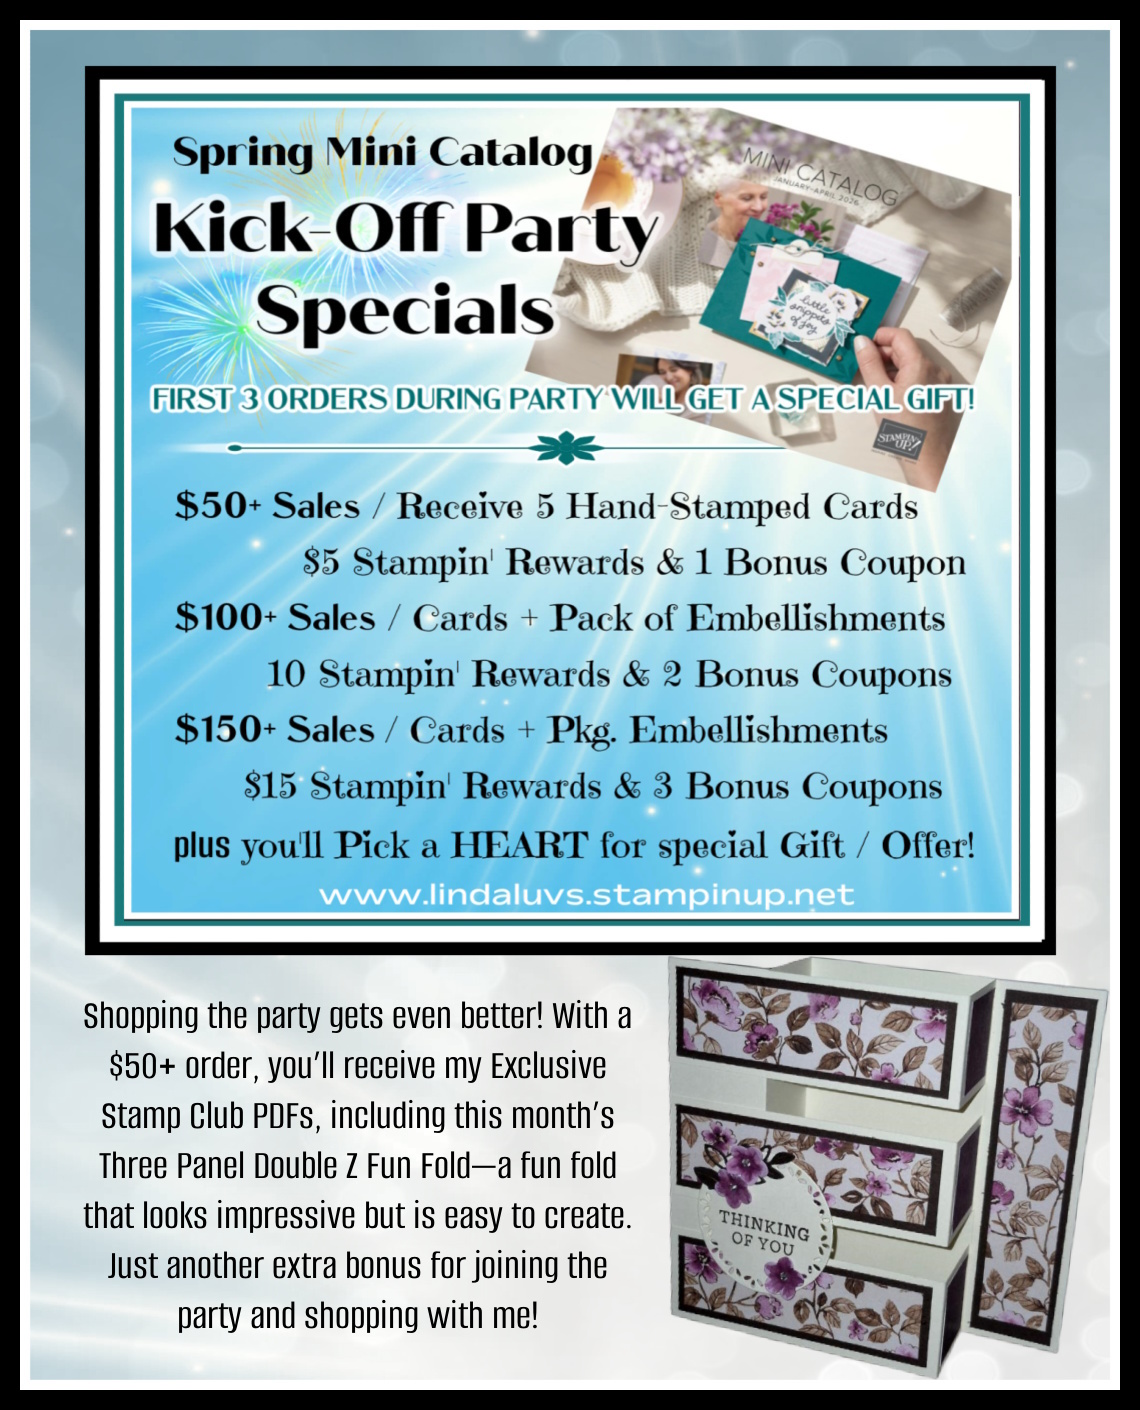
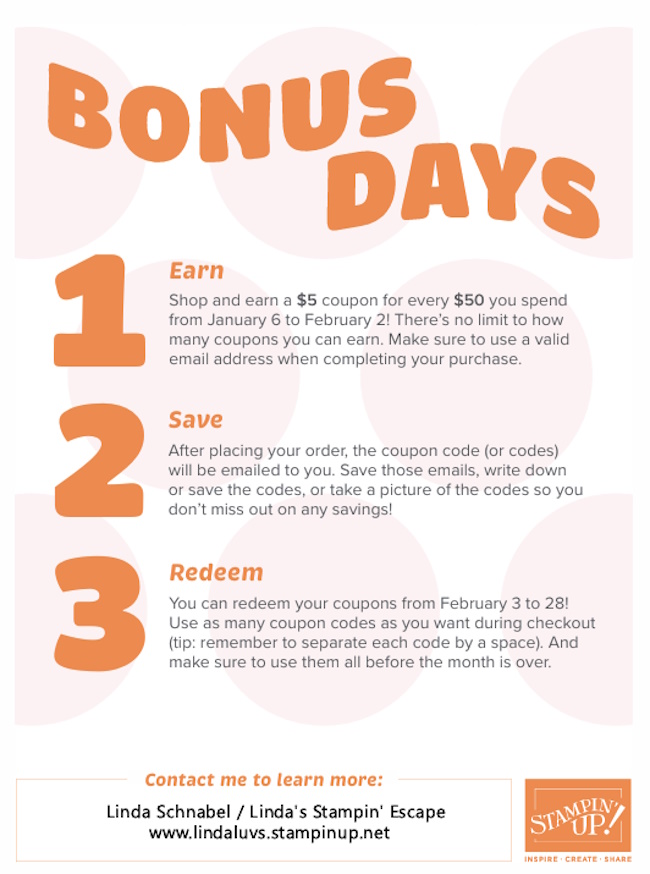
BONUS DAYS HAPPENING NOW ….

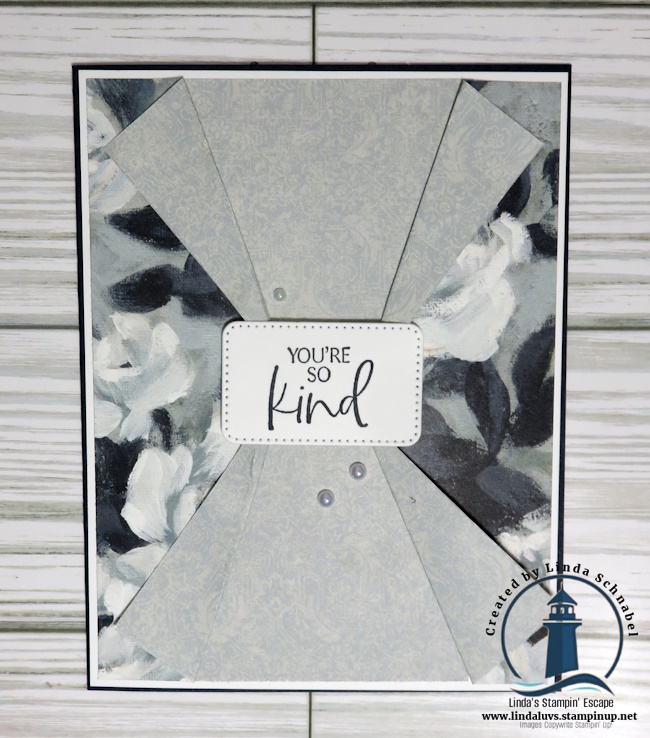
Designer Paper Magic! A WOW Fun Fold

Hello Stampin’ Friends ~

Have you ever fallen in love with a piece of designer paper and thought, I don’t want to waste a single inch of this!? If that sounds like you, you’re going to LOVE today’s project. I’m sharing a fun, eye-catching designer paper fun fold that not only maximizes your paper but also delivers a big WOW factor with very little effort. This is one of those cards that looks fancy and impressive, yet comes together easily—perfect for using up your favorite papers while making something truly special.

One of my favorite things about this fun fold is how efficient it is. With just a few strategic cuts and folds, you’ll be amazed at how much impact you get with little to no waste. It’s a fantastic way to stretch your designer paper, especially those patterns you’ve been hoarding because they’re “too pretty to cut.” Trust me—this design lets the paper shine while keeping the process simple and enjoyable.

In today’s Facebook LIVE REPLAY / YouTube video, I walk you through the entire process step by step. You’ll see exactly how the folds come together, how the layers create that WOW moment when the card is opened, and how easy it is to adapt this design using different designer papers, colors, and themes. Whether you’re crafting for birthdays, thank-you cards, or just for fun, this fold is one you’ll come back to again and again.

🎥 Watch the video below to see this designer paper fun fold in action and learn how to maximize your paper while creating something truly impressive. Grab your supplies, craft along with me, and don’t forget to leave a comment—I’d love to hear which designer paper you’re excited to try with this fold!

CLICK HERE TO WATCH ON YOUTUBE

If you loved this fun fold and the idea of getting more WOW from your designer paper, be sure to check out the supplies I used—you can easily recreate this design or make it your own with papers you already have on hand. This fold is incredibly versatile and looks amazing with just about any designer series paper. And if you’re hungry for more creative ideas, fun folds, and stamping inspiration, make sure you’re subscribed to my YouTube channel and following along here on the blog so you never miss a project. Crafting should be fun, relaxing, and inspiring—and I’m so happy to share that creative escape with you.

Happy stampin’, my friend! 💕✂️

🎉 Join me next Tuesday at 6:30 pm on my Linda’s Stampin’ Escape Facebook page LIVE as I launch my Mini Catalog Kick-Off Party—stamping, inspiration, specials and crafty fun await!