Taking Simple Card-Making to the Next Level

Hello Stampin’ Friends,

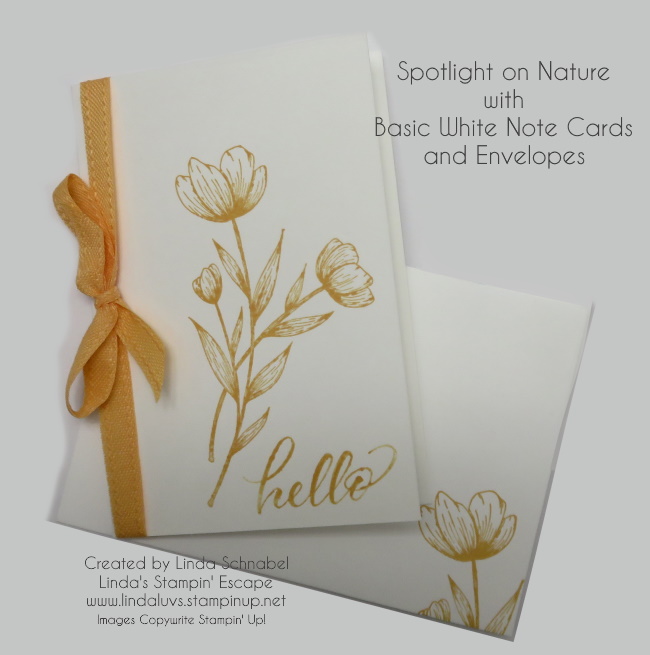
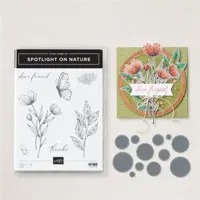
The other day, I shared a simple and fun project using the Basic White Notecards and Envelopes paired with the Spotlight on Nature stamp set, done in our NEW Peach Pie ink color.

CLICK HERE TO VIEW FULL POST

Today, we’re going to elevate our card-making game with a new design that adds an extra pop of color and dimension.

Supplies You’ll Need:

  • Basic White Cardstock (8 1/2″ x 5 1/2″)
  • Basic White Stamping Piece (3 3/8″ x 4 7/8″)
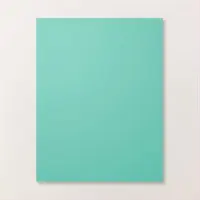
  • Summer Splash Cardstock (3 1/2″ x 5″)
  • Spotlight on Nature Stamp Set
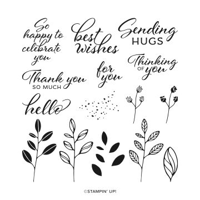
  • Layering Leaves Stamp Set
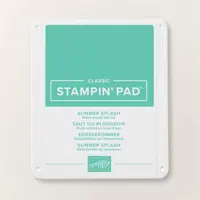
  • Ink Pads in Summer Splash
  • Scoring Tool
  • Bone Folder
  • Your Favorite Adhesive
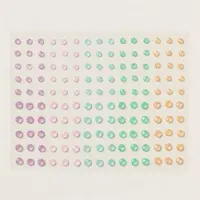
  • 2024-2026 In-Color Shimmer Gems

Steps to Create Your Card:

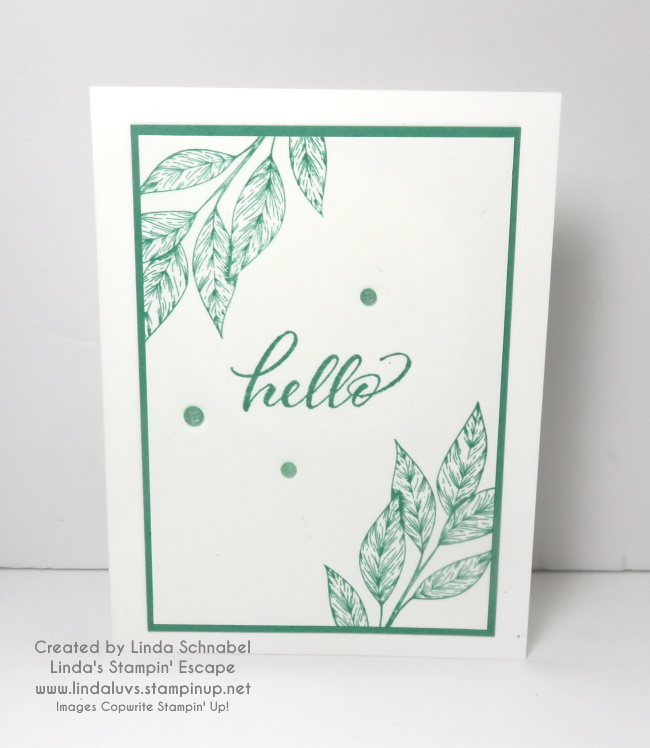
  1. Prepare Your Base: Start with a piece of Basic White Cardstock, measuring 8 1/2″ x 5 1/2″. Score it at 4 1/4″ and fold it in half to create your card base. Use a bone folder to get a crisp fold.
  2. Stamp Your Design: Take the Basic White stamping piece (3 3/8″ x 4 7/8″) and stamp the leaf image from the Spotlight on Nature stamp set in Summer Splash ink. The vibrant greenish blue will bring a fresh and lively touch to your card.
  3. Add Your Sentiment: Choose a sentiment from the Layering Leaves stamp set and stamp it onto your design. This adds a heartfelt message to your beautiful card.
  4. Create the Mat: Cut a piece of Summer Splash cardstock to 3 1/2″ x 5″. This new In-Color will provide a vibrant mat that coordinates and makes your stamped piece stand out.
  5. Assemble the Card: Adhere your stamped piece onto the Summer Splash mat, ensuring you center it for an even border. Then, attach this layered piece to your card base.
  6. Embellish with Shimmer Gems: Complete your card by adding the NEW In-Color Sparkle Gems. These gems add a touch of shimmer and elegance to your design.

Once your card is assembled, tuck it into an envelope and send it to a friend. It’s a quick and easy project that looks sophisticated and stylish, perfect for brightening someone’s day.

Happy crafting! I can’t wait to see what you create with this stepped-up design. Be sure to share your projects and let me know if you have any questions.

Until next time,

Quick & Easy Card with Spotlight on Nature

Hello Stampin’ Friends,

Today, I’m excited to share a quick and easy card design featuring the delightful Spotlight on Nature stamp set and the incredibly convenient Basic White Note Cards and Envelopes. What makes this project even more special is the introduction of our brand new 2024-2026 In-Color, Peach Pie. Just the name alone sounds delicious, doesn’t it? Let’s dive into how you can create a stunning card in no time with these fantastic products.

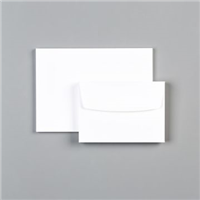
The Basic White Note Cards and Envelopes are a true staple for any card maker. They come pre-cut and scored, ready for you to jump right into the fun part – stamping and decorating! Each pack includes 20 cards and envelopes, making them perfect for creating a batch of cards quickly. These note cards are made of high-quality cardstock that takes ink beautifully, ensuring a crisp and clean image every time.  Folded card: 5″ x 3-1/2″ perfect for gift giving.

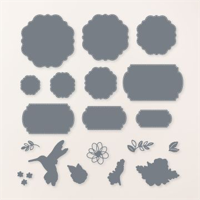
The Spotlight on Nature stamp set is a versatile collection of beautifully detailed images inspired by … nature! It features a variety of flora and fauna, from a delicate flower to beautiful butterfly. This set is perfect for creating heartwarming cards for any occasion. Whether you are an experienced stamper or just starting, the images in this set make it easy to create stunning cards with minimal effort.

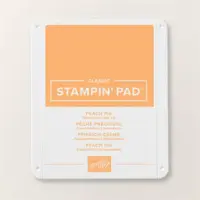
Now, let’s talk about the star of the show: the Peach Pie In-Color. This new hue is as delightful as it sounds, a warm and inviting shade that brings to mind the sweet and succulent peaches of summer. Peach Pie is a soft, pastel orange with a hint of pink undertone, making it incredibly versatile for various themes and seasons. It’s perfect for adding a touch of warmth and cheer to your projects. In fact, you could recreate this card in all our stunning In-Colors!!
Creating a card with these elements is a breeze. Start by folding one of the Basic White Note Cards along the pre-scored line. Next, choose an image from the Spotlight on Nature stamp set – today, our beautiful flower. Ink up your stamp with the Peach Pie ink pad and stamp it onto the front of your note card. The result is a beautifully crisp image that stands out brilliantly against the white background, showcasing the stunning detail of the stamp and the fresh, inviting color. And don’t forget to stamp your envelope!

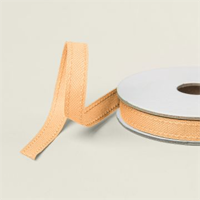
For an added touch, you can stamp a coordinating sentiment from the Spotlight on Nature set, or as I did, the Layering Leaves on the front.” To finish, tie a beautiful coordinating bow onto your note card. The Peach Pie color ensures that your sentiment looks cohesive and elegantly tied into the overall design. The Color Theory (page 132-133) I’m using is called Monochromatic – the use of a single color!

In just a few minutes, you’ve created a beautiful handmade card that’s ready to send out and brighten someone’s day. The combination of the Basic White Note Cards and Envelopes, the Spotlight on Nature stamp set, and our NEW In-Colors makes for an effortlessly chic and charming card-making experience. Whether you’re making a single card or a whole set, these products ensure your creative process is smooth and satisfying.

Thanks for stopping by, I hope this has inspired you to go in your craft room and whip up some delightful quick & easy cards.

The Faux Shutter/Fractured Technique: A Fun Card & Video

Hello Stampin’ Friends ~

Are you ready to elevate your cardmaking game and infuse a touch of whimsy into your projects? Today I’m taking a “mash up” of great products to create this cute card. Showcasing the “Faux Shutter / Fractured” Technique. Using Just Kidding Designer Paper, Perennial Postage Dies, and Layering Leaves stamp set!

Isn’t she adorable!? I fussy cut our little girl (making a card-lol) and used her as my focal point. You begin with a 4″ x 5 1/4″ sheet of designer paper, a square, and 4 – 1/4″ strips to create the shutter or fracture (This technique I found under both names).

Take a look at a prior video I made to see step by step how easy this is to create ….

For today’s card …

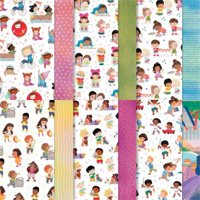
Just Kidding Designer Paper: This playful paper collection features an array of vibrant patterns and whimsical designs, perfect for adding personality to your projects.

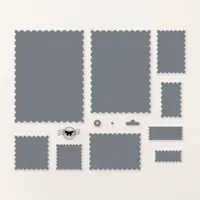
Perennial Postage Dies: These versatile dies allow you to create postage stamp-inspired shapes with ease, adding a charming touch to your card designs.

Layering Leaves stamp set: Embrace the beauty of nature with this stamp set, also featuring a coordinating leaf punch, that add elegance and texture to your creations… however, most of you know that I purchased this for it’s beautiful sentiments and lovely font! I use these on any design, any season!

I have over 175 Video’s on my YouTube channel that feature different techniques, products, quick tips and more. It’s a GREAT resource if you are looking for inspiration! JUST CLICK HERE.

Don’t forget to hit the SUBSCRIBE button so you’ll be notified when I’ve added another video!

Thank you for joining me this Monday, I hope you have a great week!!

Timeless Charm of Sending Love Bundle

Hello Stampin’ Friends ~

Let me begin by saying … Don’t you just love it when everything coordinates!! In a world inundated with digital communication, the act of sending love through traditional mail holds a unique power to brighten someone’s day and make them feel truly cherished. And what better way to convey your affection than with a beautifully designed card adorned with intricate dies and heartfelt sentiments?

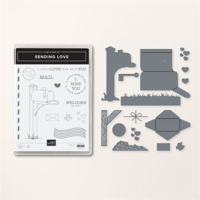
Enter the Sending Love Bundle, a delightful ensemble of crafting essentials that elevates the art of cardmaking to new heights. At its core are the versatile dies that serve as the cornerstone of creativity, allowing you to effortlessly add texture, dimension, and visual interest to your projects … our mailbox which creates the focal point to the clouds which balances out our card.

But the magic doesn’t stop there. The Sending Love Bundle seamlessly integrates with other Stampin’ Up! products, amplifying their impact and versatility. Take, for instance, the Sending Hugs sentiment from the Layering Leaves stamp set—a perfect complement to the theme of affection and warmth. Paired together, these elements create a harmonious fusion of sentiment and design, culminating in a card that speaks volumes without uttering a single word.

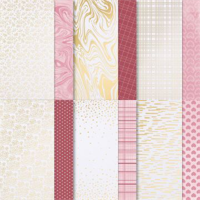
And let’s not forget about the exquisite Most Adored Designer paper, featuring a specialty sheet adorned with shimmering gold foil hearts. This exclusive Sale-a-bration item adds a touch of opulence and sophistication to your creations, transforming ordinary cards into extraordinary works of art. With its elegant patterns and luxurious finish, it serves as the perfect backdrop for your heartfelt messages, further enhancing their impact and resonance.

As we approach the end of Sale-a-bration on February 29th, now is the perfect time to seize the opportunity and stock up on these crafting essentials. So why wait? Dive into the world of cardmaking and unleash your creativity with the Sending Love Bundle.

Whether you’re sending a note of encouragement, celebrating a milestone, or simply reaching out to say hello, there’s no better way to make someone’s day than with a heartfelt message in the mailbox…. And “cash” fits in there nicely too!

Thank you for checking your mailbox and my blog post today!

Here is the list of core supplies used for today’s card …

Gorgeous Garden Card in Pink & Black

Hello Stampin’ Friends,

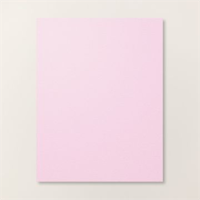
Today I’m sharing my Pink & Black Gorgeous Garden Card with you because I had so many comments on this card. The pale pink of the Bubble Bath cardstock and the stark Basic Black imagery from the die really creates a stunning impact.

The dimensions are pretty tight on this one because I cut the black pretty close to the size of the die. Basic Black card base is as usual: 8-1/2″ x 5-1/2″ scored and folded at 4-1/4″. My Bubble Bath is cut to: 5-7/8″ x 4-1/8″ and the black for the die cut is 5-7/8″ x 4.

I used the Tombo Liquid glue to secure my die cut floral onto the Bubble Bath mat … making sure I got all the edges and parts of the design that may pop up (like the buds). The greeting comes from Layering Leaves (my GO TO stamp set for sentiments) and was die cut with the circle die from the Stylish Shapes (another must have in your stash!). It’s stamped with Memento Ink.

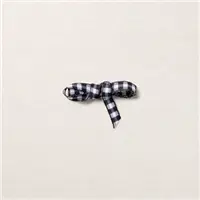
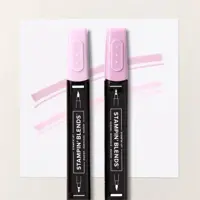
I dyed my ribbon using the Bubble Bath Stampin’ Blend …. use your brush tip and using the side of the brush, gently slide it down the ribbon. You don’t need much pressure because the Alcohol Ink will absorb easily into your ribbon. Let dry (it dries rather quickly). I secured the ribbon from the pink mat on the card front and tied a bow and trimmed off the ends. I used dimensionals to pop up the greeting and then I tucked it behind my ribbon.

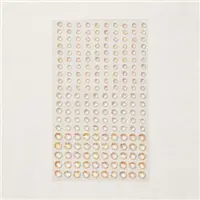
To complete my card I used the Iridescent Rhinestones to add a little sparkle, and these rhinestones pick up the colors that your using on your card, so it enhances the pinks on today’s card!

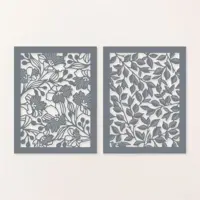
Image the possibilities that you can create with this die alone, and there a two dies in the Gorgeous Garden Dies … the leaves I shared with you yesterday.

Have a wonderful Thursday and Thank You for spending a part of your day with me?

Creating Cool Card with Fun Techniques & Gorgeous Garden Dies

Hello Stampin’ Friends ~

I’m excited to share the cards from my Facebook LIVE last night and the bonus card I promised. You’ll see simple / fun techniques that will enhance the Gorgeous Garden Dies and take your cards to the next level. Layering, Sponging and Blending Brushes Oh My!

Let’s watch the video first and then I’ll highlight the cards ….

So what do you think? So pretty … right!! Let’s start with my first card. Layers of color on color, or should I say white. The Basic White card base is 8-1/2″ x 5-1/2″ then scored and folded at 4-1/4″. Each of the white die cut pieces are 4-1/8″ x 5-7/8″ … be sure to center your die before cutting so they line up nicely.

I will share details on the pink card tomorrow ….

Our next card has an Basic Black 8-1/2″ x 5-1/2″ then scored and folded at 4-1/4″. Then you will need one Basic Black and one Basic White piece cut at 4-1/8″ x 5-7/8″. The black piece is die cut and the white piece will be colored with Daffodil Delight, Pumpkin Pie, Old Olive, Cajun Craze and Cherry Cobbler and the use of Blending Brushes.

Ok … now we are going to use up the items we had left for the Facebook LIVE. Please note that we will be using the same dimensions on this card as we did on the last, and then I’ll let you in on a few changes.

Let’s begin with the white piece we colored with the blending brushes … this is the piece we will die cut. Then attach it to the Basic Black piece of cardstock using your glue as shown in the video.

NOW … we are going to trim or die cut piece down to 5″ x 3-3/4″. You can use your paper cutter or a guillotine cutter that works great. Once trimmed down, layer the card front onto a piece of 5-1/4″ x 4″ Old Olive cardstock, then layer onto your Basic Black cardbase.

We’ll mount our greeting onto a piece of vellum cardstock and pop it up using Stampin’ Dimensionals, and then embellish it with the In-Color gems. As I stated in the video, you can use some of the left over colored paper for the inside of your.

I’m not sure which one I prefer … the black die cut layered over the color or the colored die cut layered over the black. Either way they both look cool and I love they layered white … it’s so delicate and subtle.

Thank you for joining me today, it’s appreciated.

Enjoy your day,

Do You Believe?

Hello Stampin’ Friends ~

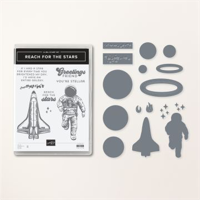
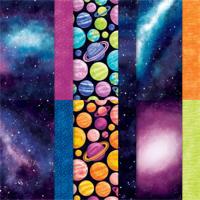
I have been sharing cards the past several day using the Stargazing Suite / Reach for the Stars bundle but Did You Know that TODAY is world UFO Day!! My timing couldn’t be better … LOL

There used to be quiet a stigma around believing in UFO’s however the latest survey states 65% believe their is life beyond us … Men are more inclined to believe in extraterrestrial life — 70 per cent versus 60 per cent of women. More than three-quarters of people under the age of 30 are believers versus 57 per cent of those over 50 years old.

Meanwhile, I’m just having FUN making cards, and I created a UFO just for this day. I used the circle die from Stylish Shapes because it added texture, then I die cut the larger of the rings, both were die cut from the Holographic paper ….

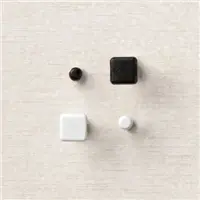
I cut the exposed circle from the bottom as I wanted to make it look like a spaceship and not a planet with rings! I then added 3 windows, also known as the Black Square Brads! If I was to do my windows over, I would follow the line of the ring instead of being straight across.

I die cut three flames that power my UFO from some of the 1/2 planets on the designer paper.

My greeting comes from the Layered Leaves stamp set and was die cut with the banner from Stylish Shapes. I also cut a mat for behind it. Both the mat and the card base are Blackberry Bliss … YES, you can use colors that are not listed on the coordinating color list for your designer paper. The Blackberry really pulled the darker shades out.

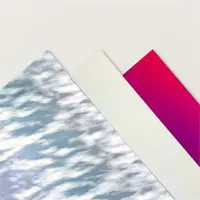
The mat to my designer paper is the Holographic paper … but before I glued down my designer paper, I cut that UFO and stars out first. I don’t want to waste any of that cool specialty holographic paper … I use up every bit. Needless to say, I have lots of extra stars! I used some on this card.

So …. What do you think? Did I nail it? Does it look like a UFO? I have to say, playing with this suite has taken my mind to places I normally don’t think of when stamping … it’s FUN!

Speaking of fun, hope you are having some this weekend!

Thank your for popping in today.

Please Note that the Designer Paper is NO Longer on sale … Sale ended 6/30 however this blog post was created prior to the end of the sale.