Crafting Magic with Flight & Airy Designer Series Paper, Heartfelt Hello’s Stamp Set, and Everyday Detail Dies

Hello Stampin’ Friends ~

Today, we’re diving into the realm of creativity and exploring the delightful synergy that occurs when we combine versatile crafting materials. In this blog post, we’ll shine a spotlight on three amazing products: the Flight & Airy Designer Series Paper, the Heartfelt Hello’s Stamp Set, and the Everyday Detail Dies. While not a bundle per se, these items harmonize effortlessly to unlock a world of artistic possibilities. Best part? The Flight & Airy Designer Series Paper and the Heartfelt Hello’s Stamp Set are available in the Sale-a-bration catalog, making them even more irresistible with qualifying purchases, because they are exclusive and FREE!

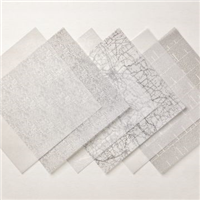
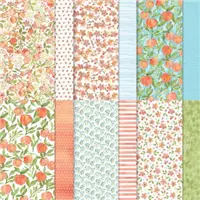
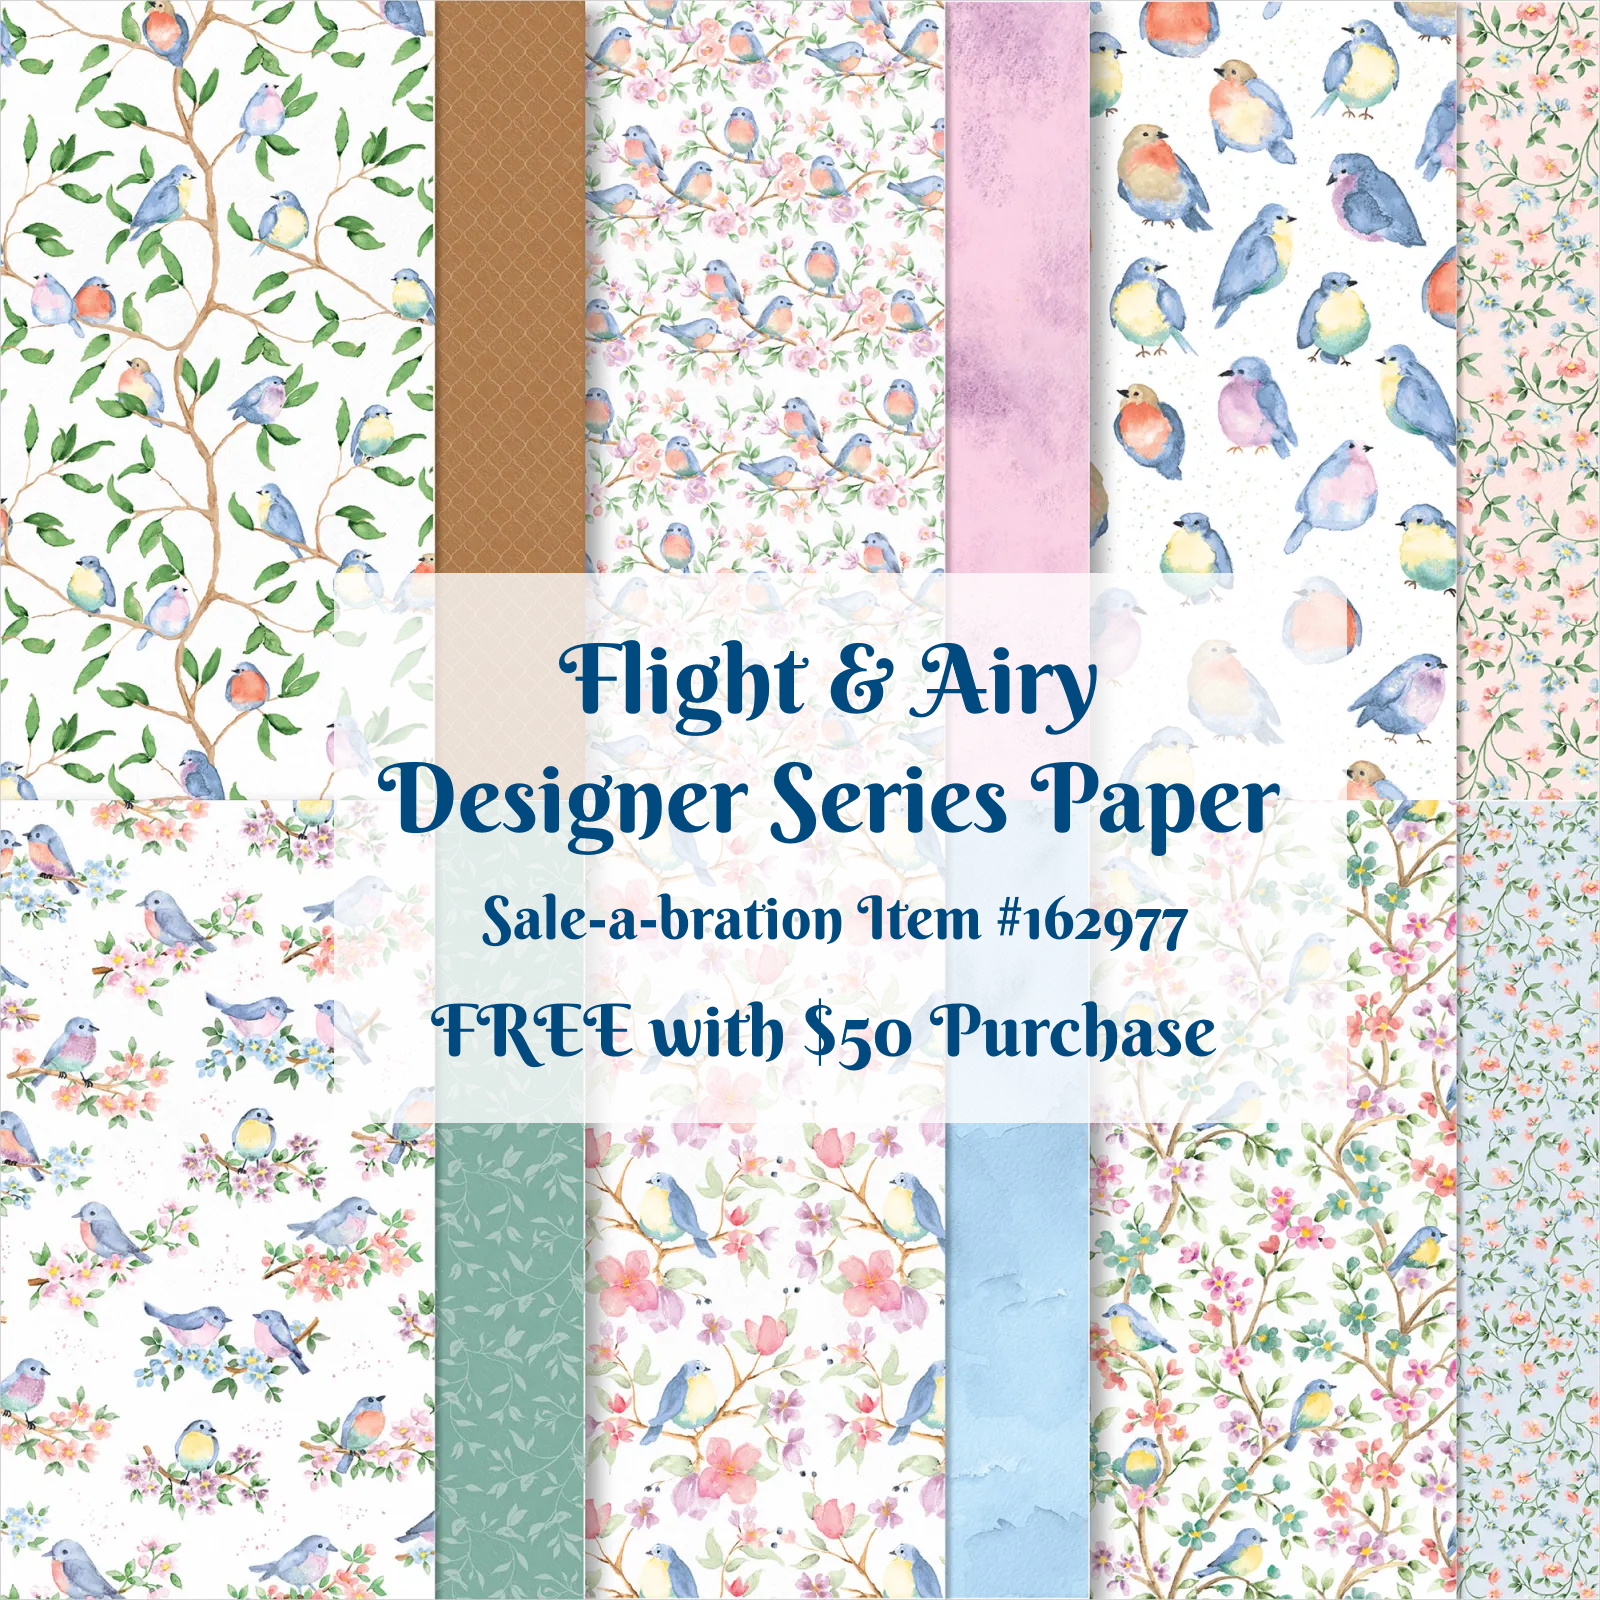
Let’s start with the Flight & Airy Designer Series Paper. True to its name, this paper collection exudes a sense of lightness and elegance. With its dreamy patterns featuring delicate florals, beautiful birds, and soft color palette, it’s perfect for adding a touch of whimsy to any project. Whether you’re creating cards, scrapbook layouts, or home decor pieces, this paper serves as a versatile backdrop that sets the stage for creativity to take flight.

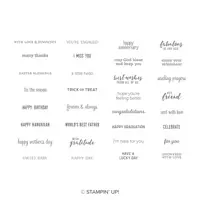
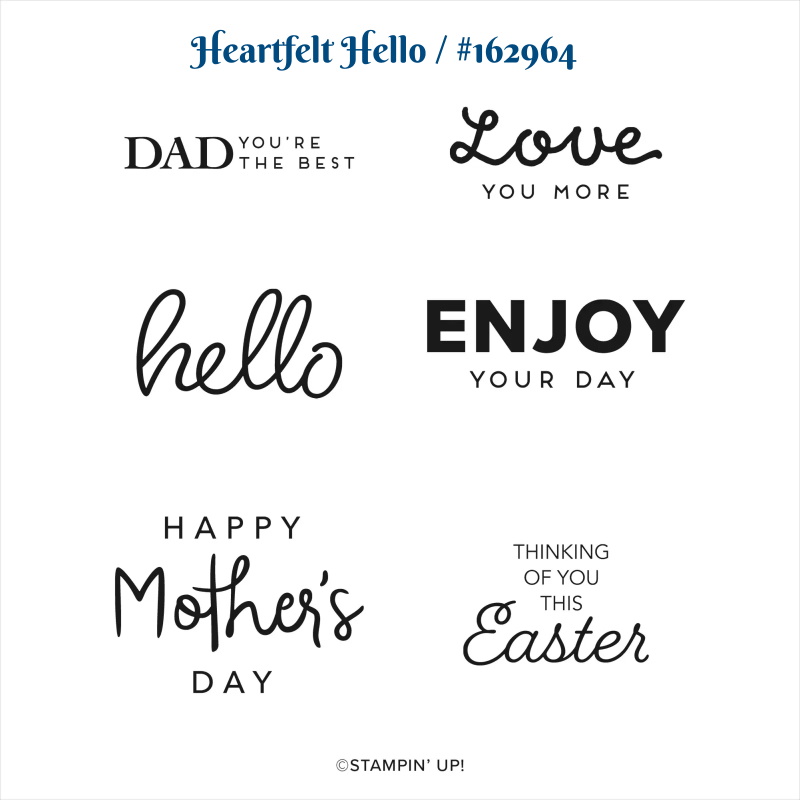
Next up, let’s talk about the Heartfelt Hello’s Stamp Set. This stamp set is all about spreading love and positivity with its heartfelt sentiments and charming imagery. From sweet greetings to thoughtful messages, each stamp is designed to convey warmth and sincerity. Paired with the Flight & Airy DSP, it adds a personal touch to your creations that’s sure to make hearts flutter.

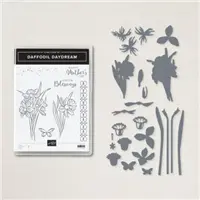
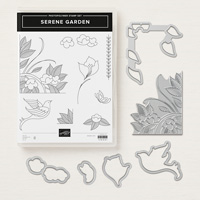
Last but not least, let’s explore the Everyday Detail Dies. These versatile dies are the perfect finishing touch for your crafting projects, adding intricate detail and dimension with ease. Whether you’re die-cutting delicate embellishments or creating striking borders, these dies elevate your creations to new heights of beauty and sophistication.

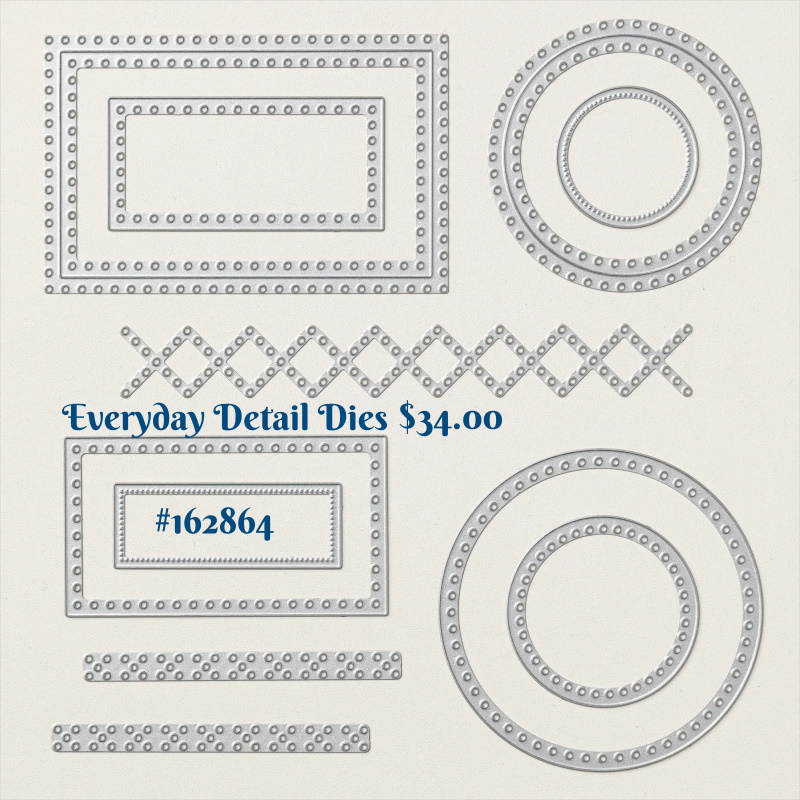
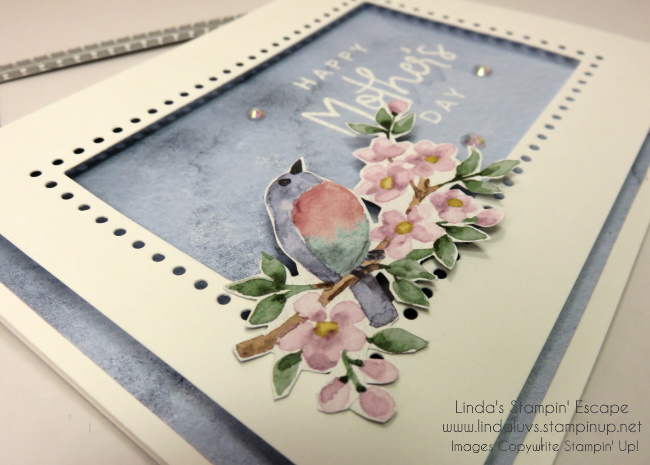
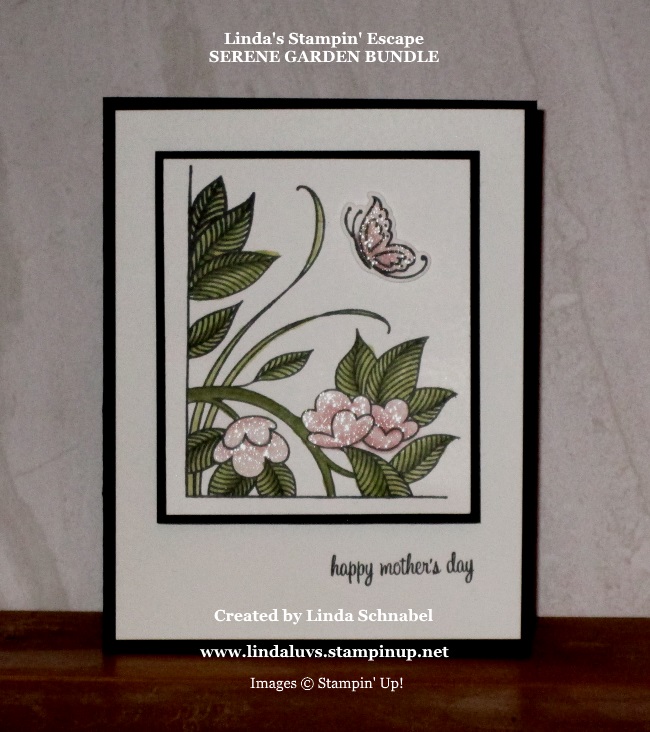
Now let me show you how these 3 items work together like a beautifully choreographed dance. For both of my cards I am using the Largest of the rectangle dies (upper left-hand corner of picture above), this die cuts two ways. I started with a piece of Basic White cardstock cut to 5″ x 3 3/4″, as it cuts, it leaves you with two pieces … a frame and a second rectangle I’ll use on the “second” card. Let’s look at our framed design:

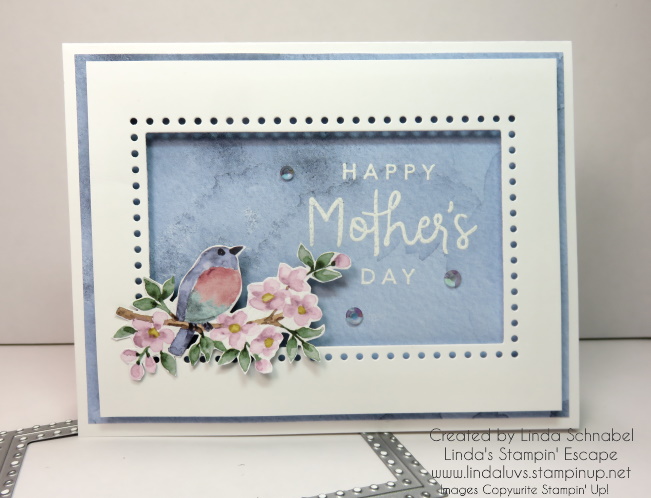
The designer paper in the back was cut to 5 1/4″ x 4″ so it would peek out from behind our frame. The beautiful bird was “fussy” cut from the designer paper and our greeting was Heat Embossed in white and embellished with the Iridescent Rhinestones … just a little bling for mama.

Here you will get a good feel on all the dimension this adds to your card …

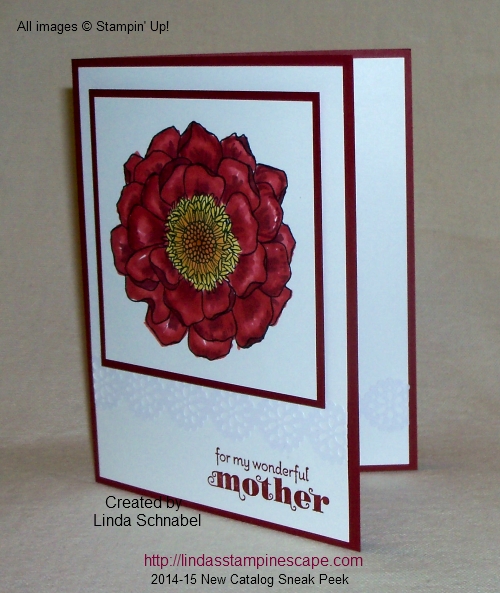
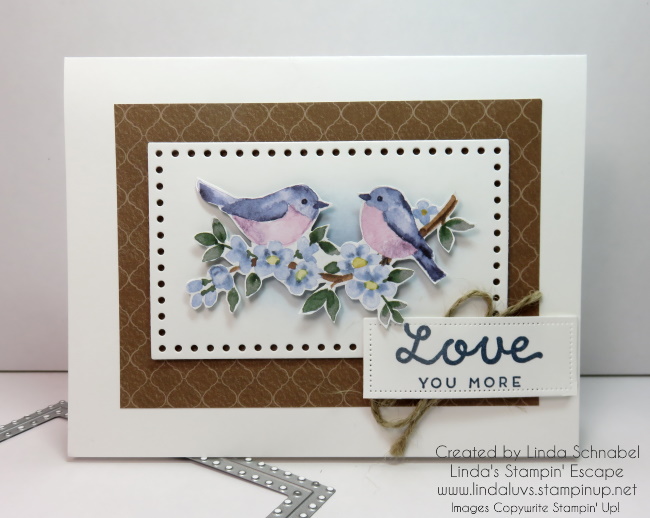
Time to shift our creativity to the center piece of the large rectangle die cut. Let’s begin with some Misty Moonlight and our blending brushed for just a hint of color to highlight our birds. Our backdrop piece of designer paper also comes from Flight & Airy and was cut 3/4″ larger than the rectangle piece.

Our greeting, from the Heartfelt Hello stamp set was stamped with Misty Moonlight Ink and die cut from the smallest rectangle in our featured die set today: the Everyday Details Dies.

In the world of crafting, the possibilities are truly endless, and the Flight & Airy Designer Series Paper, Heartfelt Hello’s Stamp Set, and Everyday Detail Dies are here to help you unlock your creativity and bring your artistic visions to life. Whether you’re a seasoned crafter or just starting out, these products offer a winning combination of beauty, versatility, and fun. So why wait? Dive in, unleash your imagination, and let the magic begin!

Thank you for joining me today. Have a Happy Wednesday!

Daffodil Delight “Mothers Day” Card Tutorial

Hello Stampin’ Friends ~

Yesterday I shared the Kite Delight so I thought it was only fitting to continue the delight with the Daffodil Delight Bundle, and just in time for Mother’s Day. I’m inviting you to join me for “Card Tutorial” week!

Each day I will feature a new card along with the dimensions, and a step by step tutorial of each card. I will also share a list of supplies in case something catches your fancy and you would like to add that item to your stamp room.

Measurements: 

  • Card Base: Balmy Blue 4.25 x 11” folded to 4.25” x 5.5”
  • Layer #2: Striped Balmy Blue DSP Pattern 4” x 5.25”
  • Layer #3: Balmy Blue 1.5” x 5.5”
  • Layer #4: Vellum 2”x 5.5”

Instructions:

  • Cut and score card base. Fold in half.
  • Cut striped Balmy Blue DSP pattern to 4” x 5.25”. Mount to card front.
  • Cut a piece of Balmy Blue cardstock to 1.5” x 5.5”. Mount to card front 1” from left side. See card for placement.
  • Cut a piece of Vellum to 2”x 5.5”. Center and layer on top of Balmy Blue piece.
  • Die cut Pear Pizazz cardstock using long stem and leaf die.
  • Die cut Daffodil base flower layers in Daffodil Delight.
  • Die cut Daffodil top flower layers in Crushed Curry.
  • Assemble Daffodil flower. Pop the center of the flower using Dimensionals.
  • Add assembled flower to stem using adhesive.
  • Tie a bow around stem using linen thread.
  • Adhere assembled daffodil and stem onto vellum. See photo of card for placement.
  • Stamp “Happy Mother’s Day” onto a 2.5” x 1” piece of Basic White cardstock. Flag the right end using scissors.
  • Stamp two butterfly images in Tuxedo Black ink onto basic white card stock. Color using Calypso Coral Stampin’ Blends. Cut the two butterflies out using the butterfly die. Adhere to card from using adhesive.
  • Add three clear Polished Dots to card front. See card for placement.

I love the soft colors … the blue and yellow truly compliment each other.

Thank you for taking time out to visit my blog … Please feel free to join me tonight for my FACEBOOK LIVE at 6:30 pm.

Have a great day ~

TODAY’S STAMPIN’ SUPPLY LIST … If you liked the products used in today’s projects, I have links for you below. Just click on the item you would like more information on, or to begin your shopping. It will take you directly to my website. Thank you

Simply Sunday: Serene Garden

Hello Stampin’ Friends ~

I hope this day finds you well … and I wish all you ladies out there a Happy Mothers Day… we all nurture in some way or another. Today I have the perfect stamp set to celebrate women everywhere; the Serene Garden stamp set.  I find this stamp set simply stunning and I just had to have it. It has a bit of that Art Deco flair so I did it in black and white and a touch of pink …

The whispy flow of the greenery really draws your eye to the card and it was colored using the Stampin’ Blends … same with the flowers, they were gently colored with the Petal Pink duo to create some depth.  I colored the butterfly the same way and cut it out with the coordinating die. Let’s not forget that Wink of Stella … that is what gives the flowers and butterfly that beautiful sparkle.

The entire piece was popped up with the Stampin’ Dimensionals and the greeting comes from the Itty Bitty Greetings stamp set.

I am sad that this beautiful stamp set, Serene Garden will be retiring in less than a month. Stop back tomorrow, I have another card I’d like to share with you that my clubs did this month.

Till then, enjoy your day! Thank you for taking time out of your day to visit with me.

TODAY’S STAMPING SUPPLY LIST: If you would like to purchase any of the items I used to create this card and don’t have a demonstrator, I’d be honored to be your creative coach. With each $50 purchase, you will receive a Rewards Point, when you collect 10, I will send you a coupon for a FREE Stamp set of your choice. Just click on any of the items to get to my online store. If you have any questions, please message me.


Happy Mother’s Day! (Sneak Peek)

Happy Mother’s Day to all my stampin’ friends,

Wishing all you Mom’s out there a wonderful and peaceful day.  And a big “Welcome” to all my new friends who have recently signed up to follow my blog.

What better gift could I give than to share a “sneak peek” from our upcoming 2014-15 Annual Catalog.  I chose a beautiful flower … the new “Blended Bloom”.  It was love at first sight, and I knew I had to have this one.

000_1054

My base card is Cherry Cobbler and Whisper White.  The flower is stamped with the new “Momento” Ink pad.  Looks a lot like the StazOn, but does not smell as good.  It is however designed to work with the new “Blendabilities” markers.

Most of the blendabilities come in a 3-pack.  I have used the Daffodil Delight and the Cherry Cobbler Assortments.  They are really easy to work with.  If you like to color and take your time blending … it’s your dream.  However, if you like a quick color, they work pretty nice for that too.  It did not take me long to color in and blend these colors together.

I added a bit of “lace” for Mom with the “Delicate Details” lace tape.  Holy cow is that easy to work with!!  It’s lightly tacky so you can place it down, and then reposition if you have too.  No adhesive needed … just assembly 🙂  I also tucked a strip of the lace on the inside of my card too.

000_1055

My Mother’s Day greeting comes for the “Delightful Dozen” stamp set and is stamped in Cherry Cobbler.  I regret to say that this fabulous set in on the retirement list 😦

I hope you enjoyed the sneak peak.  I’m sure you’ll be seeing a lot more of that flower from me!

Thank you so much for taking time out of your Mother’s Day to visit with me and my blog.

Happy Mother’s Day and Happy Sunday to all ~

blog-closing-small