Simply Sunday: Frosted Impressions Technique

Hello Stampin’ Friends ~

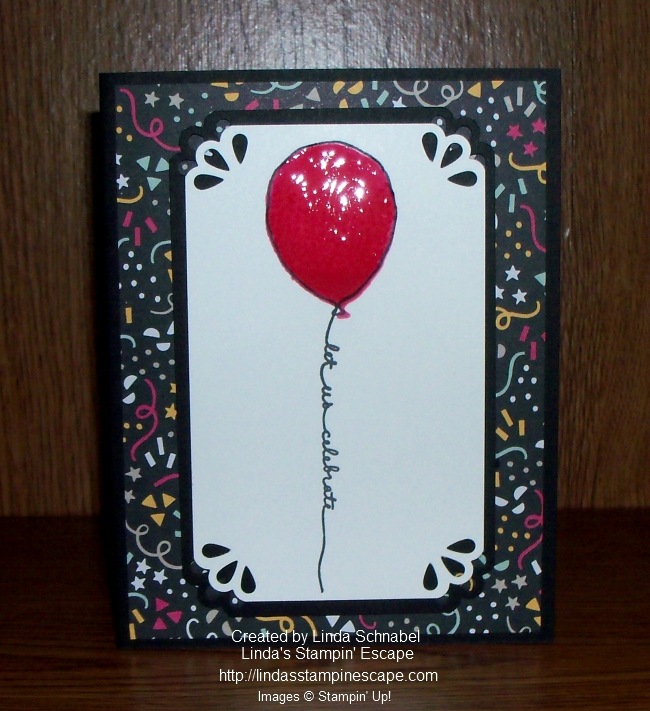
I am back today with a quick and simple card that highlights a new technique that my technique clubs learned this month … Frosted Impressions Technique

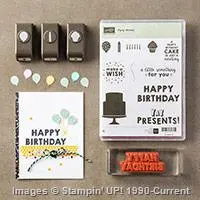
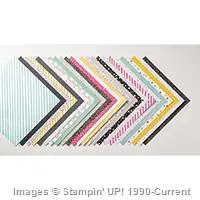
Let me start with the great new product suite: It’s My Party! I picked the “Party Wishes” and “Party Punch Pack” bundle. This cute stamp set and the coordinating punches are the focal point of the card. I also used the “It’s My Party” Designer Series Paper.

000_3029

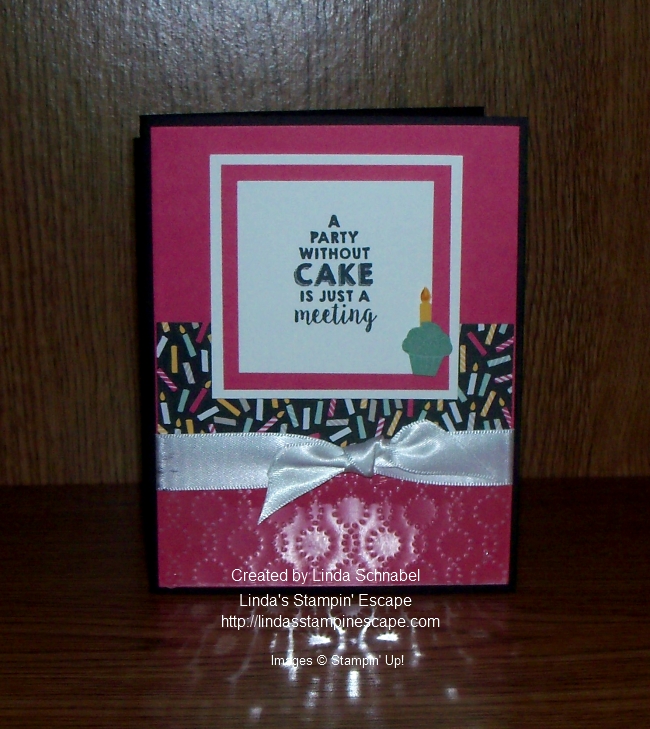
The cute greeting “A Party Without Cake is Just a Meeting” is embellished with a cute little cupcake which coordinates so sweetly with our candle designer paper.

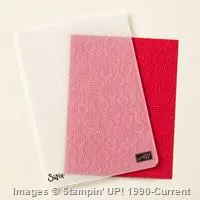
The bottom of the card has the “Frosted Impressions” technique made created with the “Elegant Dots” embossing folder and Window sheets! Once you run it through the Bigshot you sand the impressions to give it that “frosted” look.

We even continued the party on the inside of the card by wishing you a “Happy Birthday” … with a cute little stamped cupcake!

000_3032

Stop back tomorrow and I’ll have a Step by Step Illustration and another card sample for you!

Till then … Thanks for stopping by and have a great day!

blog-closing-small

TODAY’S STAMPIN’ SUPPLY LIST …


Birthday Balloons …

Hello Stampin’ Friends ~

Today I want to share with you a card that I have “stepped up” from the Simply Sunday card I posted …

000_2991

On Sunday’s card I stamped a single balloon, today’s card we have multiple balloons. This is done by the “Masking Technique”.

Here are the step by step instructions …

1]   Stamp image on card stock.

2]   Stamp it again on a piece of scratch paper.

3]   Cut carefully around the scratch paper image, cutting just inside the lines; this will be your mask.

4]   Place the mask on top of the card stock image.

5]   Stamp another image over a portion of the mask to create layered, interacting images.

6]   Remove the mask to see the finished look.

7]   To stamp a partial image, use tape to cover the part of the stamp you don’t want to appear, ink the stamp, remove the tape, and stamp the image.

QUICK TIP
To ensure that the mask stays in place, stamp image on a Post-It® note.

Here is my “Stepped Up” card using the Masking Technique …

000_3025

When you stamp your secondary balloons – you go over the first, your mask will cover (protect) the first balloon. Your secondary balloons will appear as if they are behind the first one!  It’s so cool and so easy to do.

Just like the first card, I used the “Party Wishes” stamp set and the “It’s My Party” Designer Series Paper Stack. I added highlights to the balloons using the “Chalk Pen” and then covered the balloons with Crystal Effects.

I used the Bow Builder punch to get the cute little edges on my birthday banner. Just because it’s a punch to create bows … don’t let that stop you from finding other ways to use it!!

Hope you enjoyed today’s card … I thank you for checking it out.

Have a wonderful day today!

blog-closing-small

Today’s Stampin’ Supply List …

000_3025