
Hello Stampin’ Friends ~
Ready to chill? There’s something so relaxing about the beach—the sound of the waves, the warm sand beneath your feet, and treasures waiting to be discovered along the shoreline. That’s exactly the feeling I wanted to capture in today’s project!
This interactive fun fold features the beautiful Rolling Waves Bundle and the gorgeous Waterside Retreat Designer Series Paper to create a peaceful seaside scene that’s full of texture, dimension, and a delightful surprise.
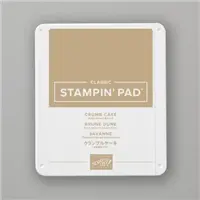
At first glance, your eye is drawn to the layered waves gently rolling onto the sandy beach. I created the shoreline by softly blending Crumb Cake ink for the sand and Pool Party for the water before layering the coordinating wave dies for incredible depth. The delicate shells, starfish, and a touch of Bakers Twine add just the right finishing touches, making this card feel like a peaceful day spent along the shore.
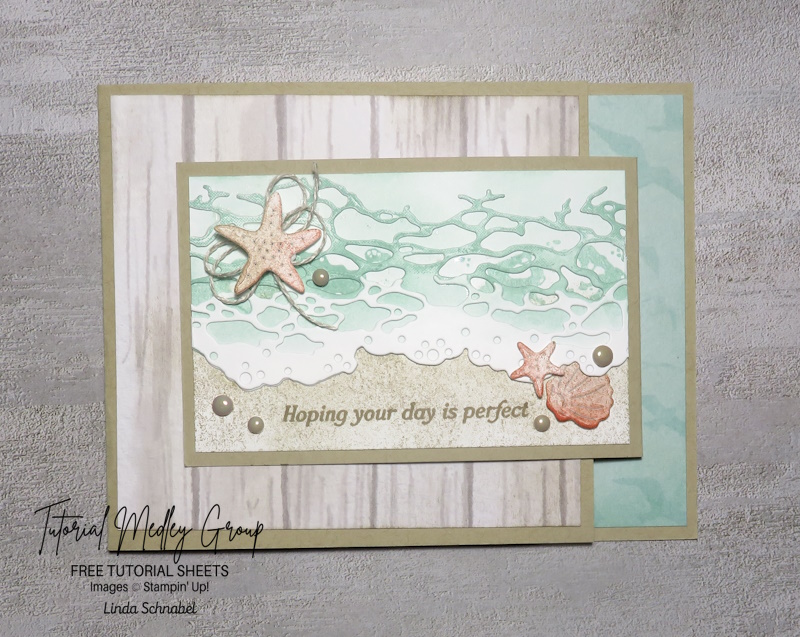
One of my favorite details is the weathered wood Designer Series Paper on the front. By lightly sponging Crumb Cake ink over the pattern, it softens the design while tying all of the colors together beautifully.
But that’s only the beginning…
Open the card and you’ll discover another card tucked neatly inside! As each layer unfolds, it creates a fun interactive experience that’s sure to bring a smile to your recipient’s face. It’s one of those cards that looks wonderfully intricate but is actually quite easy to assemble once you see how all the pieces fit together.
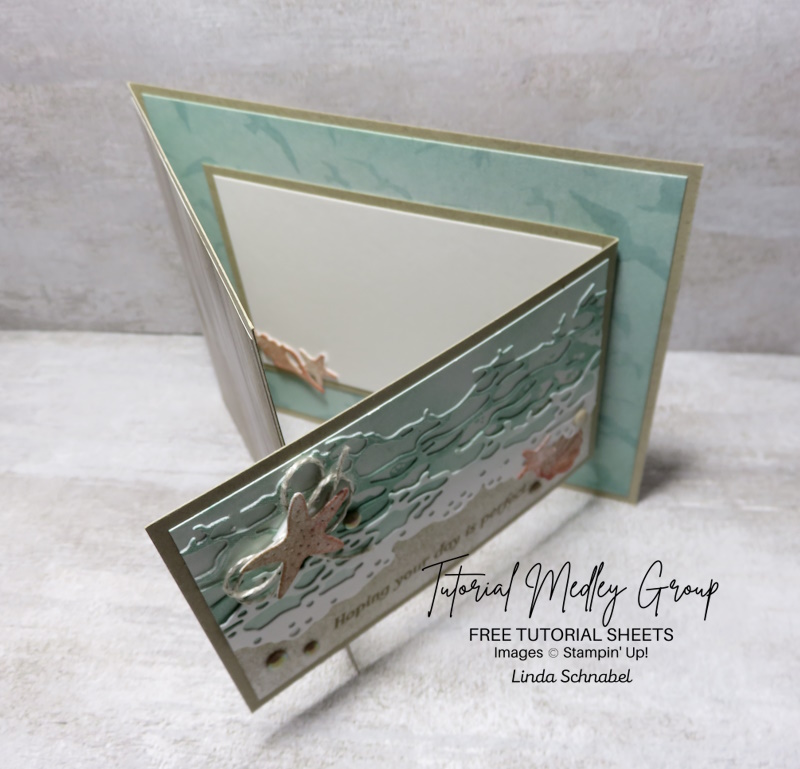
The Rolling Waves Bundle makes creating realistic coastal scenes effortless. The detailed Distinktive stamps add beautiful movement to the water, while the coordinating dies layer perfectly to create waves that almost seem to roll right off the page. Whether you’re making birthday cards, retirement cards, thank you cards, or simply sending a little sunshine through the mail, this bundle is perfect for anyone who loves the lake, the beach, or simply peaceful scenery.
If you’d like to recreate today’s project, you’ll find the complete measurements and step-by-step instructions below.
Measurements
Crumb Cake Cardstock
- 10″ x 4¼”
- 8½” x 2¾”
Basic White Cardstock
- 2 pieces: 4″ x 2½”
- 1 piece: 4¼” x 1½”
- Scrap for die-cut waves
Waterside Retreat Designer Series Paper
- Wood Pattern: 4″ x 4¼”
- Bird Pattern: 4″ x 5¼”
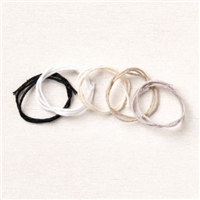
Bakers Twine
- Approximately 4″
Instructions:
- Score the largest of the two Crumb Cake cardstock pieces at 4 ¼” on the 10” length.
- Score the smaller of the Crumb Cake pieces at 4 ¼” on the 8 ½” length.
- On one of the 4” x 2 ½” Basic White pieces, sponge Crumb Cake onto the bottom (4” length) to look like sand, then brush Pool Party on the top half of the piece. Set the second one aside.
- In Crumb Cake; stamp your greeting over the sponged area of the piece.
- Take your Wood pattern paper, and using the sponge dauber, lightly sponge onto the paper in a few areas to soften the look and bring that color into your card.
- Attach the wood patterned paper onto the front (smaller area) on the larger Crumb Cake piece (Fold on the left side).
- Using Pool Party and the Blending Brush; brush around the outer edges of the designer paper- “Bird” pattern. Attach to inside of card.
- From the scrap white; die cut the largest of the 3 waves dies, and then the middle size (both waves should have the open ends).
- On the largest of the waves, ink up the large water stamp and stamp directly onto the open ends – then brush Pool Party over the entire piece.
- Using glue; align and attach the smaller wave directly onto large waves. Attach this assembly onto the small white piece that your greeting is on. Trim edges off.
- On the smaller Crumb Cake, with the fold on the “Right Side” and open end on left, attach the wave assembly to the front.
- One the 4 ¼” x 1 ½” Basic White, sponge Crumb Cake onto entire piece – not heavy, just enough to give it some color (may be uneven!) Using the shell dies, die cut from this piece.
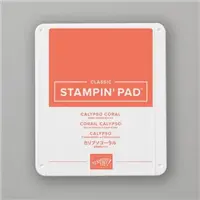
- Using your sponge dauber and Calypso Coral ink, add some additional color to your shells.
- Put Bakers Twine under the largest Starfish and attach to assembly. Tuck one shell under the waves and add small starfish. Embellish with your favorite color from the Pearls of Beauty – they would all work!
- Open the small card and attach the last of the two 4” x 2 ½” Basic White pieces onto the left side; attach the left-over shells.
- Time to attach the small card and create your fun fold … Using glue or your favorite adhesive, center the card on the inside of the larger one (over bird pattern) and secure. Open smaller inside card, close the larger (left flap) card and then the smaller card over that!
- This card creates fun and dimension as they open each layer of the card. Enjoy!!
I hope this card inspires you to create your own little escape by the water! It’s a fun fold that’s sure to impress, yet it’s filled with simple techniques like ink blending, layering dies, and adding just a few embellishments to bring the whole scene to life.
If you don’t already own the Rolling Waves Bundle, I added the links below for that and the rest of the supplies. I think you’re going to fall in love with all the beautiful seaside projects you can create with it.
Until next time…
Happy Stamping!
Linda








Join me on my Linda’s Stampin’ Escape Facebook page at 6:30 pm / Central Time for some cardmaking fun!


