Hello Stampin’ Friends ~
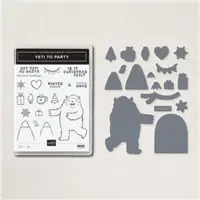
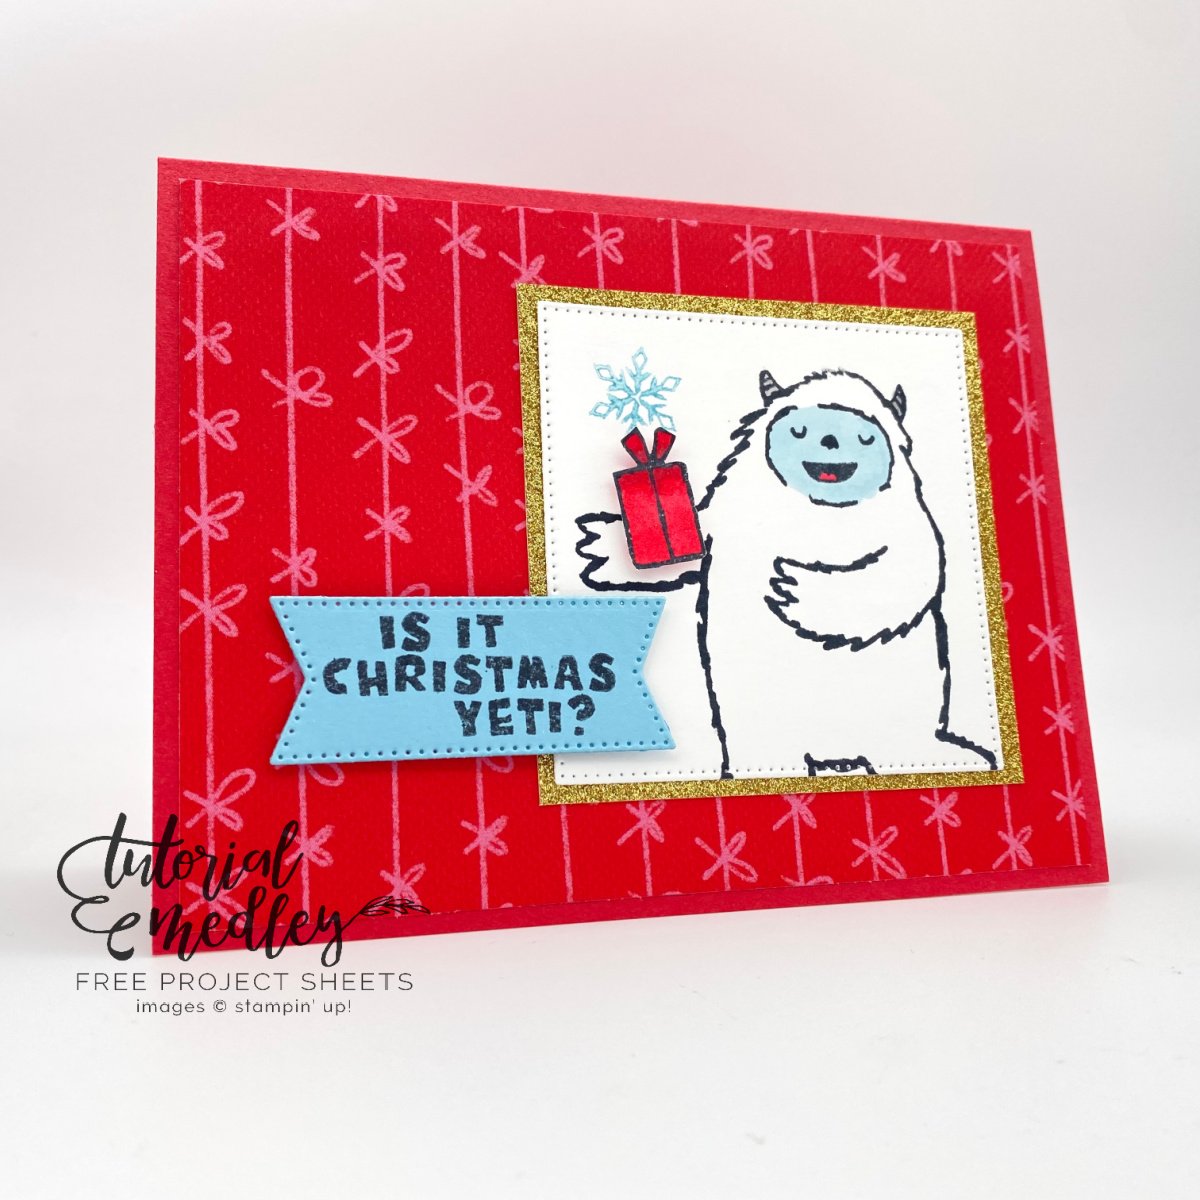
Today I have the cutest card from the Yeti to Party stamp set. It was created by one of design team members and I couldn’t resist sharing it with you today… Is is Christmas Yeti? It sure feels like it! We have “frost advisories” … What? It’s only Septemburrrr!! lol
This fun and easy card is so festive and cute, it’s sure to put a smile on anyone’s face …
Measurements:
- Card Base: Sweet Sorbet- 5 ½” x 8 ½”
- Cardstock #2: Basic White- approx. 3” x 3” and a small scrap piece
- Cardstock #3: Balmy Blue- 2 ½” x 1 ¼”
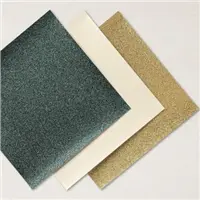
- Designer Paper #1: Glimmer Paper- 3” x 3”
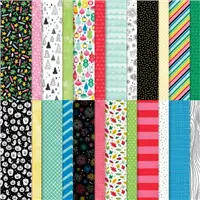
- Designer Paper #2: Celebrate Everything- 5 ¼” x 4”
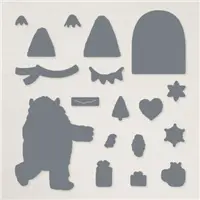
You’ll begin by scoring the card base at 4 ¼” and folding it in half. Add the Celebrate Everything Designer Series Paper to the card front . Die-cut the largest stitched square from the Stylish Shapes Dies in Basic White cardstock and stamp the Yeti on the square in Memento Black ink. Then, stamp the snowflake in Balmy Blue. (Tip: The snowflake was stamped off to get a lighter look)
Next, color the Yeti’s face, horns, and tongue with Stampin’ Blends. Then, attach the Yeti square to the glimmer paper square using liquid glue, then add it to the front of your card.
Die-cut a Balmy Blue banner from the Stylish Shapes dies and stamp the sentiment using Memento Black ink. Add the sentiment to the card front using Stampin’ Dimensionals.
Lastly, stamp a present on a scrap piece of Basic White using Memento Black ink. Color the present using Stampin’ Blends in Sweet Sorbet. Add the present to the Yeti’s hand using one Stampin’ Dimensional. Decorate inside as desired.
Easy … Quick …. Cute! That’s the makings for a great Christmas card.
Thanks so much for stopping by. Have a wonderful day.

Here is a list of supplies used to make this card ….