
Hello Stampin’ Friends ~
I am really excited to not only share this technique video with you, but all the cards you can create using this technique. The special thing about the “Split Card” technique is that you’ll also learn how to save or should I say “Maximize” your 12 x 12 Designer paper!
The video will show you two ways to cut your 12 x 12 designer paper and then give you samples so you can get a better picture of what I want to show you. Sit back … relax … enjoy …
So what did you think? Cool right!? I love sharing these types of hints so you can maximize the use of your Stampin’ Up! products. I love designer paper, it is a “must have” in my stampin’ supplies … it is the best for quick -n- easy cards, and because the paper is so pretty, no extra work would have to be done.
I hope the video showed you how to use your 4 x 6 cut pieces … here I’d like to share a close up of the 4 x 4 pieces. You will get 9 pieces out of the 12 x 12 sheet, and first up we’re going to create a simple card by placing the 4 x 4 piece directly onto the card front.

I used the Stitched Rectangle dies and the Celebrate Sunflowers stamp set for my greeting which create a nice focal point. To pull some color over on the side with no paper, I fussy cut out one of the flowers from the designer paper and popped it up with the Stampin’ Dimensionals … it really adds a nice balance to your card. I added some Wink of Stella to the light blue on the flower and added an Opal Round element.
This designer paper is fun and playful and I’ve really fallen in love with it! I decided to fussy cut a few more flowers and put them on this inside of the card … I didn’t want the fun to end!
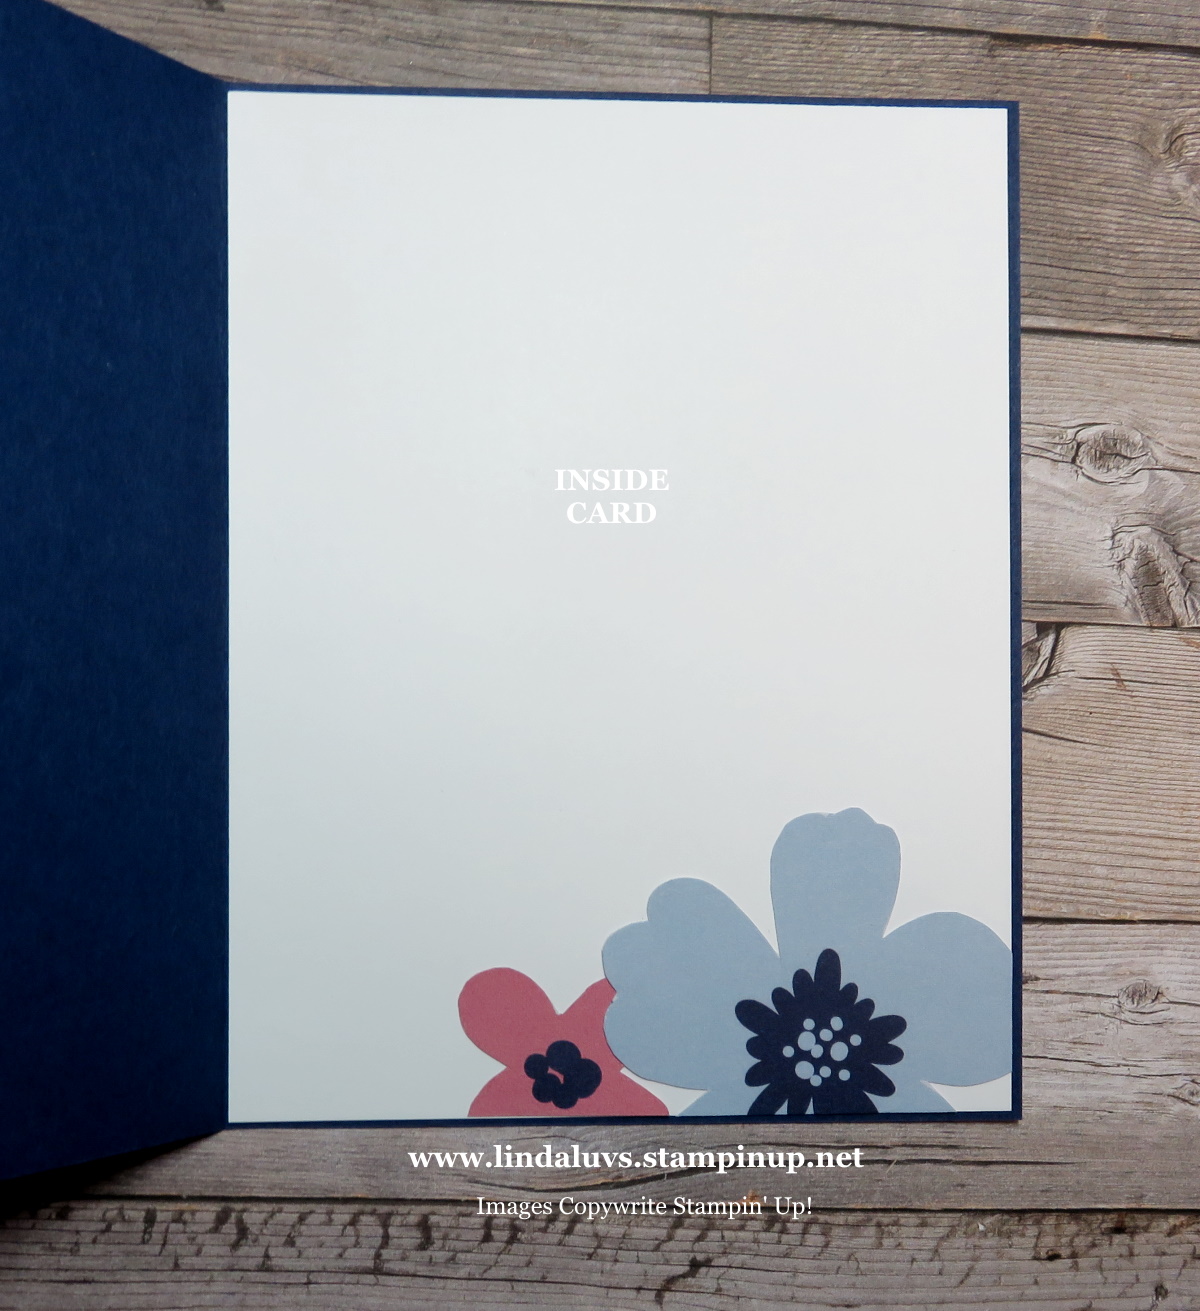
It looks like it was meant to be there … see what I mean, the fun keeps on going. You could add the Wink of Stella to the inside too if you’d like.
My next card is the “SPLIT CARD” … taking that 4″ x 4″ piece of paper and cutting it diagonally. I placed the cut pieces onto the top and bottom of the 4″ x 5-1/4″ white piece of cardstock because I was using a dark (Night of Navy) card base.
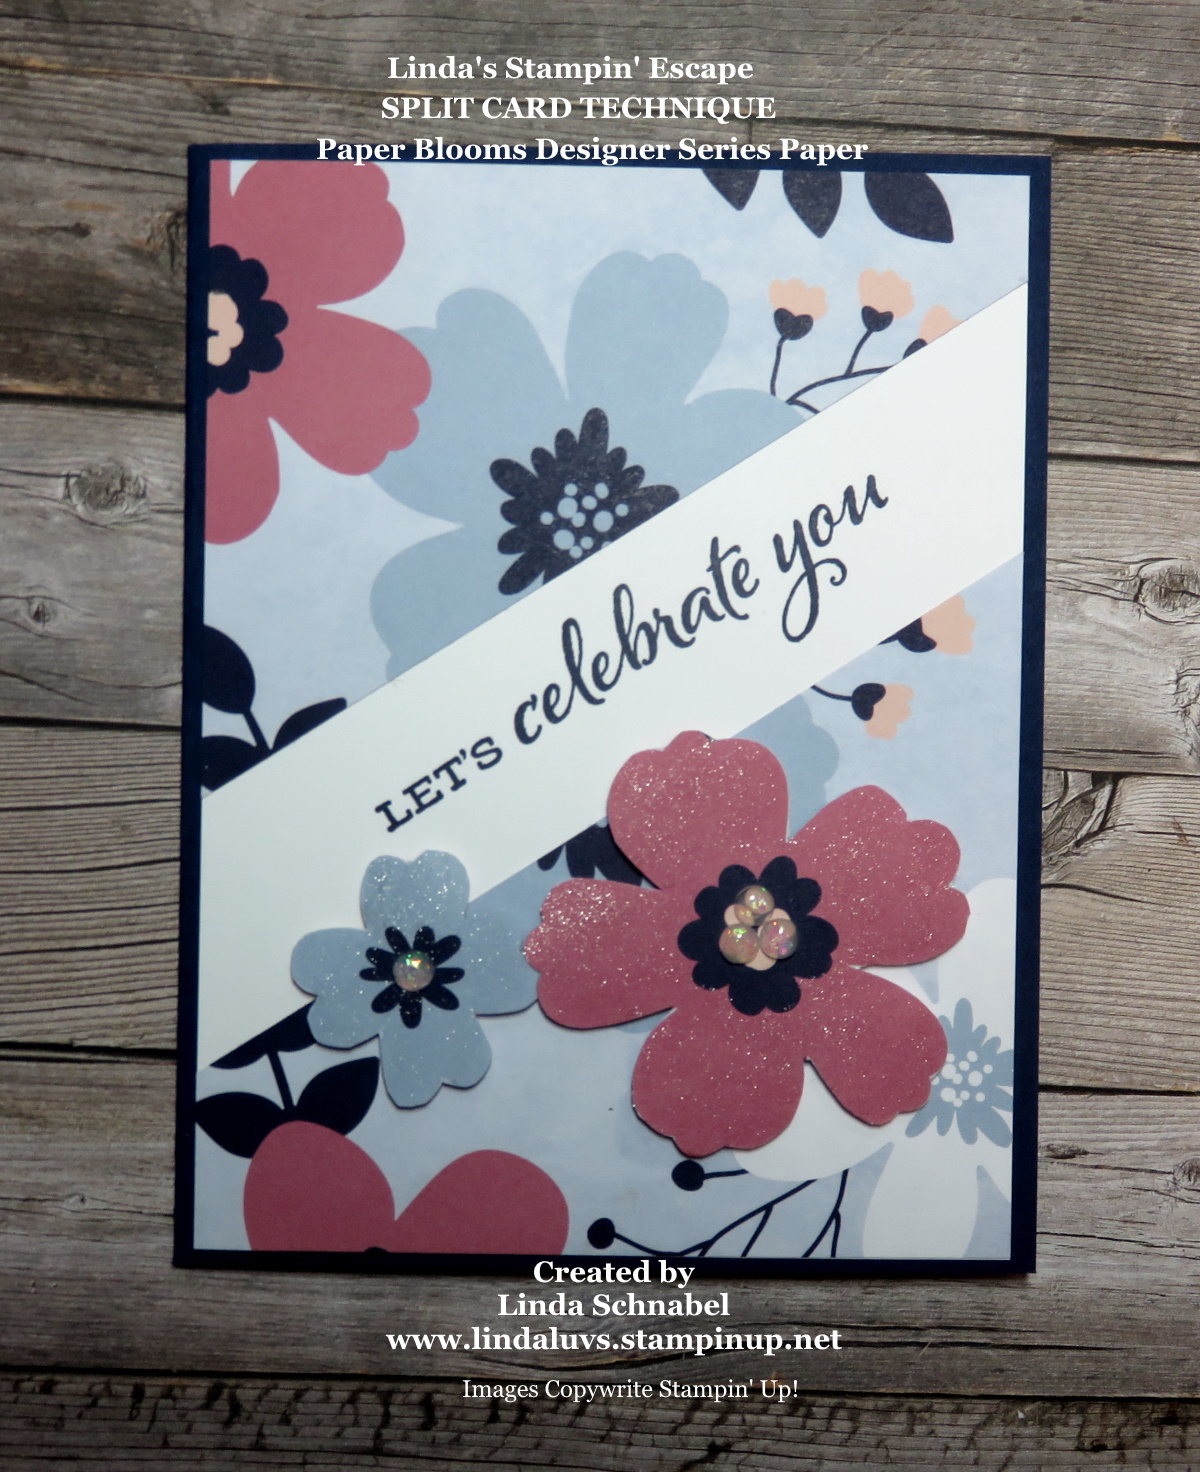
I liked the cut flowers and the Wink of Stella so much on the first card that I carried that over onto this card. It brings in more color and dimension to the card. I also added some of the Opal Rounds elements to the flowers as well.
Isn’t this just the cutest paper, and doesn’t it make the cutest cards … 9 of them you’ll get using this paper saving way of cutting your 12 x 12 designer paper. Now I can see why the Paper Blooms Designer Paper is one of the Top 3 Sale-a-bration items chosen by YOU!

I would really like to Thank You for hanging out with me today on my blog, and last night if you joined me for the LIVE presentation as well. These cards would surely cheer someone up … and remember, the Paper Blooms Designer Series Paper is FREE during Sale-a-bration with a $50 purchase but the layouts I shared are forever!
I would also like you to consider joining my team, we have lots of fun … and the fun just keeps on going, with additional stampin’ gatherings and Stampin’ Up! events. This really states how I feel …

My friends are YOU … my team of Stars … and my fellow Stampin’ Sisters (and brothers!) We are a family ❤ I’m here to answer any of your questions… just don’t be afraid to ask.
Have an awesome day, and for those who live around me … stay safe!!

TODAY’S STAMPIN’ SUPPLY LIST … If you liked the products used in today’s projects, I have links for you below. Just click on the item you would like more information on, or to begin your shopping. It will take you directly to my website. Thank you ♥


Beautiful cards. The “extras” you added following the video make the cards complete. It’s the little extras that make the card so special. Thank You so much for sharing all these great ideas.
You are so very welcome Kathie, and I agree … adding the flowers really does complete the cards. Thank you for taking the time to comment here and for hanging out with me LIVE last night. I am so happy that you enjoyed the cards. Have a good day ~ Linda