Hello Stampin’ Friends ~
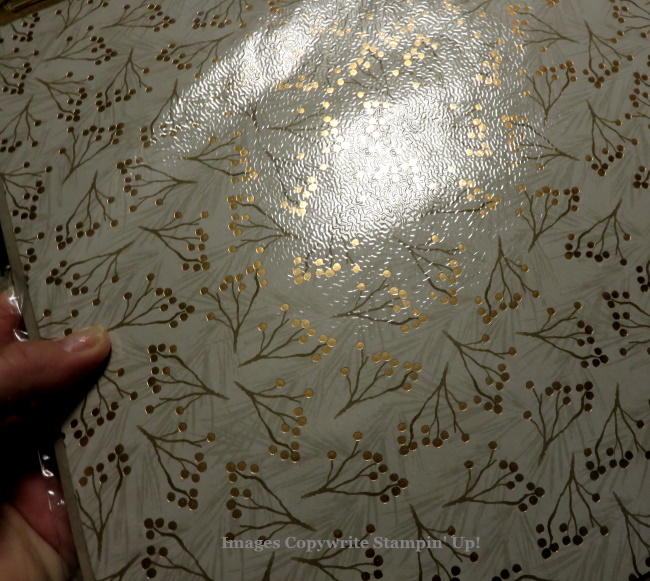
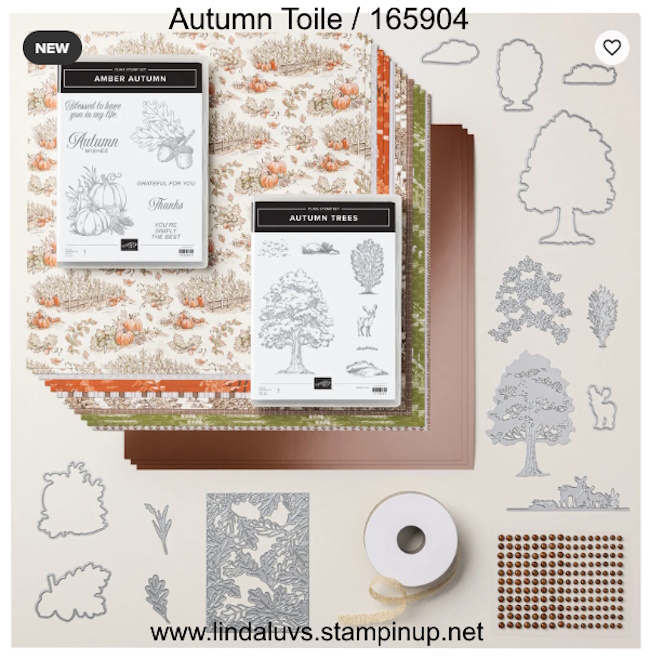
Autumn is sneaking in, and there’s no better way to welcome its warm tones than with gorgeous stamping fun! Today I’m so excited to share a simple, satisfying technique using the Autumn Toile Suite from Stampin’ Up! — one of my favorite new collections. This suite is full of rich, forest-inspired imagery (leaves, acorns, deer, pumpkins) paired with coordinating dies, patterned and metallic papers, trims, and embellishments that all work together so beautifully.
If you want to create cards that feel cozy, rustic, and elegant without a ton of fuss, you’ll love what I’m about to show: the Color-on-Color technique using Crumb Cake cardstock and ink. It’s effortless, very forgiving, and a great way to let the stamps in this suite shine.
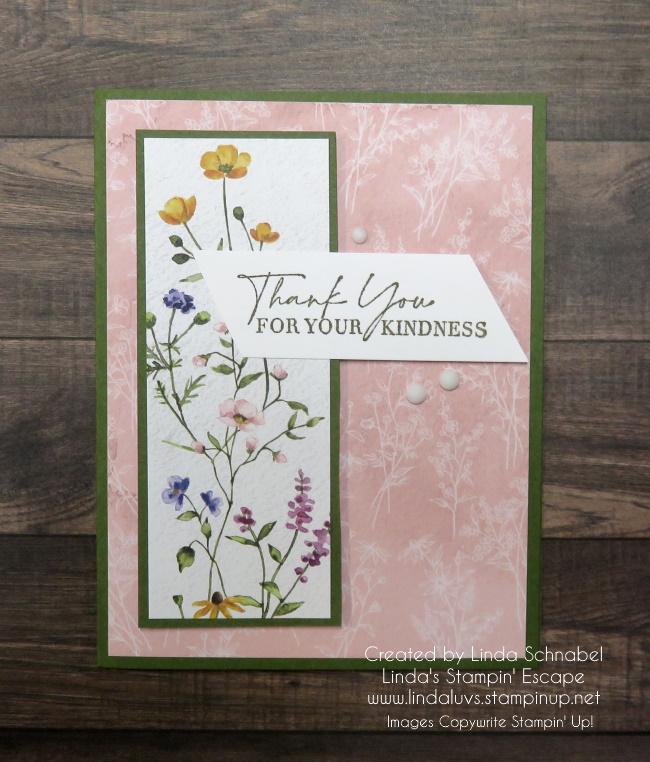
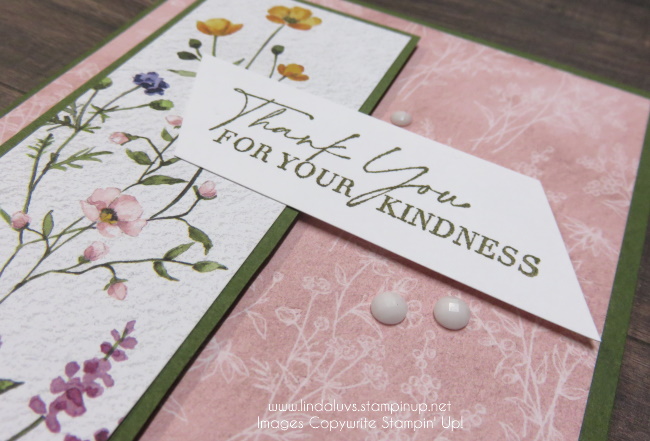
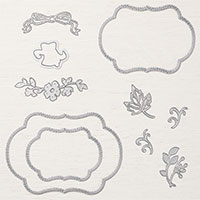
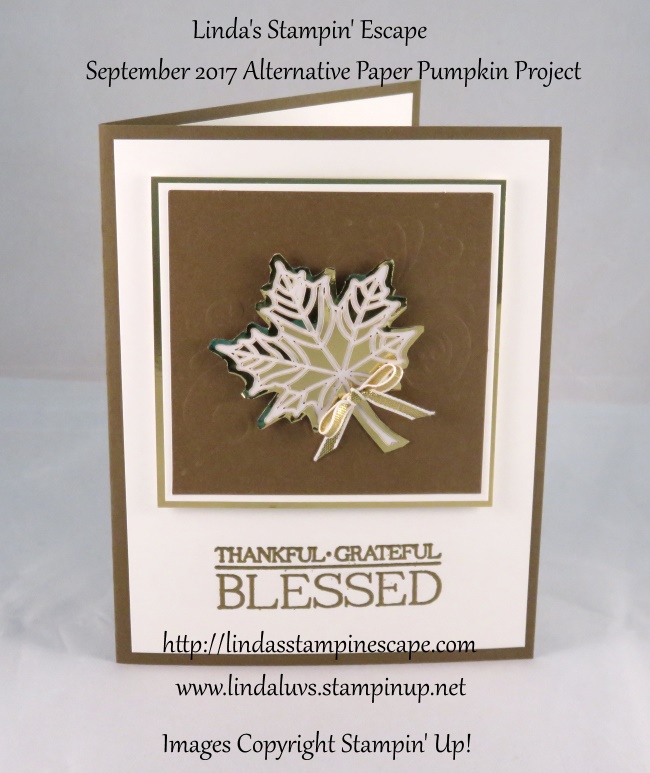
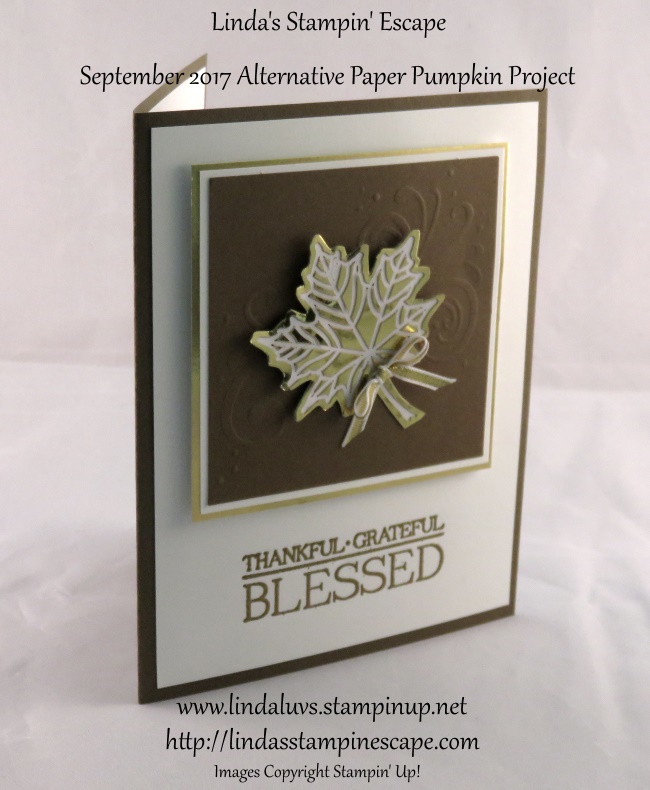
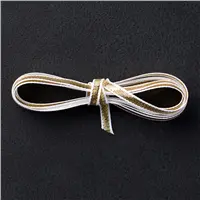
Using the oak leaf and acorn stamp, ink the image in Crumb Cake and stamp it onto the Crumb Cake card front. Stamp it again on a separate piece of Crumb Cake cardstock, which you’ll die cut. Next, mat your stamped card front with Early Espresso cardstock and mount it onto a Crumb Cake card base. Cut a circle of Early Espresso cardstock to layer behind the die-cut leaves and acorn, then stamp your greeting on Very Vanilla cardstock and attach it to the card front. For the finishing touches, add a simple bow with Very Vanilla Baker’s Twine to pull everything together, and a couple Streaked Dots to embellish!

And there you have it — a quick, beautiful card all using the same color (Crumb Cake) stamped on itself, layered up with Early Espresso for contrast, and tied together with Very Vanilla and baker’s twine touches. Using the Autumn Toile Suite makes it even more fun, because everything matches so effortlessly: the stamps and dies, the designer papers, trims, and metallic papers in rich, earthy palettes.
If you’ve been wanting to add a touch of rustic charm to your cards or send some warm seasonal greetings, this suite is a must-have. Whether you go all in with the full Autumn Toile Suite or just grab the leaf/acorn stamps and a few coordinating pieces, you’re going to fall in love with creating this look. Stop back tomorrow for another sweet -n- simple card using the Autumn Toile suite!
Happy stamping — and don’t forget, the best way to learn is to just stamp, layer, play, and enjoy every mark!