
Hello Stampin’ Friends ~
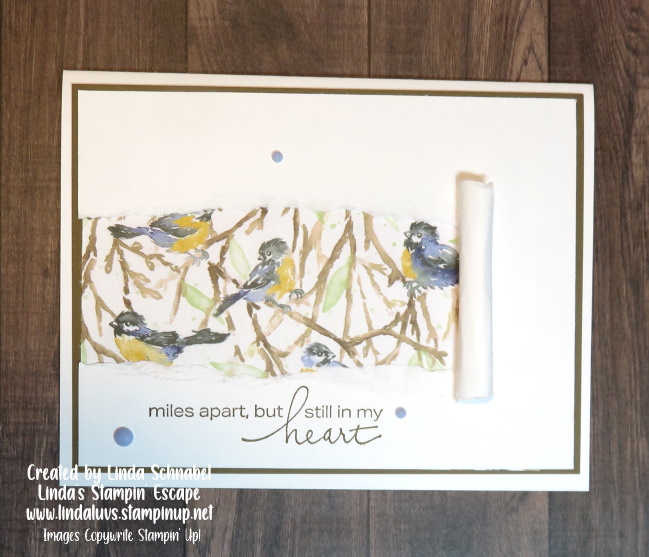
I’m thrilled to share today’s cards and technique with you … I have been playing around with the “Torn Window” technique and really had fun creating different looks. In the video I demonstrate how to do the “tear” on both the designer paper and cardstock. Take a look at the video … It is a replay of last nights LIVE and can be found on YouTube as well.
This is just the tip of the iceberg … there are so many different variations that you can create using the technique. The video shares the basic “how to” and I can’t wait to share more with you this weekend … I hope you plan on joining me for the Summer Sale-a-bration Mini Catalog Celebration Party!! Now let’s take a closer look at the cards …
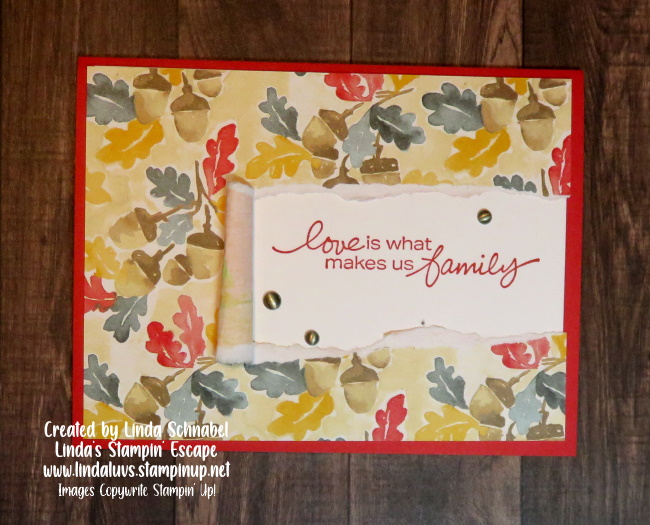
Card Base is 8-1/2″ x 5-1/2″ scored and folded at 4-1/4″. The designer paper or mat will measure 4″ x 5-1/4″ … the white cardstock that you will tear will measure 1/8″ less than the mat; 3-7/8″ x 5-1/8″. The designer paper you tuck inside can be measured based on your opening.
Just a reminder to join me for my party this weekend to see more samples using this technique, plus LIVE demonstrations on some of the amazing products found in these catalogs… games, much FUN and prizes. CLICK HERE
I hope you enjoyed seeing this fun and easy technique, I love the fun that unfolds with this card… either a beautiful sentiment of a beautiful scene!
Thank you for stopping by and enjoy your day ~


