Hello Stampin’ Friends ~
I’m thrilled to share with you my “finished” cards from last nights Facebook LIVE presentation. I will not be sharing the video here today, not my best moment! Right before I went Live … I dropped all the parts to my card, so let’s just say “I had a few pieces missing” and I was a bit flustered BUT the cards turned out awesome and I can’t wait for you to see them!
Let’s begin with our first card … and I will include the measurements!
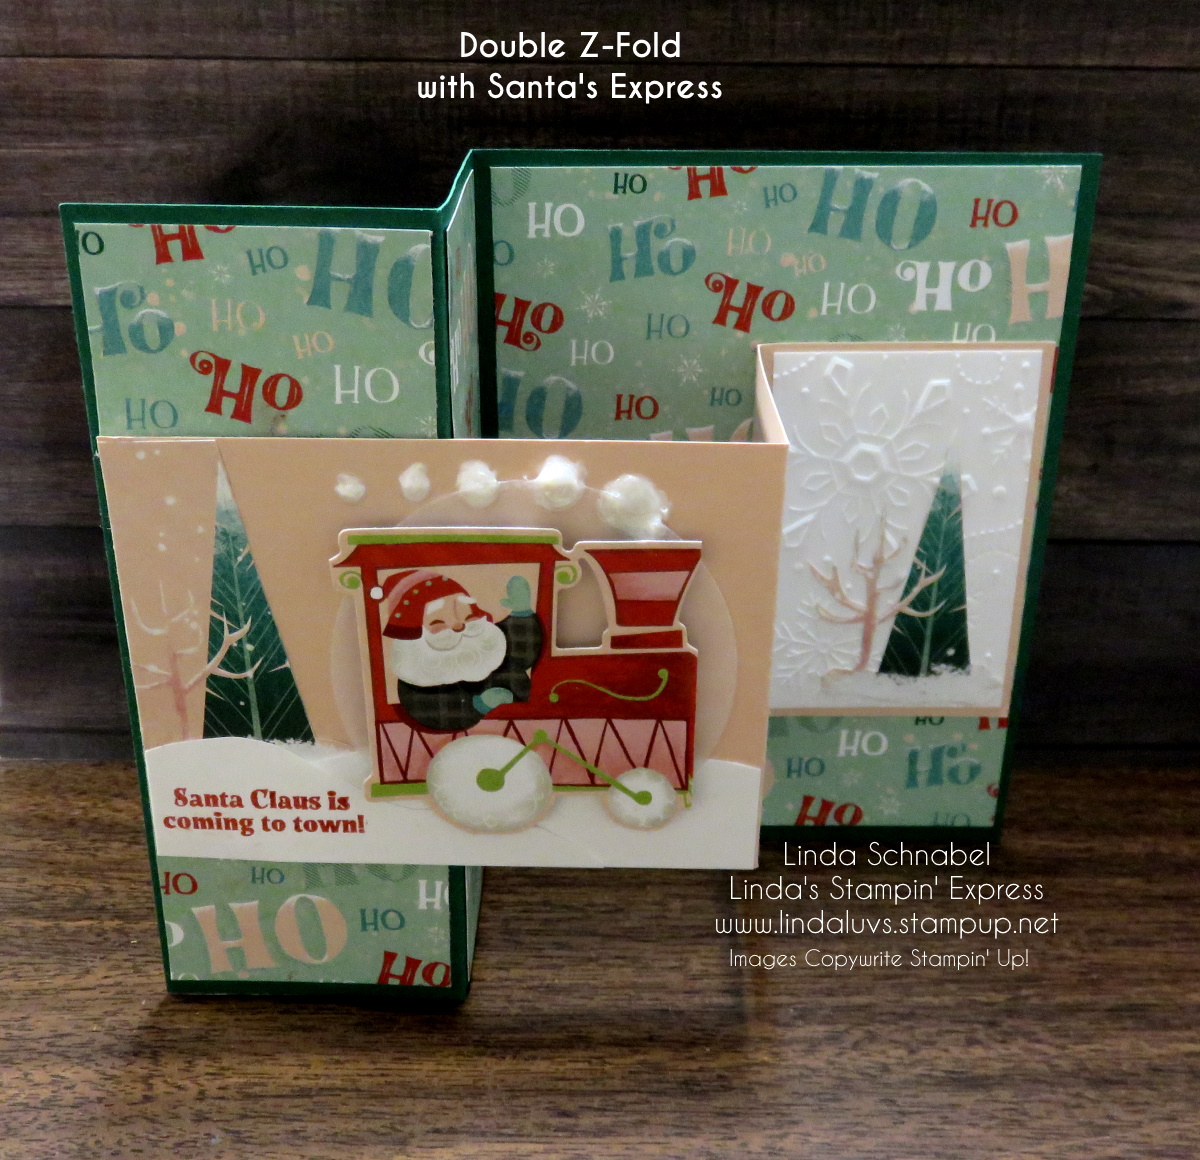
My card base is Shaded Spruce and is cut 8-1/2″ x 5-1/2″ … Score at 2-1/8″ and 4-1/4″. You will fold the card in half at the 4-1/4″ score and then fold the front “back onto itself” at the 2-1/8″ score line. The first two panels were cut to 2″ x 5-1/4″ and then cut your designer paper to 5-1/4″ x 4″ for the larger area.
Your second “Z” is Petal Pink and cut 8-1/2″ x 3″ and will be scored at 4-1/4″ and 6-3/8″ (or use the dimensions above … just flip it around). From a piece of scrap … I cut some snow on the bottom of my larger front panel and then glued a piece of the designer paper (with tree) into the upper left hand corner.
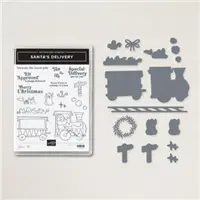
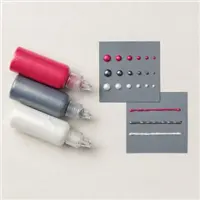
I die cut the Santa and the vellum circle behind him. Sink of Stella was added to the snow on the ground and on my trees. Then I stamped my greeting into the corner with Poppy Parade. My smoke puffs were created using the Pearlized Enamel Effects.
The two Basic White panels are cut to 2-7/8″ x 1-7/8″ for the smaller panels and the one of the far right is embossed with the Wintry Embossing Folder and I fussy cut a tree to match the one on the front panel. The center panel was left plain so you could write your sentiments in there.
My second card has the card base cut lengthwise on the 11″ x 4-1/4″ ….

The card base is Shaded Spruce and scored at 2-3/4″ and 5-1/2″. I began with cutting panels for my card … two at 4″ x 2-1/2″ for the two smaller panels and the two at 4″ x 5-1/4″ … one for the front and one for the back if you’d like to write a note to the receiver.
I used the designer paper that has the four backgrounds … it cuts to 3″ x 12″. I cut it down starting from the “right” because I liked the pattern better!! With 3″ tall, I made my first cut at 4″, then the next two panels to 2-1/2″ Now you can secure them to the panels aligning from the top. The gap will be covered by your second “Z” which is placed near the bottom, where as our first card we centered the “Z”.
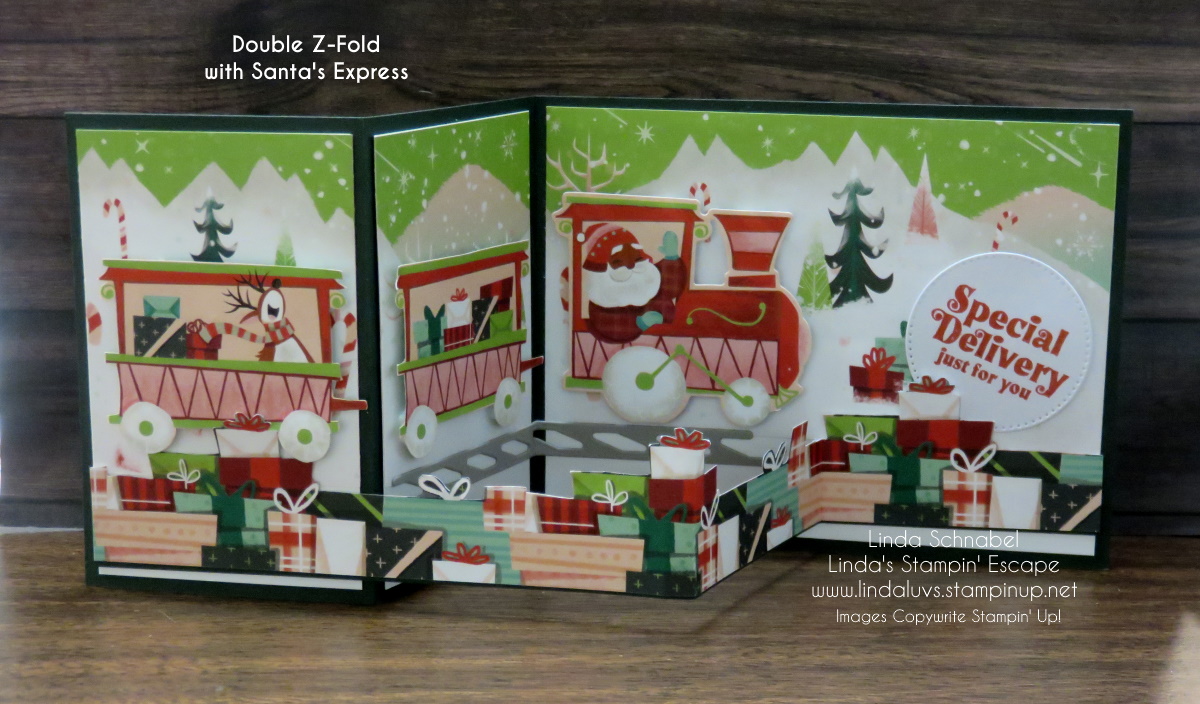
The second “Z” is cut to 11″ x 3/4″ … then our “Presents” Designer paper is fussy cut to about 1-1/4″. Then attach it to your second “Z”. I then die cut the 3 train parts from the Santa’s Express designer paper and the train tracks. The train cars are all popped up to give it some dimension and then I added the tracks.
I stamped my greeting Poppy Parade and die cut it and tucked it behind my “Z”. Looks like Santa has some fun coming down those tracks … even his reindeer is along for the ride!! The Santa Express Designer Paper is sooo fun to create with. It’s ON SALE for Only $7.20!! Don’t wait to get yours, it will be gone. Grab it now while we have FREE SHIPPING … Today Only.

I can’t promise it will arrive before Christmas but it’s a great time to enjoy some savings. Let me know if you would like some help.
Thank you for joining me today, I enjoyed sharing these cards with YOU!

Here is a list of supplies used to create today’s cards …. Click on the image for more information on that product or begin your purchase.