Practical Tips in Making Gift Boxes

Hello Stampin’ Friends,

With Christmas coming in quicker than some of us are ready for, today’s post is all about making Gift Boxes and some helpful tips. Although we’re talking Christmas these tips can help you make cute Gift Boxes all year long … so don’t put those Tricks and Treats die away because that is where the box die comes from.

Let’s take a look at the video and enjoy the ease of assembly and tips that I’ve shared, then we’ll take a look at each box a little closer..

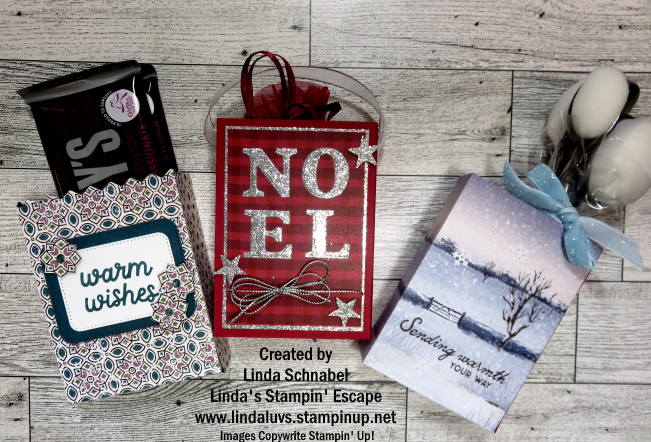
Let’s begin with our simple box that we made using the One Horse Open Sleigh designer paper. Did you catch the TIP on using two sheets of designer paper with one die cut so the paper aligns when putting it together? Don’t you also love that you can stamp your greeting directly onto your designer paper ~ you may want to do it before you assemble because it would be much easier …lol. More tips in the first demo than I had planned / Oh my!! LOL

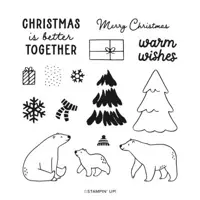
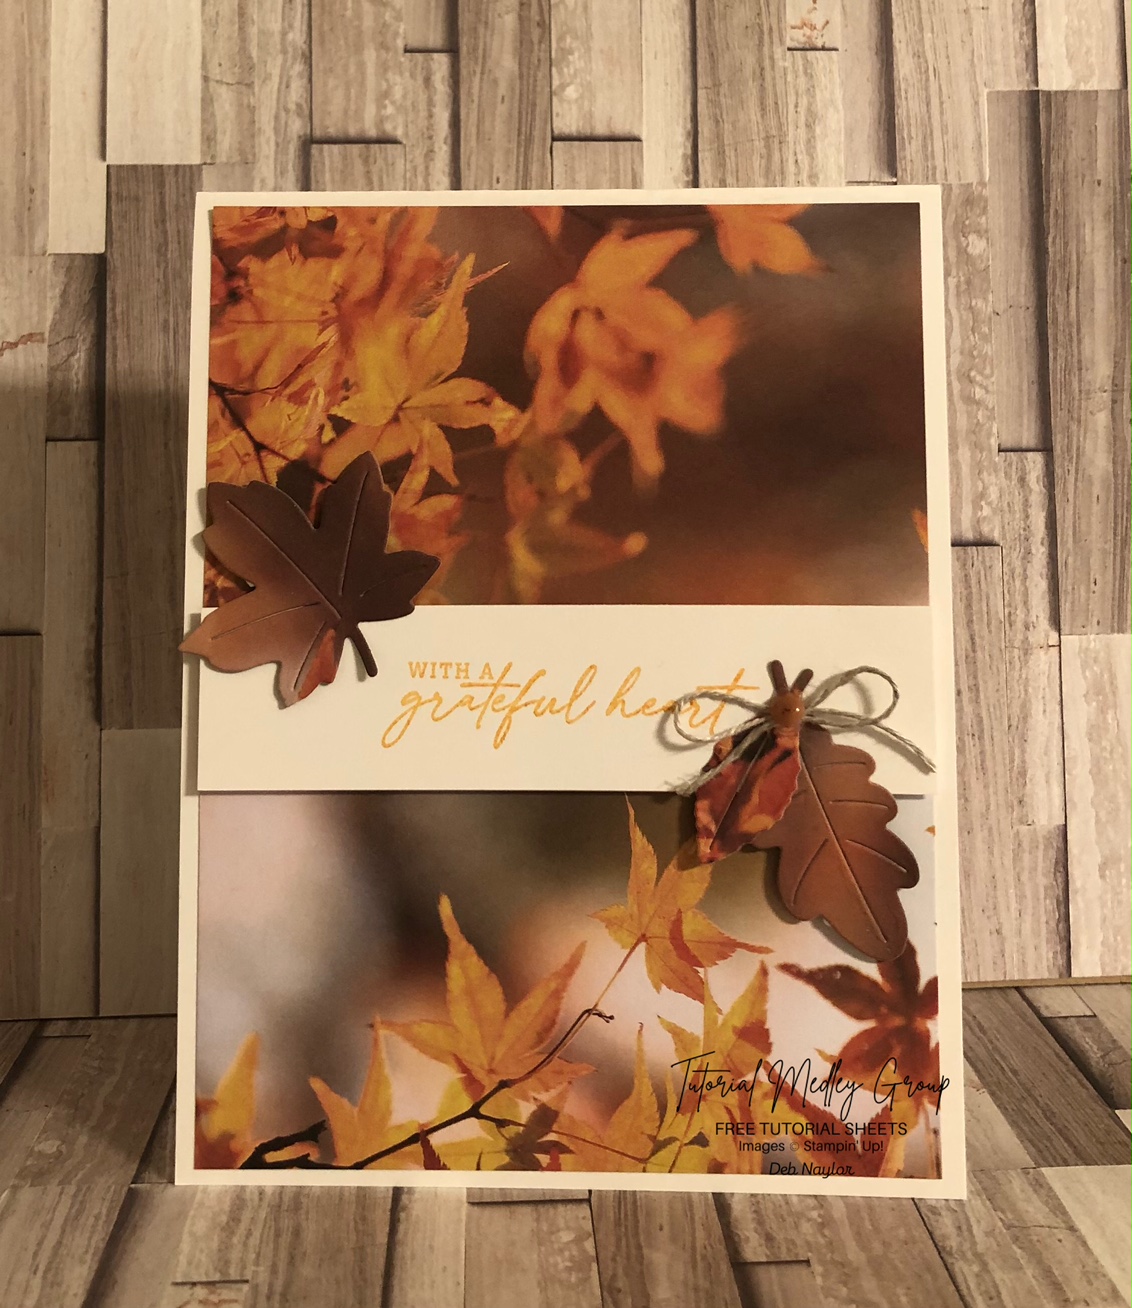
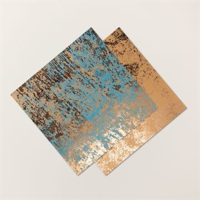
Our second Gift Box / Bag highlights the All About Autumn Designer paper and it’s foil sides … perfect for Christmas or any special occasion that you want to shine! We also used the Edgelit Die that is included in the die set. The greeting came from the Beary Cute Bundle and was die cut from the Nested Essentials Dies. TIP: Save that left over designer paper to create embellishments that coordinate with the packaging!

The last box was die cut with cardstock and highlighted with designer paper. TIP: (Designer) Paper Saving Technique. This comes in handy when you are making many boxes for co-worked, your kids classroom, or your team! The red check designer paper comes from the Joy of Christmas and the dies are from the Joy of Noel bundle. Don’t you just love that Adhesive Backed Silver paper!? Last TIP: Use the holes that you die cut, to mark and align the next cut … perfection!!

I hope you enjoyed watching me create these cute boxes and found the tips helpful to you. Are you inspired to make some cute Gift Boxes for your family, friends, co-workers, teachers, etc … the list goes on! Have fun creating your own boxes and for all holidays / celebrations.

Thank you for joining me today. Have an awesome day ~

Autumn Leaves Card …

Hello Stampin’ Friends,

If you’re looking for a quick card that anyone would love to receive then you’re in for a treat today. This gorgeous card was created with the Autumn Leaves Bundle and the All About Autumn Designer Paper ….

Measurements:

  • Very Vanilla: 4 ¼ by 11 AND 1 x 4 strip for sentiment
  • All About Autumn DSP: 4 x 5 ¼ and the scrap for the leave dies
  • Linen Thread approx 10 inches for the bow

Instructions:

  • Score the very vanilla card base at 5 ½
  • Glue the all about autumn DSP layer to the card base
  • Stamp the sentiment on the very vanilla strip
  • Die cute the leaves out of the all about autumn scrap
  • Attach the sentiment to the DSP with dimensionals
  • Attach the leaves with dimensionals and the linen thread bow with a glue dot add the speckled dot
  • Mail this cute out to a friend or family member

Thank you for joining me today! Have a great week.

Embrace the Season with my All About Autumn Card

Hello Stampin’ Friends,

As the leaves start to turn brilliant shades of red, orange, and gold, and the air becomes crisper, it’s time to welcome the beauty of autumn into our crafting. Stampin’ Up! has made this transition into the fall season seamless with its remarkable All About Autumn Suite from the Holiday Mini catalog. Today, we’re going to take a closer look at this suite by creating a stunning card that captures the essence of autumn.

My cardbase is in the inviting shade of Pecan Pie, setting the stage for the seasonal masterpiece we’re about to create. We’ll also use Pecan Pie cardstock to craft delicate leaf veins, adding an extra layer of authenticity to our design.

To add depth and character to our card, we’re using the Distressed Tile 3-D embossing folder on a mat of Pretty Peacock cardstock. This embossing folder provides an intricate tile-like pattern that perfectly complements the organic feel of our autumn-themed card.

Texture plays a role in bringing the beauty of autumn to life, and for that, I used the Oxidized Specialty Paper. The paper’s unique texture and shimmery finish mimic the natural, weathered look of leaves as they gracefully transform during this season. The leaves are cut from this paper, ensuring they stand out with their distinct appearance.

The Layering Leaves stamp set offers the ideal sentiment for the card. I’ve chosen the greeting, which was stamped with Pretty Peacock ink. It’s then cut out using a circle die from the Stylish Shapes dies, creating a focal point that beautifully ties the card together.

To add a final touch of elegance and a hint of metallic shimmer, we’re incorporating Brushed Copper embellishments. These embellishments add just the right amount of sophistication to our design, elevating it to a whole new level.

The All About Autumn Suite offers a abundance of creative options for crafting beautiful fall-themed cards. From coordinating stamps and dies to versatile paper options, it’s a crafting paradise for autumn enthusiasts (like myself!). There’s no better way to welcome the season than by creating your own autumn-inspired cards and projects with this remarkable suite.

I hope today’s card inspires you to grab your supplies and get ready to create some unforgettable fall memories!

All About Autumn Sneak Peek …

Hello Stampin’ Friends,

I’m excited to share the video, dimensions and the cutting guide for the All About Autumn 6″ x 6″ Designer paper. This is not just a sneak peek, it’s a treat for your senses … I love fall, it’s my favorite season!

Join me, grab the popcorn and a seat and lets watch the video ….

Now lets review the dimensions for the card base … they are quite simple.

CARD BASE: 8” x 5-1/2” then score at 3” … 6” … and 7”. 

STEP PORTION: 6” x 3” then score at 4-1/4”

CUTTING DIRECTIONS FOR 6” X 6” DSP (Designer Series Paper)

  • Cut off ¾” from right side (you do not need this piece)
  • Cute ¾” off bottom (Measures ¾” x 5 ¼”)
  • From Left side cut off 2 ¾” and trim down length to 4”
  • Using the left-over piece / Flip it over to expose the decorative foil side

This beautiful paper makes creating stunning cards easy and now with the dimensions and video instructions, you to can make this card. The mini catalog will go Live on September 6th and in the meantime I’m planning some fun things and adorable to gorgeous cards for you.

Tomorrow I’ll be back with another sneak peek and with a little something old and a little something new. Thanks for hanging out with me today, have a good one!