Hello Stampin’ Friends,
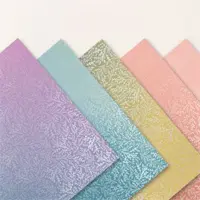
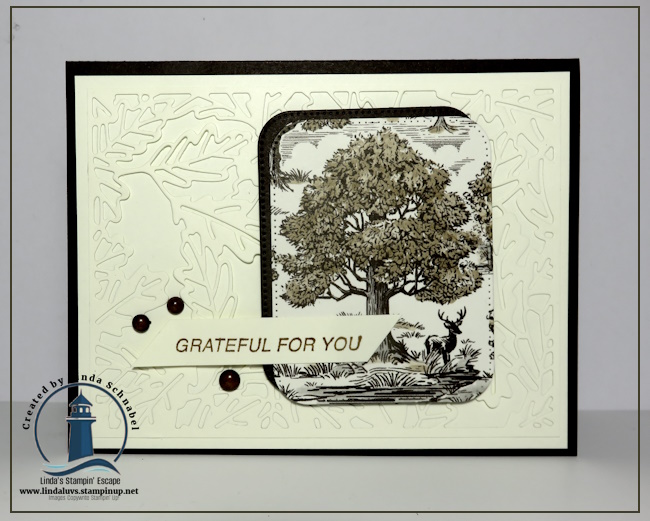
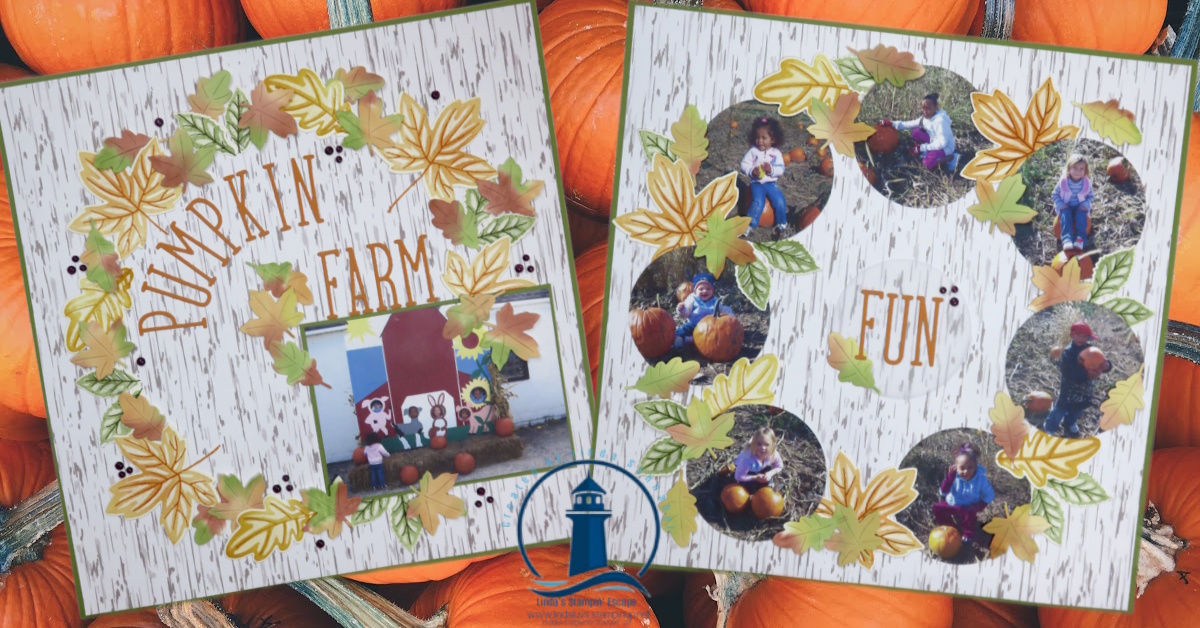
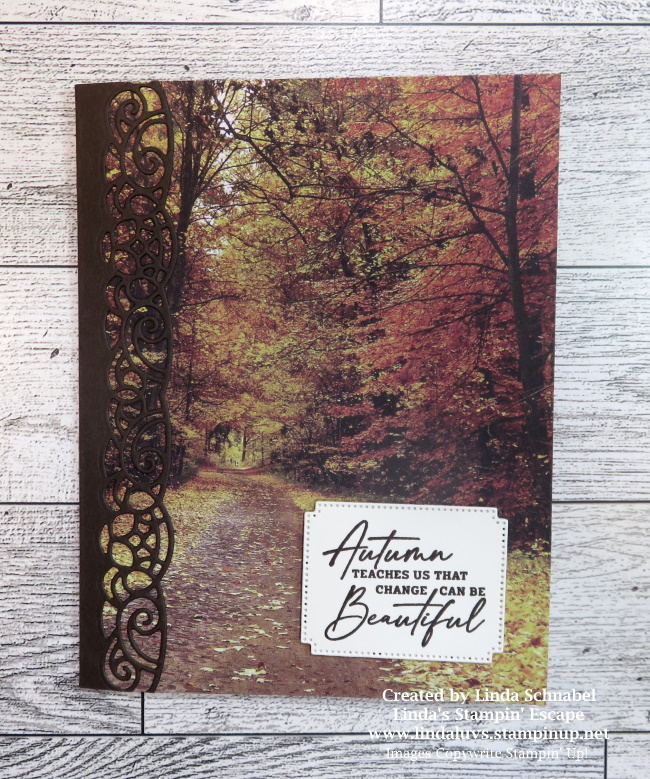
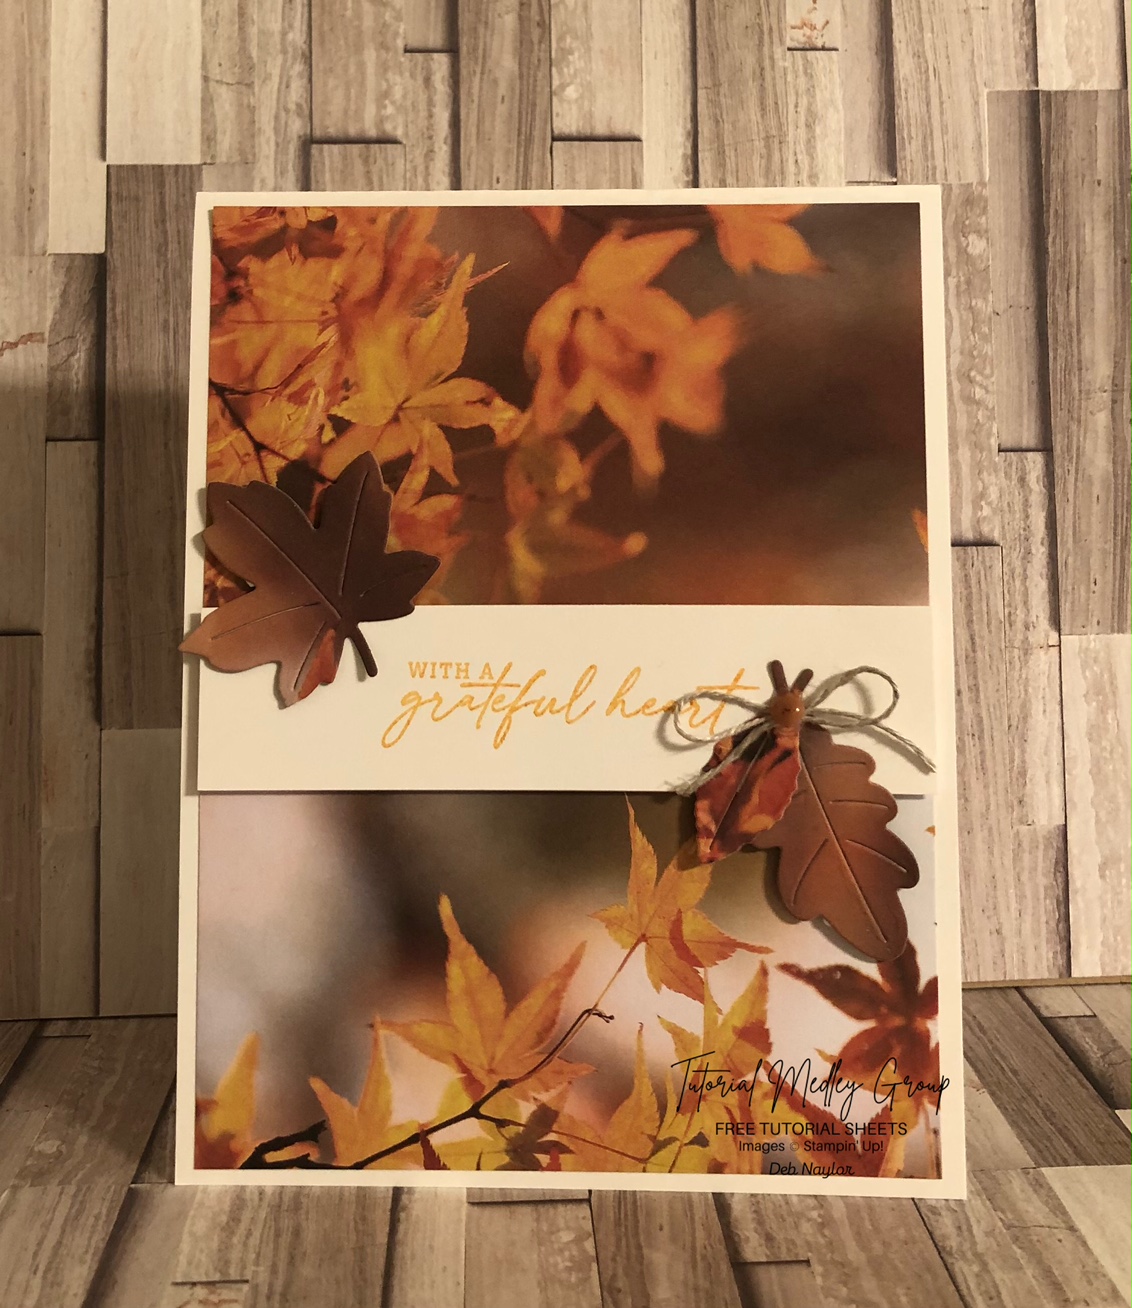
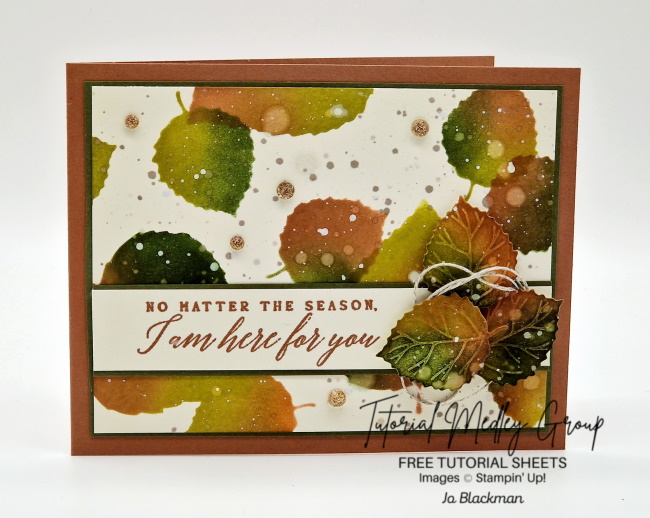
Yikes!! It’s been a bit since I’ve been here with you, however I’m back and with another version of the last card I posted. It was such a bit hit, I thought you’d like to see this layout done with a different bundle! Today I’m using the Autumn Toile Designer Series paper.
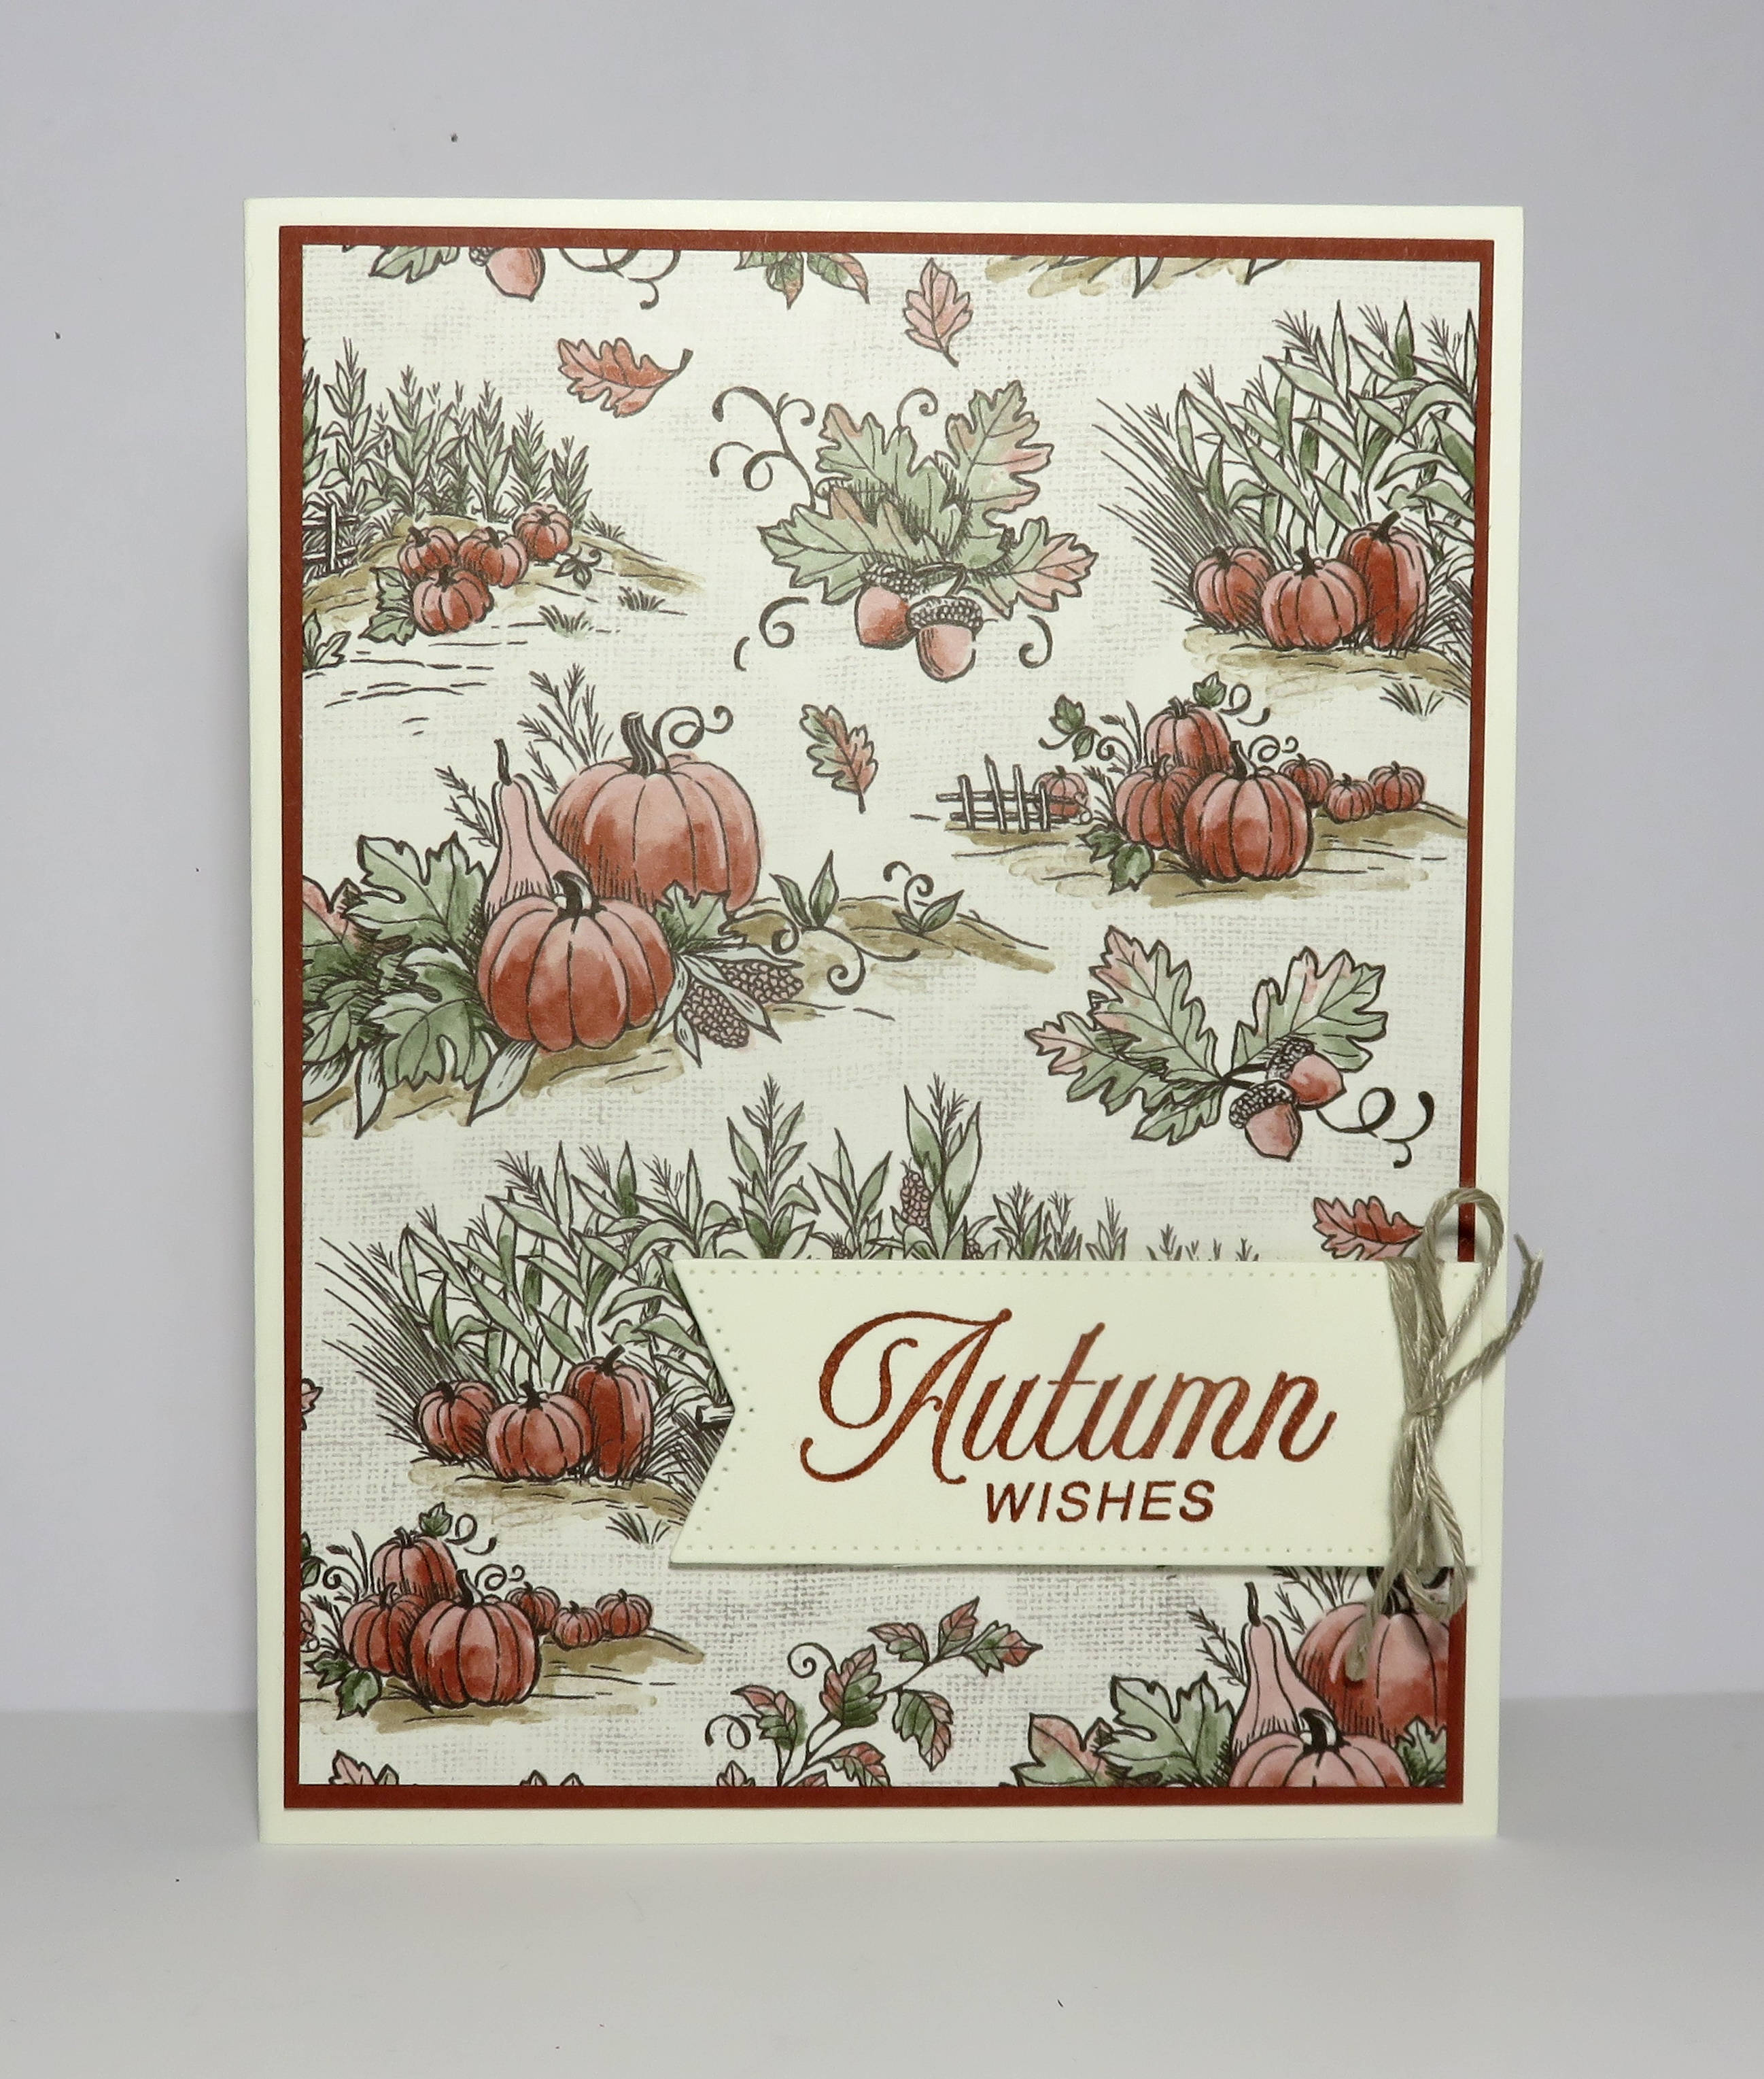
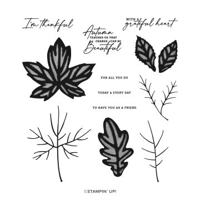
This gorgeous paper pack brings in a classic toile motif—think delicate, vintage-inspired scenes in rich autumn colours. The “toile” style gives it that timeless elegance, making it perfect for those fall cards that feel both cozy and refined. With its intricate imagery of trees, pumpkins, animals, and more, this collection instantly elevates any project. Let the Autumn Toile… take center stage …

Because the paper itself is so striking, you don’t need a lot of extras—the pattern can stand on its own, letting you focus on framing or accenting it rather than adding tons of clutter.
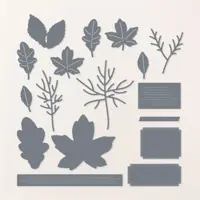
To create the card, start with a base that’s 8-1/2″ x 4-1/4″, then score and fold it at 4-1/4″ to form a perfect square card. The designer paper is then cut into an easy 4″ x 4″ piece which leaves NO waste of your designer paper. When attaching your circle dies with the greeting, use a ruler or template to keep the total height at 5-1/2″—that way, your masterpiece fits neatly into a standard envelope.
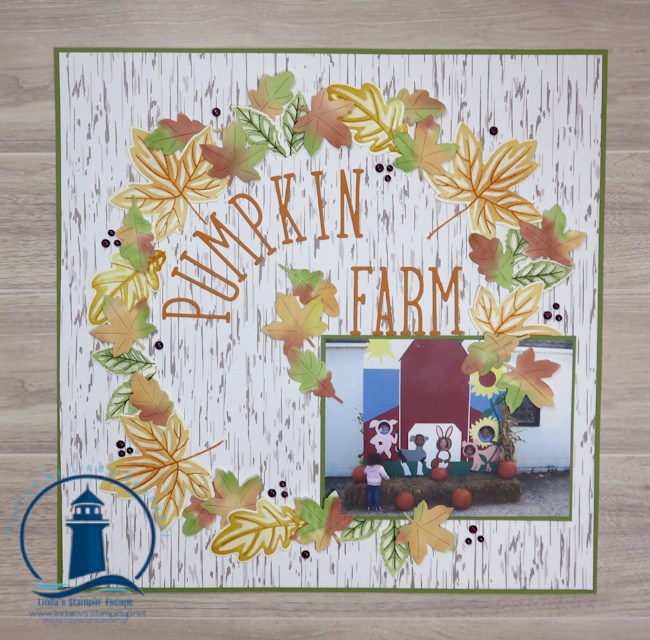
I hope this little project inspires you to pull out the Autumn Toile paper and the Spotlight on Nature dies and get crafting. It’s such a satisfying combination: the timeless charm of toile, the precision and framing of the dies, and your own creative twist. Whether you’re making a few quick cards for fall gatherings or designing something special for a loved one, this pairing delivers warmth, elegance, and ease.
Thank you for stopping by, I hope you are enjoying a beautiful Sunday!