Hello Stampin’ Friends ~
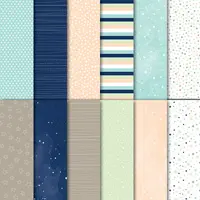
How have you liked the array of cards created with the Twinkle Twinkle Designer paper? Amazing … right! I actually bought it because of the “Stars” on many of the papers because my teams name is the Stars by Design! Then I found it could be used for so much more!
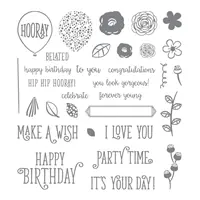
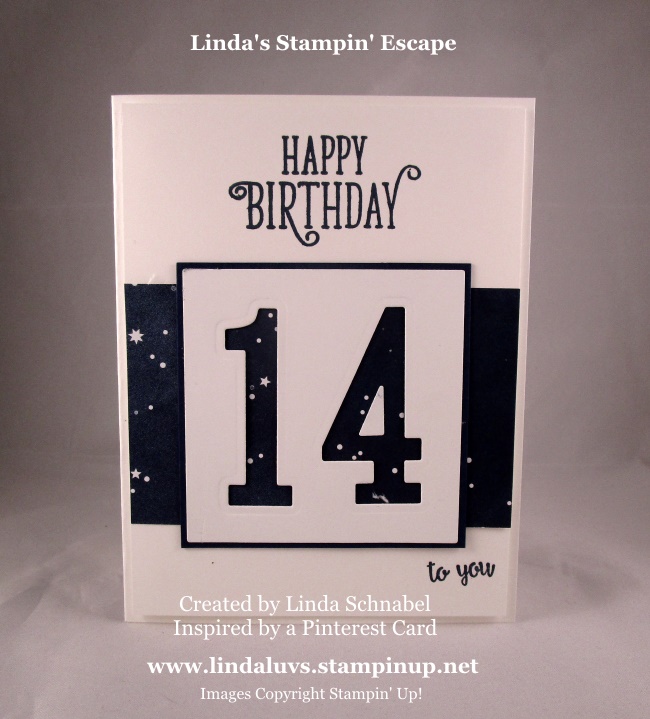
I have one more beautiful card to show you today, but lets start at the beginning and review what we’ve seen so far. My first card was for my granddaughters birthday … I teamed up the Twinkle Twinkle paper with the “Happy Birthday Gorgeous” stamp set and the Large Letter Framelit Dies. You can click HERE to view that post.
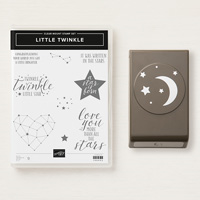
Of course I had to make a Baby Card with the Twinkle Twinkle paper and I way dying to try out my new “Tufted” Embossing Folder. It is one of the 3-D Dynamic folders which gives you a beautiful deep impression. The greeting comes from the coordinating stamp set … the bundle comes with the Twinkle Builder punch (Save 10% when you buy the bundle) Click HERE to view this post.

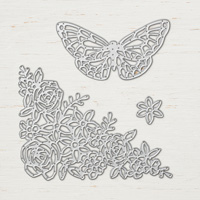
I love the little dots in this series of paper to I teamed it up with the beautiful “Springtime Impressions” Thinlits Dies and the Stitched Framlit dies. Butterflies always remind me of my Mom so what better greeting could I use than “love you”. This greeting also comes from the Twinkle Twinkle Bundle … I just used my marker to color in the words “love you” and then stamped & cut them out. You can view the post for this card HERE …just click on it.

This next card is just one of the cards that I designed for my Designer Series paper Class! I have always wanted to create a card like this (don’t know why it took me so long) because it’s simple yet it is so pretty! It showcases 3 more patterns in the Twinkle Twinkle paper … see the “stars”!! Here we used the new Detailed Trio punch with the corner rounder side. More details can be found HERE on the original post.

And our Christmas card which I just showcased yesterday … It is truly amazing all of the different Occasions and different styles of cards you can make with this one little pack of Designer paper!

Today I’ll be sharing a card that uses the coordinating Twinkle Builder punch!! The cute little Moon with Stars punch can be used for baby cards and more! I combined the punch with the banner punch to create a fun layered look …
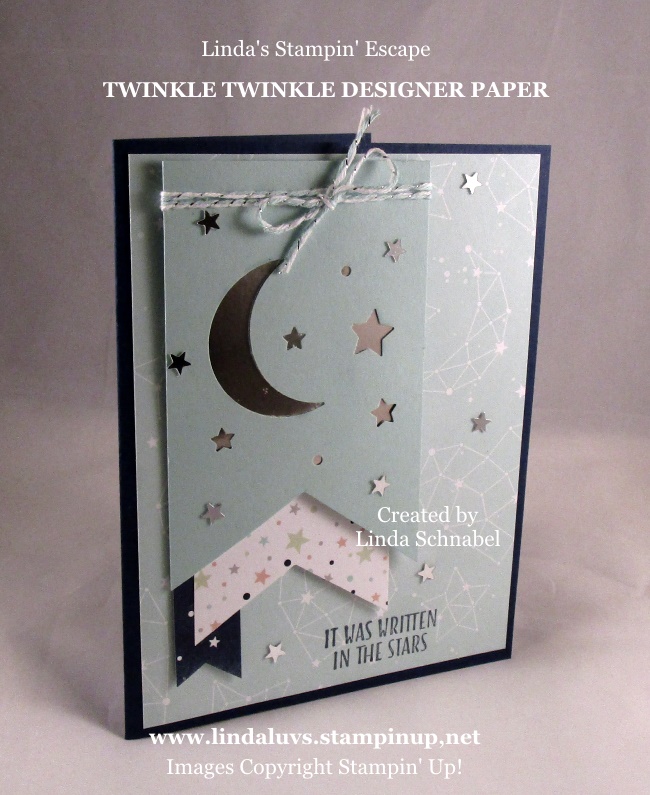
There are three different patterns of the Twinkle Twinkle paper on this card … the base is Night of Navy and the top banner that was punched is Pool Party, such a pretty combination. I have a piece of the Silver Foil sheet under the Pool Party banner highlighting the punch. The cute little silver stars are part of the Twinkle Twinkle product suite and can be found on page 83 in the annual catalog.
I hope you enjoyed the review of my Twinkle Twinkle Designer paper cards and today’s card. Thanks so much for sharing a part of your day with me!
Have a wonderful day ~

Stampin’ Supply List … These are the core products that I used to create my cards. If you click on the picture (link) it will take you to my Stampin’ Store and all the product details will be listed. Thank you.
Please feel free to share or save ...