Hello Stampin’ Friends ~
I hope your Monday is off to a beautiful start. Before we dive into all the fun today, I have two quick—but important!—reminders for you.
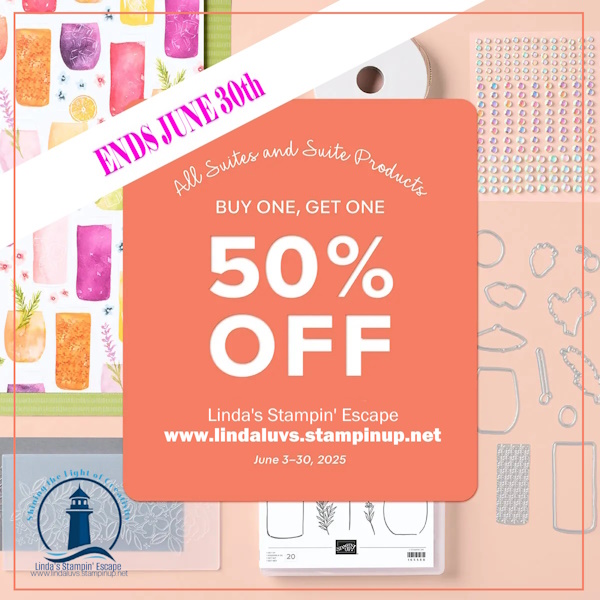
First up… Today is the LAST DAY of the Suite Sale / BOGO offer!
This is one of those deals you truly don’t want to miss. For every suite you purchase, you get another of equal or lesser value free. It’s a perfect opportunity to grab that suite you’ve had your eye on—maybe even one of the newer collections from the Annual Catalog or upcoming Mini. Whether you’re into florals, whimsical animals, cozy fall themes, or holiday magic, there’s something for everyone. But remember, this offer ends tonight, so don’t wait too long!
Now for something I’m really excited about…
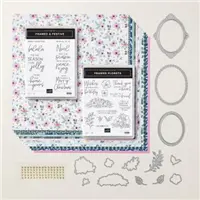
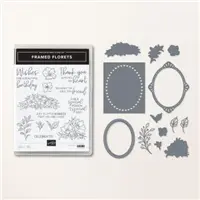
🌺 Introducing: The Floral Impressions Class! 🌺
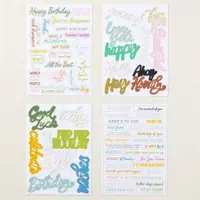
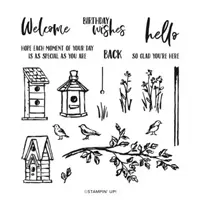
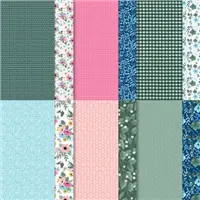
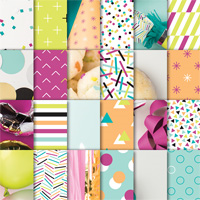
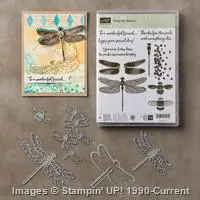
If you’ve seen the Floral Impressions Suite, you already know how stunning it is—rich colors, subtle patterns, and floral designs that practically bloom right off the page. In this upcoming class, we’ll explore everything this suite has to offer. You’ll receive a full kit with all the supplies you need to make four beautiful cards, each one showcasing a different feature of the suite. From the impressionistic patterned paper to the versatile stamp set and coordinating dies, you’ll walk away with a deeper understanding of how to use it all. And I’ll have a fun fold card for you as well!

But it’s more than just a class—it’s a creative gathering.
Come enjoy a morning (or evening!) filled with stamping, laughter, inspiration, and of course… snacks! 🥰 Whether you’re bringing a friend or coming solo, you’ll leave with beautiful cards and maybe even a few new crafty friendships. I say it all the time, but I truly believe I have the best stampin’ friends around. There’s always room for more at the table—we’d love to have you join us. RSVP by calling the number listed / or message me on Facebook!
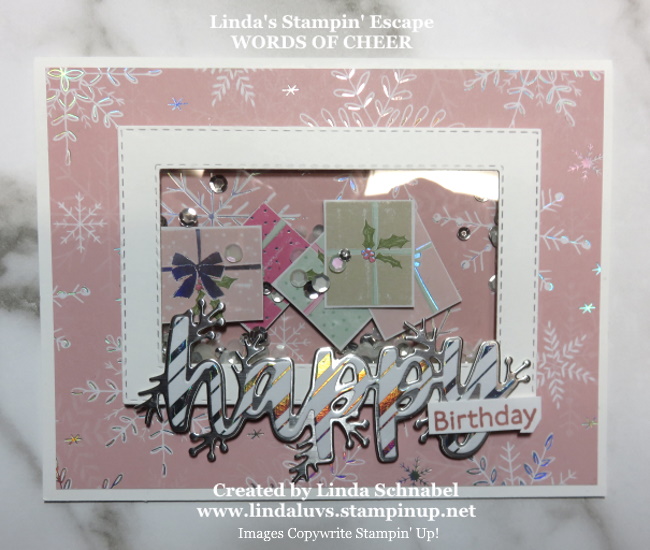
Here are a few card samples I’ve created using the designer paper. And in the meantime, don’t forget to snag your suites during the BOGO before the day slips away.
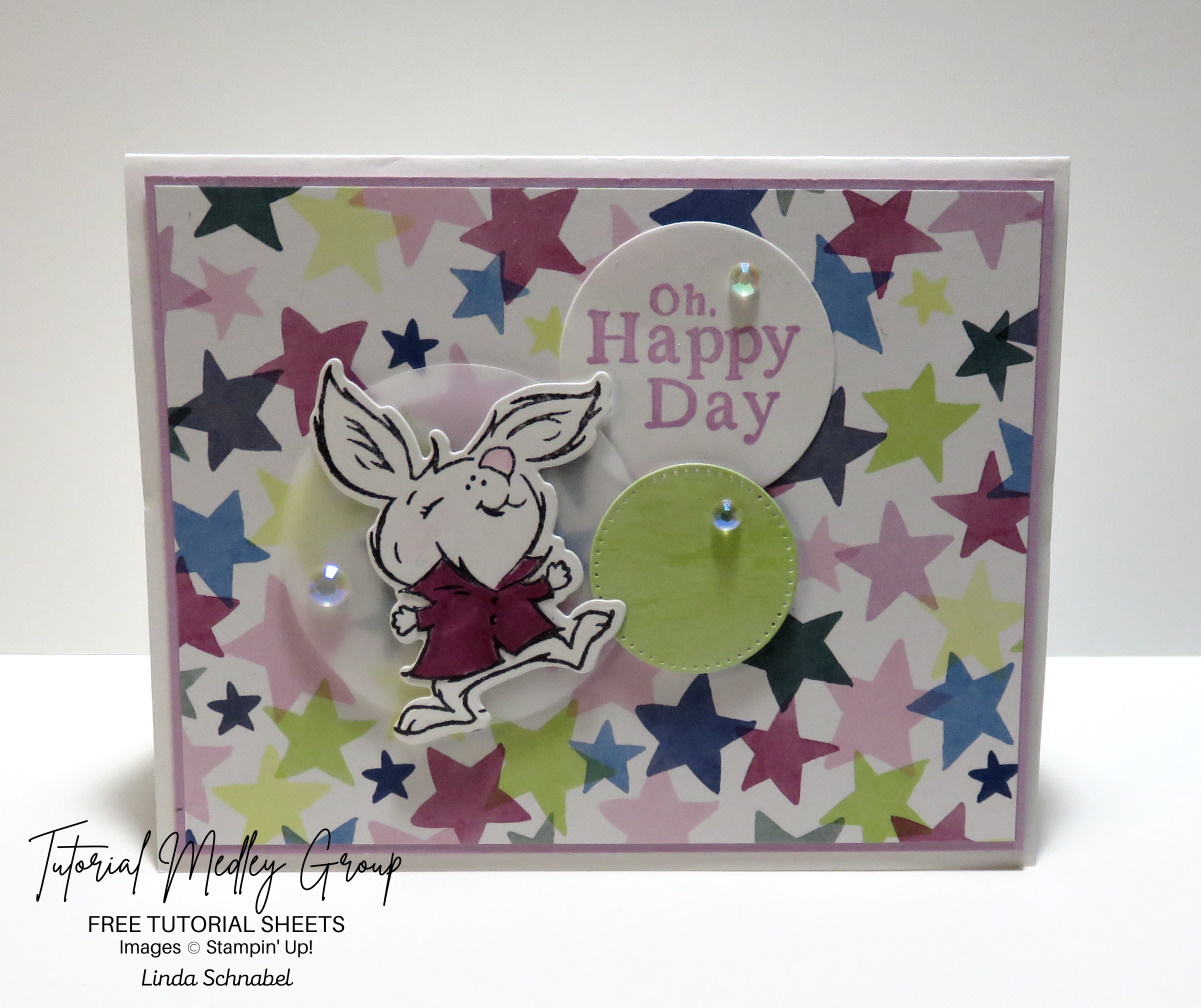
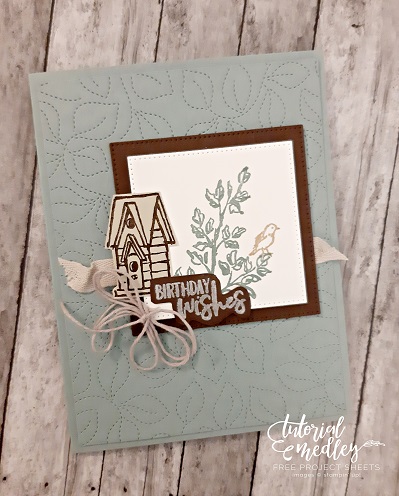
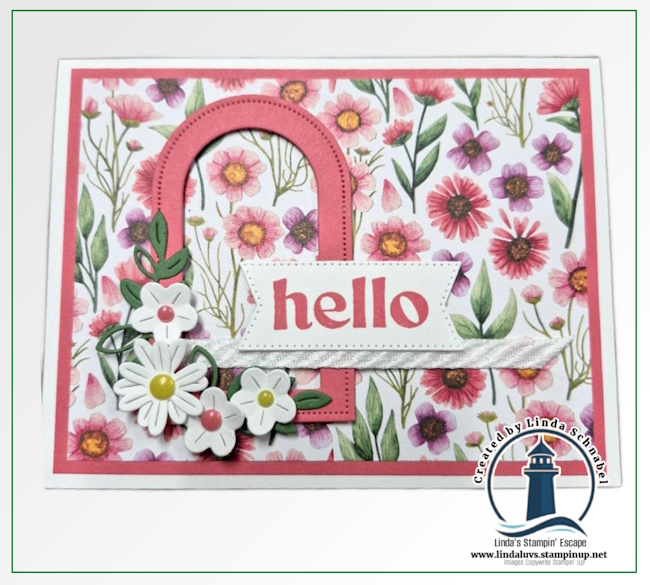
You may have seen this one when I showcased the last week. I paired the Floral Impressions Designer paper with the Everyday Arches Suite. This paper just makes me happy!
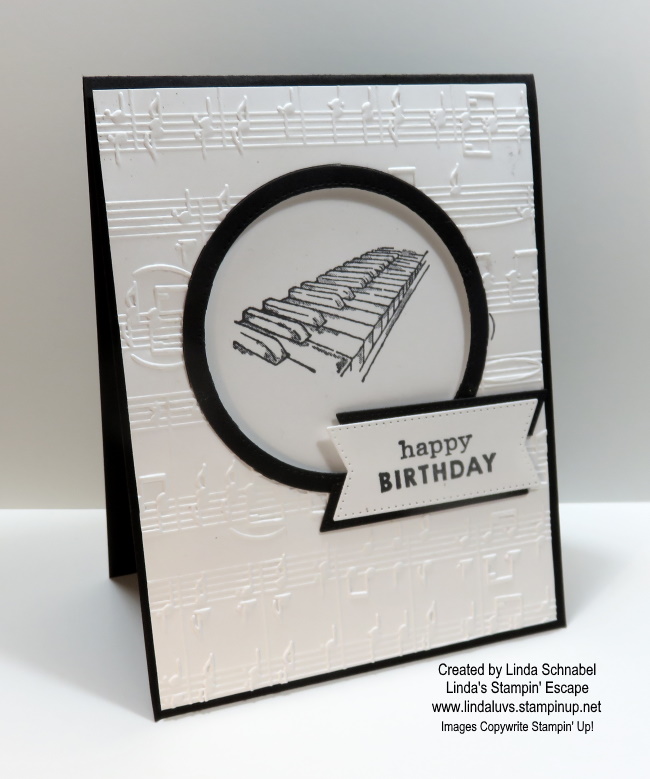
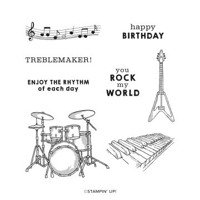
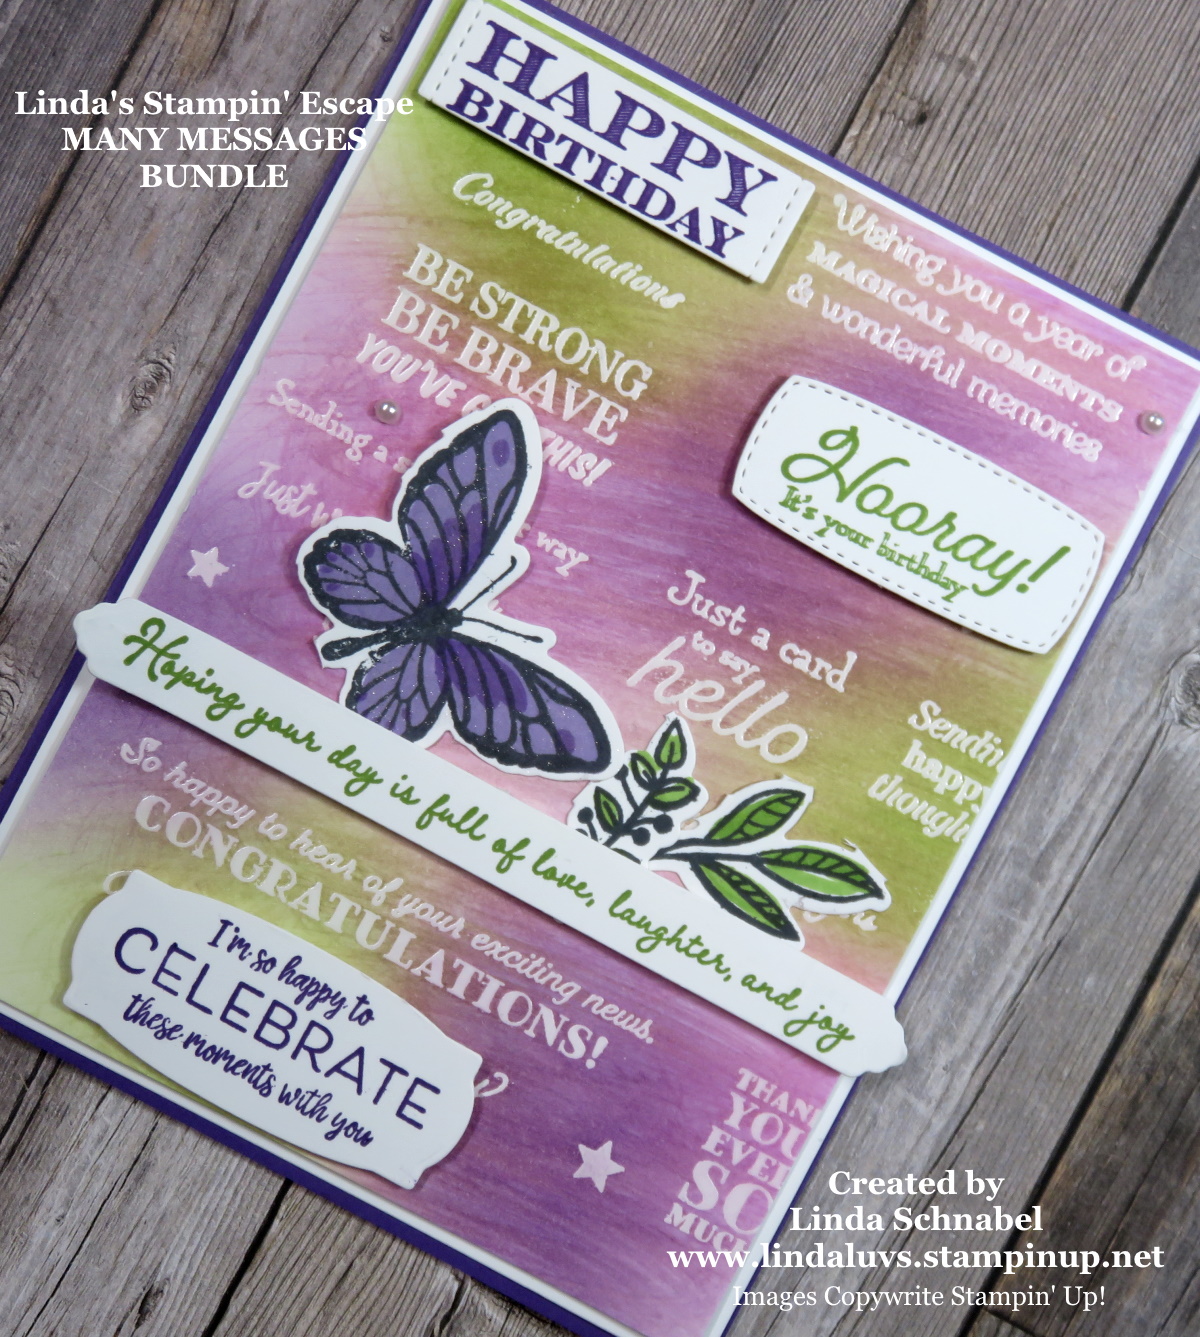
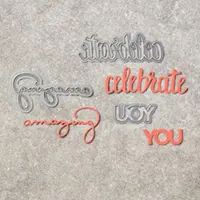
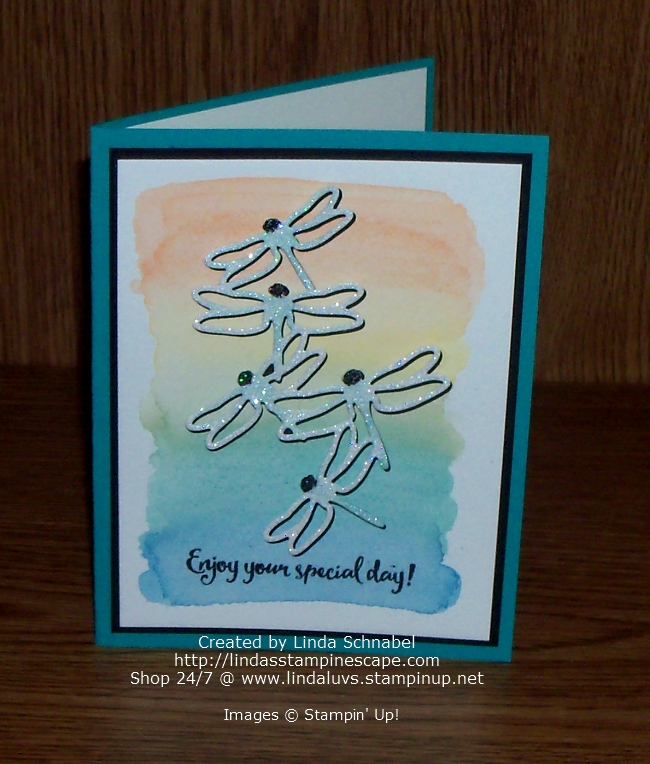
The second card I’d like to share with you, is a combination of the new Party Dies Bundle (I was showcasing when it first came out) and another pretty pattern from the Floral Impressions Designer Paper. They sure compliment each other well, don’t they!?

Let’s keep creating, connecting, and building our beautiful little stamping community—one card at a time.
With creativity and gratitude,
Linda