Hello Stampin’ Friends,
Welcome to September, a month filled with the promise of autumn’s vibrant colors and creative inspiration. I’m thrilled to introduce you to the “Direct-to-Block Spritz” technique using our water-based ink dyes. In this blog post, I will guide you through the process of creating this technique. So, grab your supplies and let’s dive into this innovative and fun crafting journey!
Step 1: Prepare Your Workspace
Set up a clean and well-lit workspace, protecting it with a craft mat or disposable tablecloth to avoid any ink stains.
Step 2: Choose Your Colors
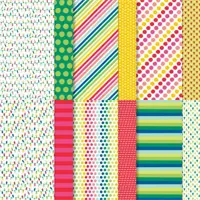
Select the water-based ink dyes that you’d like to use for your background. I used Cajun Craze, Pumpkin Pie, Crushed Curry and Old Olive with worked wonderfully for this project.
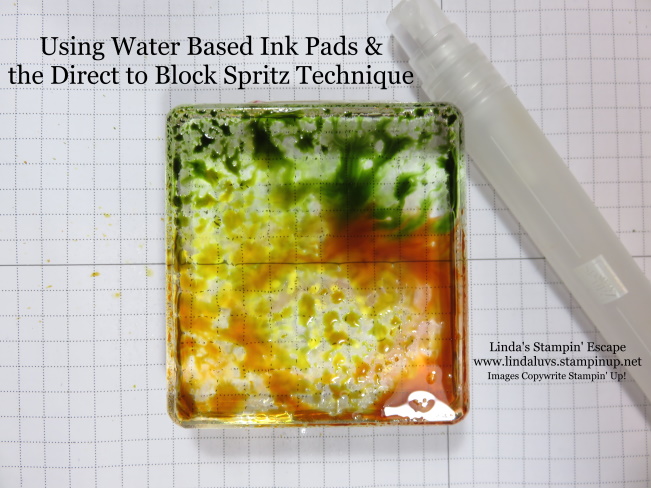
Step 3: Apply Ink to Acrylic Blocks
Tap your ink pad of each chosen ink color directly onto separate acrylic blocks… I use a Sponge Dauber or my finger to blend the sharp lines. Don’t overlap colors too much… this will make it muddy. This will serve as your ink palette.
Step 4: Spritz with Water
Lightly mist the ink colors with your Stampin’ Spritz to activate the pigments and create a watercolor effect.
Step 5: Create Your Background
Gently press the inked acrylic blocks onto your Basic White, Very Vanilla or Watercolor paper. Experiment with different angles and color combinations to achieve the desired look. Then rinse the block and repeat … you can use larger blocks as well.
Step 6: Let it Dry
Allow your background to air dry completely. This might take some time, so patient. You can use a heat tool to speed up the drying process if you’re in a hurry.
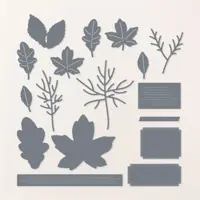
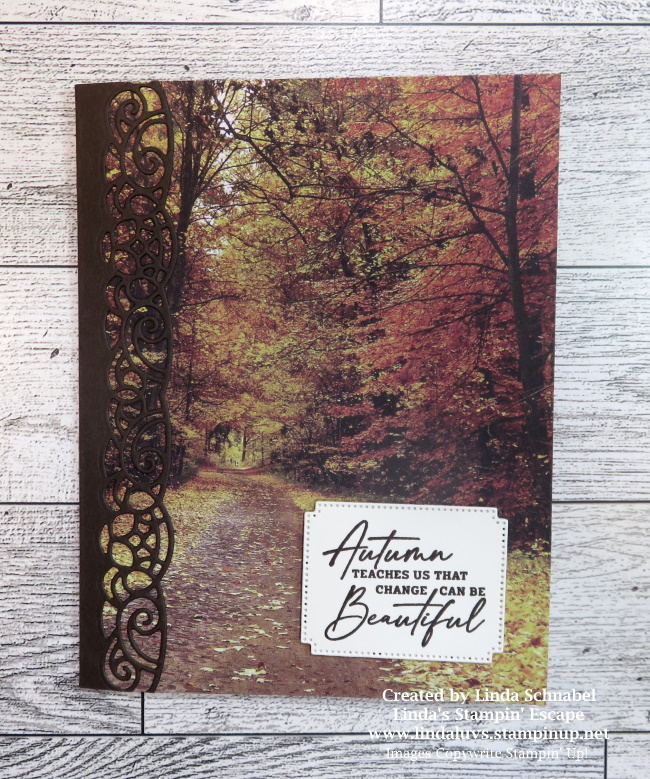
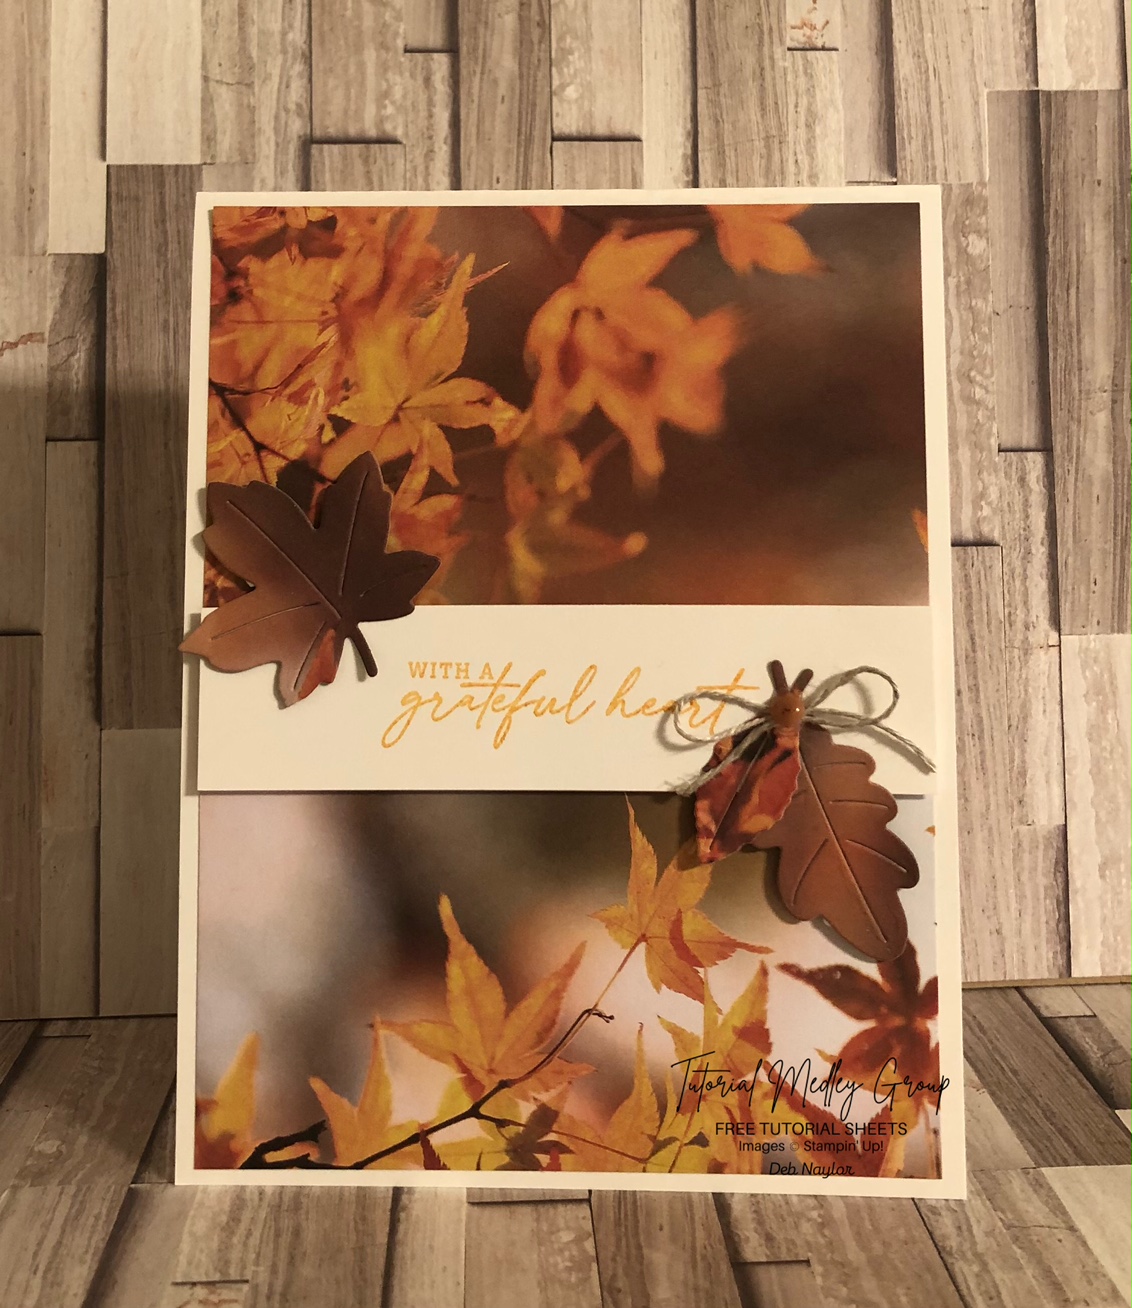
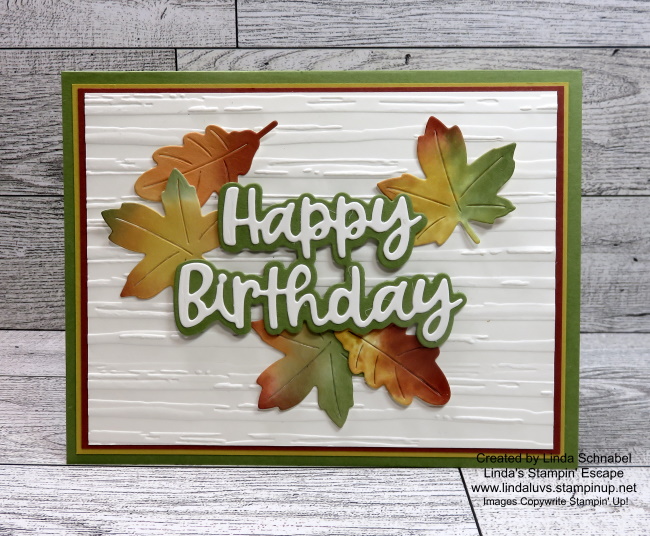
Now I’m going to die-cut leaves from our upcoming Autumn Leaves dies, and used the Stripes & Splatter Embossing Folder to add texture to this card as well (you must run it through twice to emboss the entire piece) but you can use the “Timber” embossing folder that is currently available if you don’t have the stripes. I love the simple & clean look of this card.
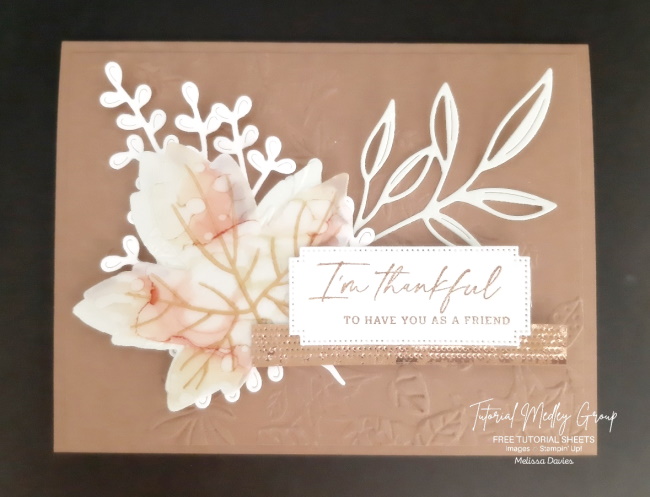
With the Direct-to-Block Spritz technique and our water-based ink pads, the possibilities for creativity are endless. Whether you’re crafting a stunning background or using the design to enhance your projects, this technique is a fantastic way to welcome the autumn season with a burst of color and style.
I hope this blog post has inspired you to experiment with this technique and explore new horizons in your crafting journey.
Thanks for checking out today’s post.