Simply Sunday … Birthday Flowers

Hello Stampin’ Friends,

I would like to wish all the MOM’s out there a very Happy Mother’s Day!  I hope you enjoy your special day.

I also want to say “Thank You” to all who took advantage of the Paper Pumpkin promotion …  You will receive an e-mail from me within the week with your password to my “Paper Pumpkin Pals” link.  There you will find even more ideas for your Paper Pumpkin kits. (This is now available to all my subscribers)

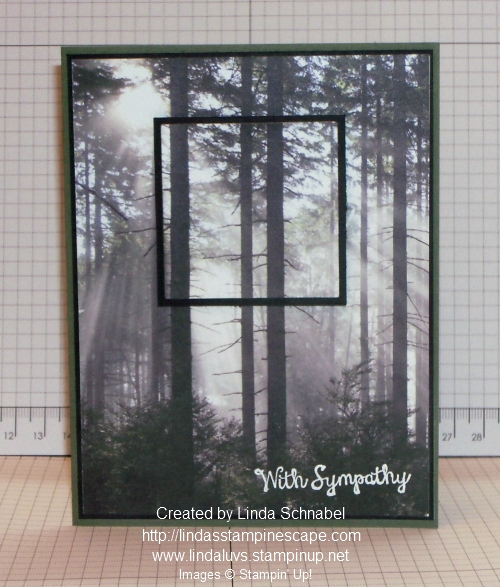
Today I want to share a simple card that can be recreated over and over again … just switch out the stamp set or the designer paper, and you have a new card!

000_2198

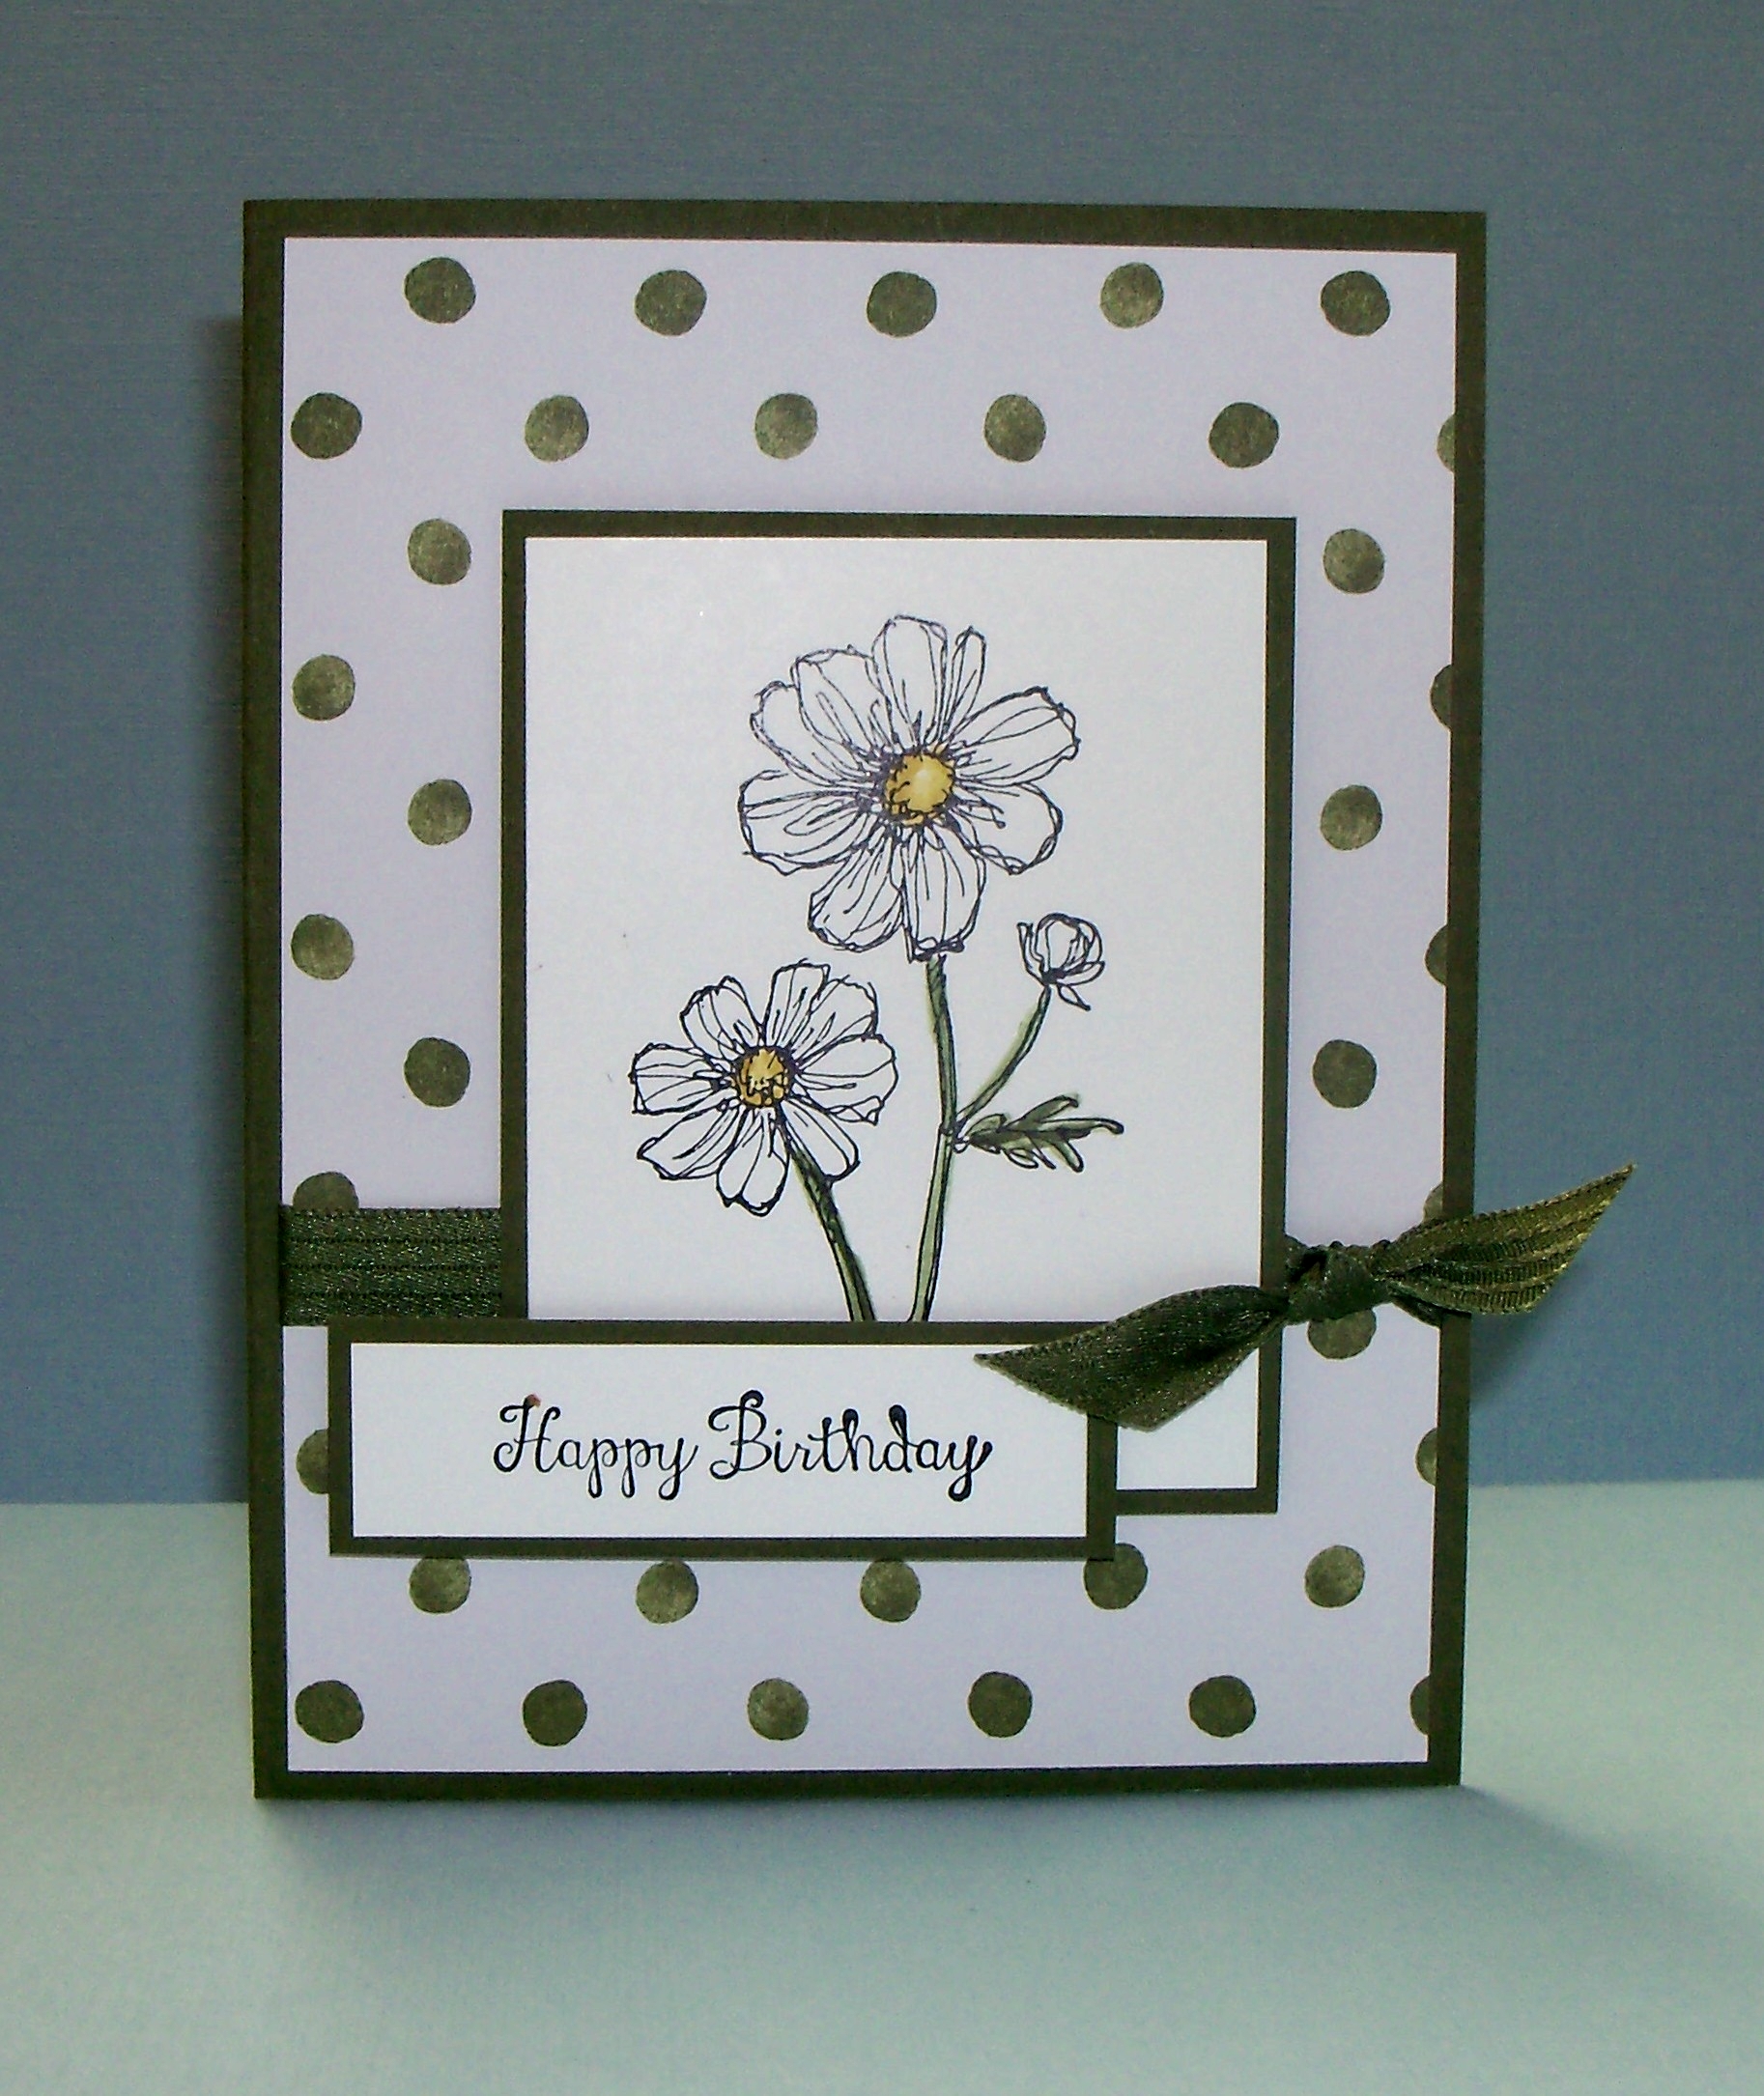
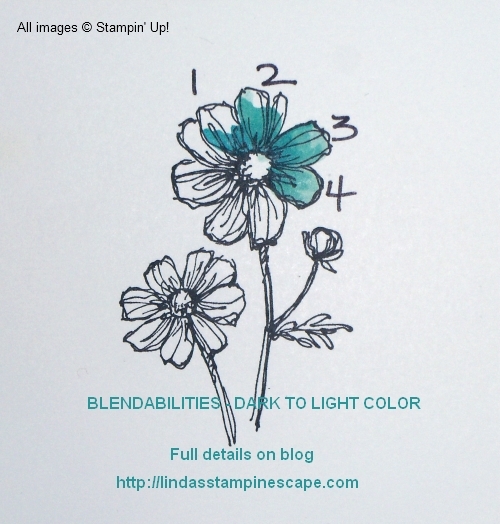
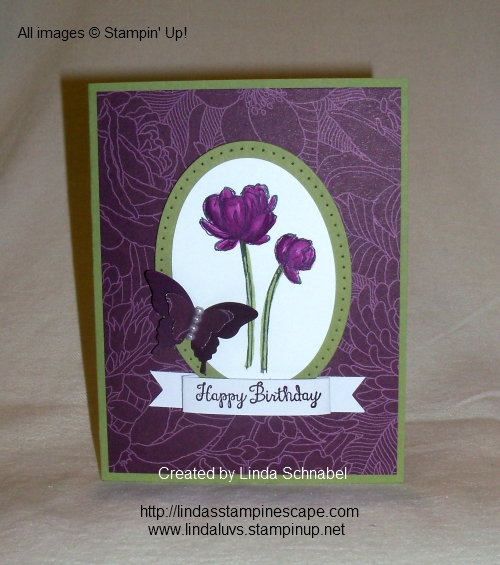
I stamped with the beautiful hostess set: Bloom with Hope with the StazOn ink pad. I kept it very simple by only coloring the center of the flower.  Sometimes less is more.

I used the Hello Honey and Mossy Meadow ink pads and blender pen to do the coloring … sometimes we get so caught up in new techniques that it’s nice to revisit old ones. They are tried and true!

000_2199

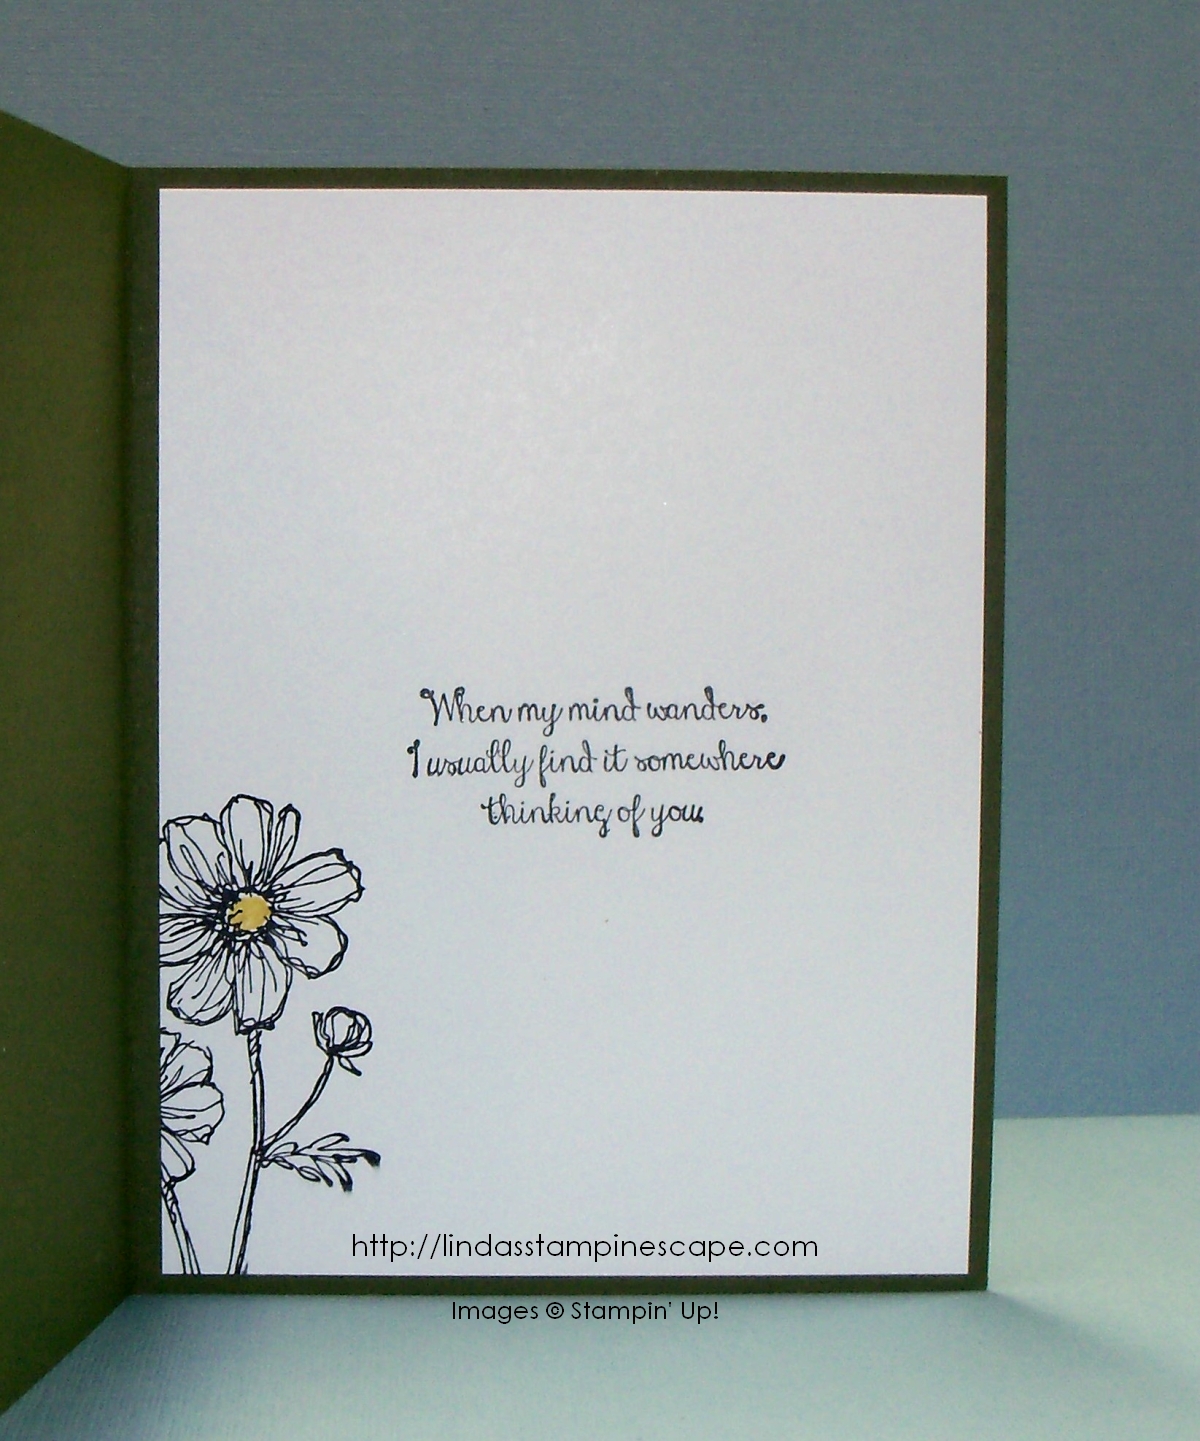
Both the birthday greeting and the verse on the inside of the card come from the Bloom with Hope stamp set. I layered and popped up the greeting to create some interesting dimension to the card, then tied it all up in a pretty little Mossy Meadow ribbon.

So simple … yet so pretty. Remember you can totally change the look of the card by changing out designer papers!

000_2198

Again, Happy Mother’s Day to all the Mom’s out there … and I hope everyone has a wonderful Sunday.

Thank you for stopping by ~

blog-closing-small

TODAY’S STAMPIN’ SUPPLY LIST …


Spotlighting Sympathy cards …

Hello Stampin’ Friends,

Yesterday I shared a “Wedding Card” with you, today I share a “Sympathy Card” … two stages of life that we go through and make cards to show our friends and loved ones that we care.

I wanted to create something simple because I find it very difficult to sit down and stamp a sympathy card when I need one, so I tend to turn to my designer paper. With all the beautiful designer papers we have, it’s not hard to find one that fits the occasion we need.

I chose the new “Adventure Bound” Designer Series Paper Stack found in the Occasions Catalog. Last time I used this paper I simply stamped my image directly onto the paper and mounted it onto the cardstock, however today I wanted to take it up a notch so I decided to do a “Spotlight”.

To create a “Spotlight” on my card I used the “Square Framelit Die” and I lined it up to the corner of the sun on my paper …

000_1908

Once I cut out my square, I mounted it onto a piece of Basic Black cardstock. Now I was ready to mount my spotlight onto the base of my card. The card base is Almost Artichoke and I used some black cardstock behind the paper to make it stand out more.

000_1909

The spotlight was mounted using the Stampin’ Dimensionals to add dimension too …

000_1910

I then stamped my salutation of “With Sympathy” from the “Bloom with Hope” stamp set. Please note that this is a Hostess stamp set and is not for sale but available as an exclusive stamp set when you place or host a qualifying stamping order or party. Contact me with any questions you may have.

I used Whisper White craft ink and the White embossing powder for my greeting … the combination of the two really makes it stand out so much more.

I took the piece of paper that I cut off of my designer paper and placed it on the inside to create a feeling of harmony on the card. The inside words also come from “Bloom with Hope” and were stamped with Black StazOn™ … my favorite black ink! I love that it’s a true black.

000_1912

Hope you enjoyed today’s card and take some time to create a few “Spotlight” cards of your own. I have always liked this technique when stamping, now I love that it works so well using these fabulous designer papers too. I didn’t have the heart to cover this one up with anything.

000_1910

Thanks for coming by today …

Have a great Saturday!

blog-closing-small

Today’s Stampin’ Supply List … Click on image for more details

The Beauty of Blendabilities …

Hello Stampin’ Friends,

Yes …  I missed a day but I’m back with the my “how to” as promised.  To be honest, the best way to learn how the Blendabilities work is to play with them, but until you get yours, I’m here to help.

Grab a cup of coffee and sit back and relax while I take you through the steps to coloring magic 🙂

demoheader_blendabilities_5.1.2014_NA_SP_EU

Let’s start at the beginning.  You will want to pick a line  image (like our friends up above) and stamp it with the NEW Memento Ink Pad onto our Whisper White cardstock – as that works beautifully .  Memento™ dye ink is fast drying and fade resistant. The innovative pad delivers finer impressions and exceptionally even coverage.  It is also acid free!

Now you are ready to choose your color pallet … today I’m using Coastal Cabana! There are three markers per color assortment. They are alcohol based markers are made for blending and shading. They are Acid Free and Lignin Free too!
You can work from light to dark, or dark to light … depending on your color technique. I’ve always used Stampin’ Up!s design to guide me … makes me look like an artist!!

On my first sample I am beginning with the light color first, and I color the entire petal (1). Then I’ve added the medium color (2) and last, the darkest color in the assormtment (3). You can go back over the image again with the light color to blend (4).

000_1192

On this sample, I started with the darkest color first – again following their image and only coloring where there are the lines(1). Next I brought my medium color into the center, and coloring over the dark color to create a soft blend(2). Then I added the lightest color, going over the other two previously colored areas(3). And finally going over it again with whatever color works best for blending and getting you the impact you desire (4).

000_1191

As far as which tip you use, it really is your preference. I like the brush tip for larger areas, however, I know other demonstrators who prefer the harder tip as it feels more like coloring. I must admit, when working in small spaces, the smaller tip works wonders!

If you use the brush tip … color at an angle, it gives you a softer effect and you won’t damage the tip. I will say that the construction and materials used in the tips of these markers are very sturdy.
Just remember that different images will require different coloring techniques … I obviously did not spend that much time and layer of colors with the stem and leaf.

It’s learning some basic techniques and then just having fun with it. And don’t worry when you see the color coming through the back … it’s alcohol based and will do that. I suggest making sure you are stamping on your scratch pads.

000_1194

The designer paper I used for our card is the “Back to Black” and part of the buy 3 get one free promotion.

000_1195

My greeting comes from the stamp set “Starburst Sayings” and I used the coordinating framelits to cut it out.  I used Bermuda Bay ink for the greeting, and the cardstock behind the flower to pull out the darkest color of the flower.  I did however use the “Coastal Cabana” Blendabilities assortment to color the flower.  Don’t you just love how easy it is to pair up the Stampin’ Up! colors!

The other colors used to color are Daffodil Delight and Old Olive Blendabilities.  I hope you enjoyed the card and explanation. I realize it gets a bit wordy … so thanks for sitting through it.


000_1197

Again, thank you for stopping by today… I would appreciate your comments.

Have an awesome day and a Safe and Happy Holiday Weekend!


blog-closing-small


Birthday Bliss in Blackberry

Hello Stampin’ Friends,

I hope you are enjoying your weekend!  I held my summer party with my Star’s by Design group yesterday.  We had a great time!  I will be sharing some of our day with you throughout the next couple of days … I have some really cute cards to share!

Friday I shared a quick and easy card with you and said I wanted to show you another card using the “Park Lane” designer paper … I’ll show you that today too!

Each summer and Christmas I host a special party for my Star’s, and our group met yesterday.  We had a great time sharing ideas, stamping, laughing, more stamping, and then went out for lunch.

This is the cute gift bag that each of my Star’s received when they arrived.  The bags are from the February Paper Pumpkin kits … they are so cute!  I personalized everyone’s bag with their names.  Inside their bags they each got the NEW “Hearts & Star’s” decorative mats.   Ahhh …. what else would I give my Star’s but stars!  🙂

000_1179

We talked about the Paper Pumpkin and the girls got to make a treat bag with the June “Pinwheel” Paper Pumpkin.  They also created a couple cards using the “Reflection / Mirror Image” technique.  I’ll share more with you tomorrow.

Now I’d like to share with you a special birthday card I made with the “Park Lane” designer series paper.  I picked the Blackberry Bliss paper this time.  The floral pattern is the same as Friday’s card but the color “really” changes the look.

000_1180

I stamped the flower from the Hostess set “Bloom with Hope” and colored it in using the Blackberry Bliss ink pad and Blender pen.  Next, I used the Ovals collection framelits to cut out the flower and create a focal point.

To add a touch of texture … I pulled out my Occasions Paper Piercing mat, the Paper Piercing Tool and the mat and pierced the oval.  I love that mat …. Did you know you can use that as a mat as your stamp pad?  It gives you a crisp, beautifully stamped image!!  Try it 🙂

000_1184

The greeting comes from the Bloom with Hope stamp set too, and the banner came from the Paper Pumpkin kit … however, it would be easy enough to make.  I just put a couple of folds in it to make it stand up.  I added the butterflies just because I think they’re pretty, and a bit of designer paper on the inside to finish off the card.

So … what do you think?  Is the Quick -n- Easy card on Friday your favorite, or is it this tantalizing Blackberry Bliss?  I’d love to know 🙂

I thank you for stopping by today.

Enjoy the rest of your weekend ~

blog-closing-small

000_1180

The stamp set “Bloom with Hope” is a Hostess set, and cannot be purchased on a regular or on-line order.  A qualifying workshop (stampin’ party) of only $150 would give you enough hostess dollars to purchase this set.

You can put in a personal order, do a book show, or I’d be happy to put together a party for you and your friends!  Stamp a few cards, check out the new catalog, fun with friends, and before you know it … you’ve earned enough hostess rewards for this and maybe more!  Let me know 🙂