Hello Stampin’ Friends ~
I’m excited to share a NEW stamp set with you today! Yes, it comes with all the bells & whistles in the product suite; dies, designer paper, embossing folders … oh my!! But today, we are taking it back to the basics; Stamps … Ink … and cardstock. Simply beautiful.
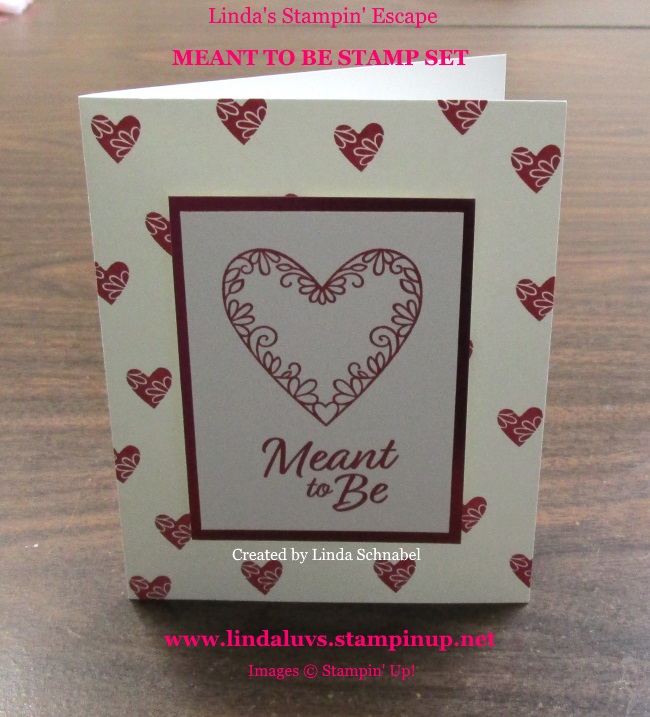
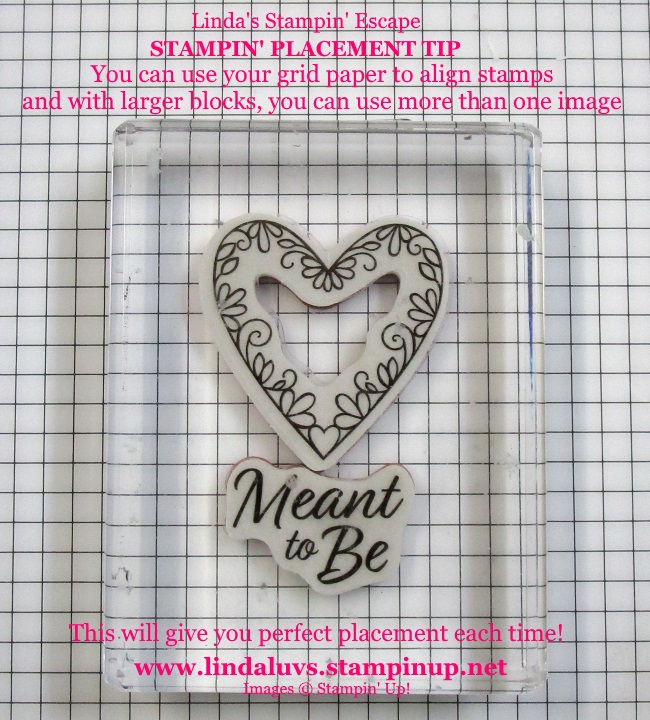
The new Forever Fern is filled with beautifully designed realistic foliage, and will steal the show when you create with this set! This is a Distinktive stamp set; it has a special texture that gives added depth and dimension in a single step, creating photo-realistic images. Just take a look …

So much beautiful foliage to choose from … I picked 3 different types of leaves, the speckles and the greeting. There are four ink colors: Pear Pizzazz, Garden Green, Shaded Spruce and Pretty Peacock.
The little skinny leaf foliage was stamped in Garden Green, I then stamped the “bushy” foliage in the Pear Pizzazz and the little leaves were stamped in the Shaded Spruce. The greeting and the speckles were done in the Pretty Peacock.
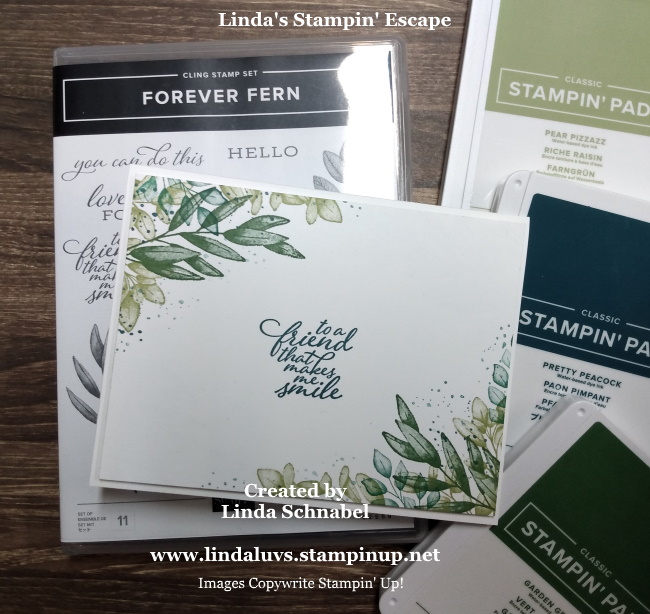
I love those little speckles … they really do seem to tie everything together so nicely and adds some dimension to a “stamped only” card. This is perfect for beginner stampers as you can get beautifully hand stamped cards with a small investment.
Those of you who have to have it all … well, that is there for you as well! With coordinating dies, embossing folders and embellishments, you are going to have a blast!!
We all need quick cards once in a while and this will fit the bill for either a feminine card or … you can most definitely make a masculine card with this set.
Enjoy your day, and I thank you for dropping in to check out my blog.

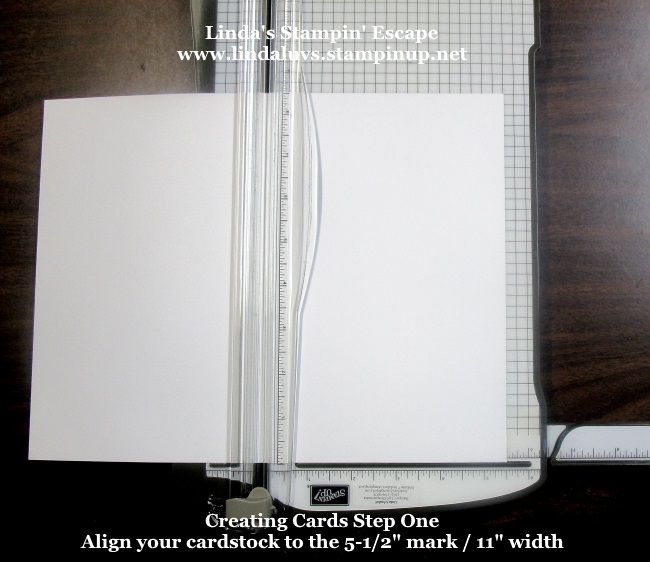
Here is a list of today’s card supplies: The Forever Fern will be available for purchase on June 3rd, when the 2020-21 Catalog goes live …