More Tunnel Cards!

Hello Stampin’ Friends ~

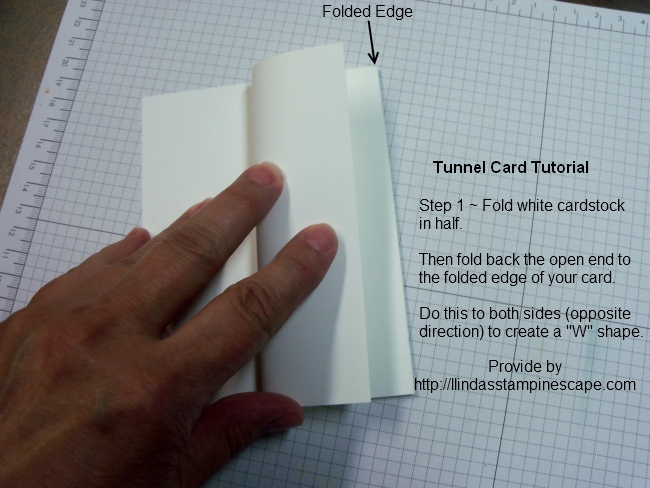
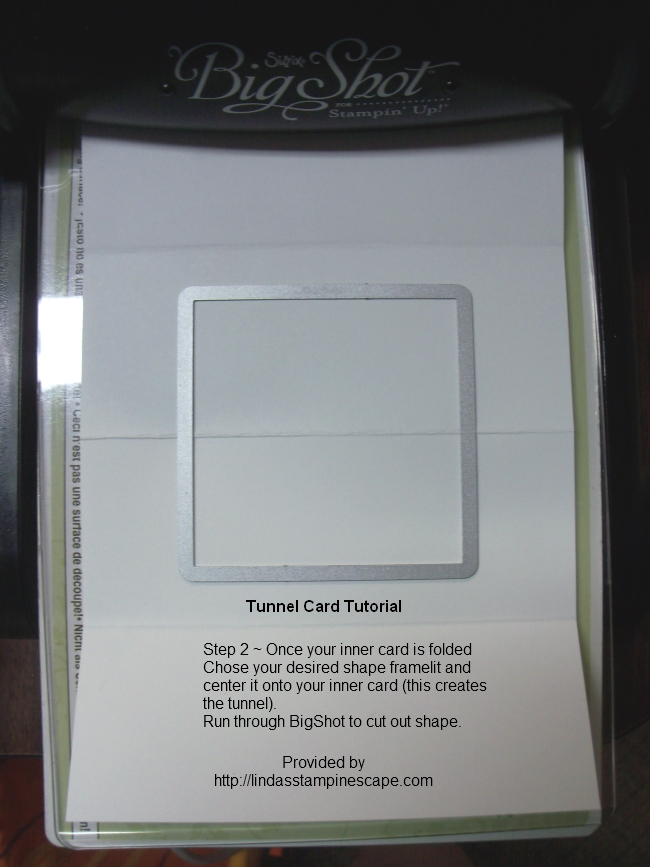
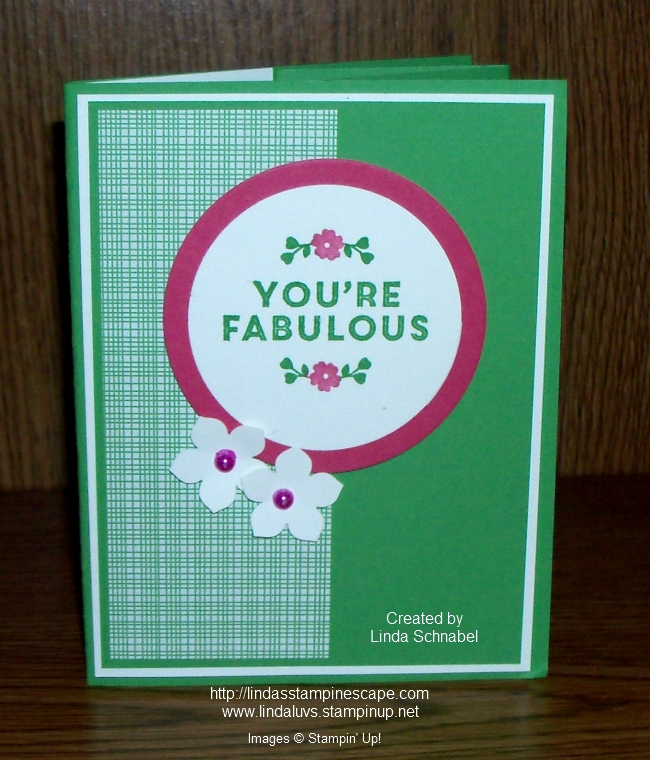
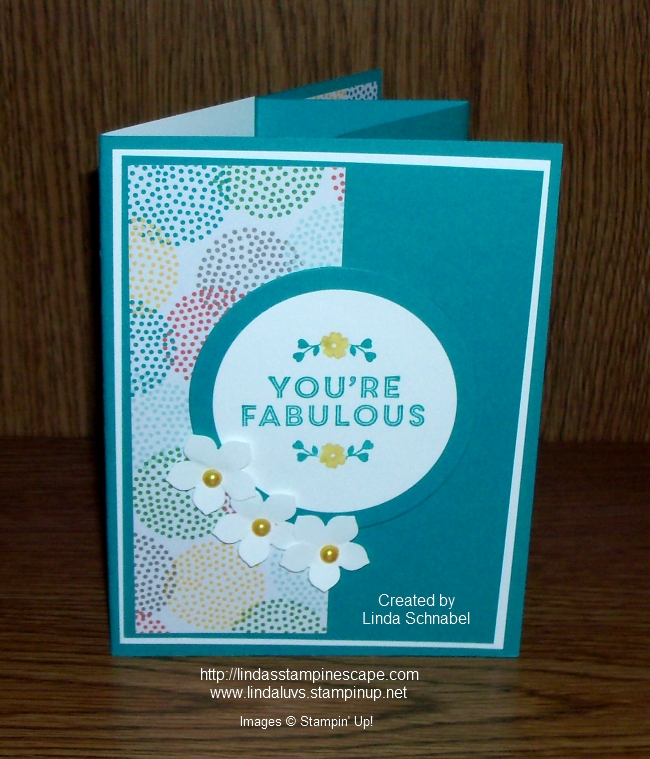
Finally Friday … Awesome!  I am back today to share more Tunnel cards with you! The first three are the cards we made in our Technique Club this month.  They all have the same layout, but I used different colors to match the Designer Paper “Cherry On Top”.

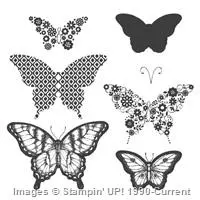
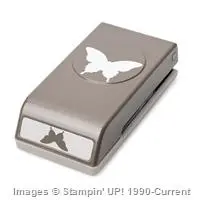
The last card will be a spin off of the original Tunnel Card I shared.  I used the same paper, dimensions, ribbon … I just switched out the stamp sets. AND instead of stamping on the inner flaps … I used the Elegant Butterfly Punch. 

Enjoy …

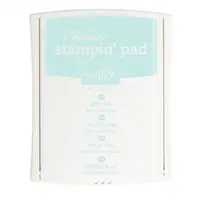
This is our Cucumber Crush “In-Color” teamed up with Melon Mambo. The greeting and inside verse comes from the “A Whole Lot of Lovely” Hostess stamp set.

000_3384

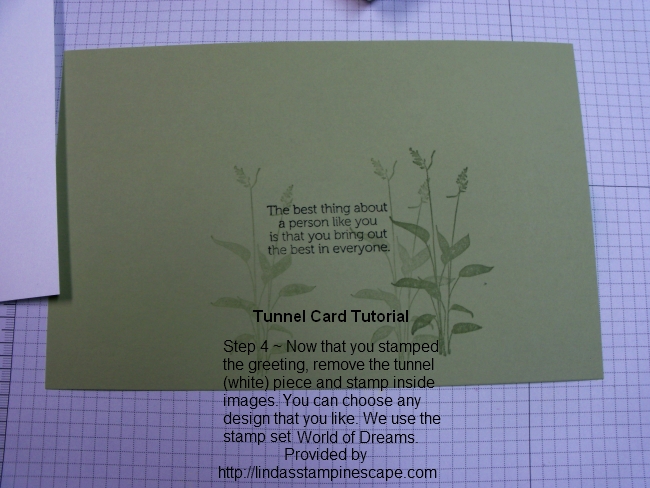
The inside layout is also the same on all the cards so I’m just showing the Cucumber one today.

000_3389

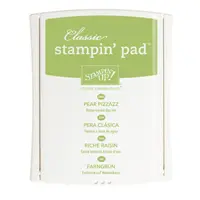
This was made with the “Crushed Curry” cardstock with a touch of Marina Mist.

000_3387

For my last card with the same layout, I used Bermuda Bay with just a hint of the Crushed Curry.

000_3382

Are you ready???

Remember the cardstock for the original? Here it is …

000_3366

NOW … Combine those with our “Friendly Wishes” stamp set and this is what I came up with. As you can see, I added a butterfly from Papillion Potpourri and the  Elegant Butterfly punch to catch your eye!

000_3391

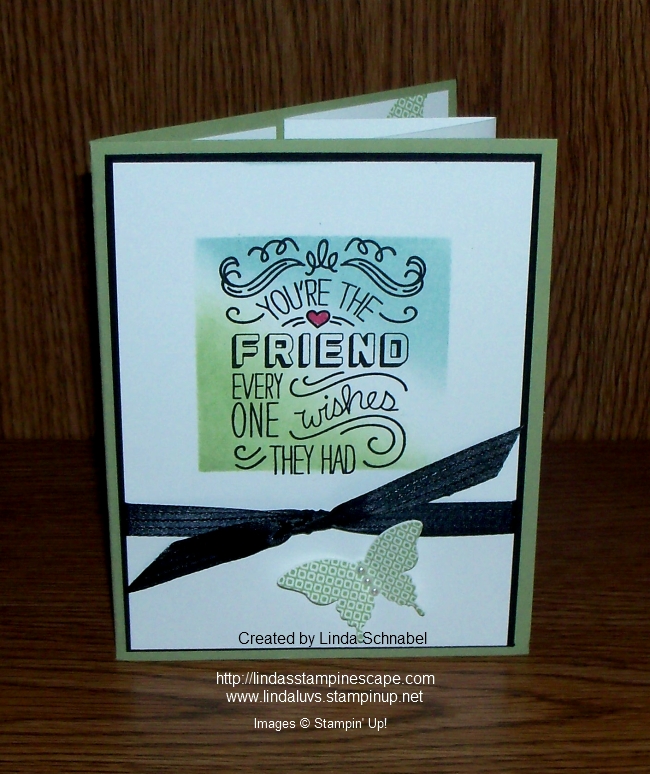
The inside has been stamped with the butterfly too but the bottom right has been punched out to create some awesome texture. Inside greeting also comes from the Friendly Wishes stamp set.

000_3399

Hope you enjoyed the additional samples, and thank your for stopping back to check them out.

Have yourself a fabulous Friday!!

blog-closing-small

Today’s Highlighted Stampin’ Supplies ~


Tunnel Card Tutorial

Hello Stampin’ Friends ~

Middle of the week … closer to the weekend!! Hope you are having a good day!

Today I’m going to show your the steps I took to create the Tunnel card that I shared with you on Sunday …

000_3358

I will start from the beginning which includes the dimensions of the cardstock I used.

000_3366

Tunnel Card Tutorial

000_3368

000_3369

000_3370

000_3371

000_3372-step5

000_3374

000_3358

I will share the “how to” create the masked front tomorrow along with some additional samples.

See you then …

Thanks for visiting me today!

blog-closing-small

Simply Sunday: Thank You

Hello Stampin’ Friends ~

Today I’d like to share with you a card that my Technique Clubs did this May. They learned how to create a “Tunnel Card” and we also used the “masking” technique for the front to create a soft focal point for our birds.

Let’s begin with the front of the card and the World of Dreams stamp set …

I found a card on pinterest using the “masking” technique and loved the color pallet that was used. It was created by Dena Rekow … I cased her basic design.

000_3356

The template was created with the Squares Collection Framelits so that we could sponge multiple cards. The top right of the square is sponged with Soft Sky and the bottom left is sponged with Pear Pizzazz … it is then stamped with the bird silhouette stamp using the Black StazOn in pad. It’s very dramatic.

The pop of black cardstock behind the stamped front and the Basic Black Stitched Satin Ribbon really pull the card together and give it an elegant look.

The inside of the card is using the “Tunnel” to create a very dramatic look. The white cardstock is double stamped in the Pear Pizzazz to give it some dimension. We stamped the same on the inside, along with the greeting in Black StazOn.

000_3358

The tunnel itself is easy to create with just a few folds and a framelit of punch to create the opening. Stop back tomorrow for a step by step tutorial on how to create the Tunnel Fold.

Thank you for sharing a part of your Sunday with me …

Have a wonderful day!

blog-closing-small

TODAY’S STAMPIN’ SUPPLY LIST …