Hello Stampin’ Friends ~
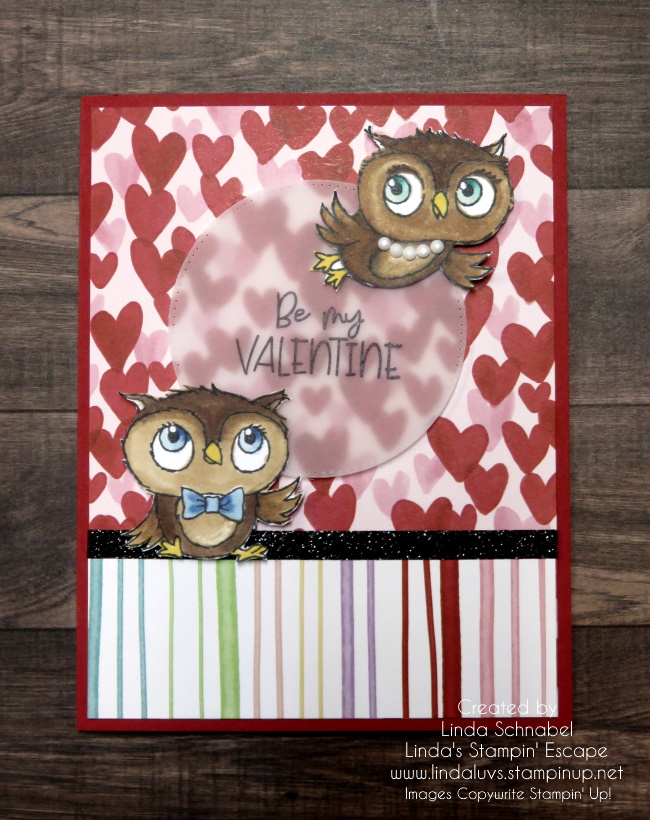
Get ready to fall head over heels for the upcoming Sale-a-bration catalog! One of my favorite new releases is the Heart Shaped Bundle, a versatile set that makes it easy to craft stunning cards filled with love, gratitude, and warm wishes. Whether you’re creating for Valentine’s Day, a thoughtful thank-you, or just to say hello, this bundle has you covered.

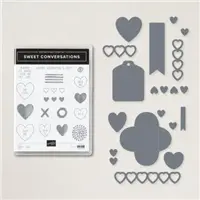
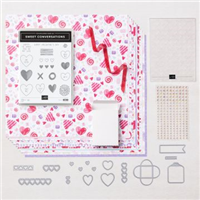
The Heart Shaped Stamp Set features beautiful floral heart designs paired with heartfelt sentiments like “My Heart Loves Your Heart,” “Thank You,” and “My Thoughts of You.” You can customize your cards by layering delicate floral details or die-cutting the coordinating label piece to spotlight your favorite sentiments.
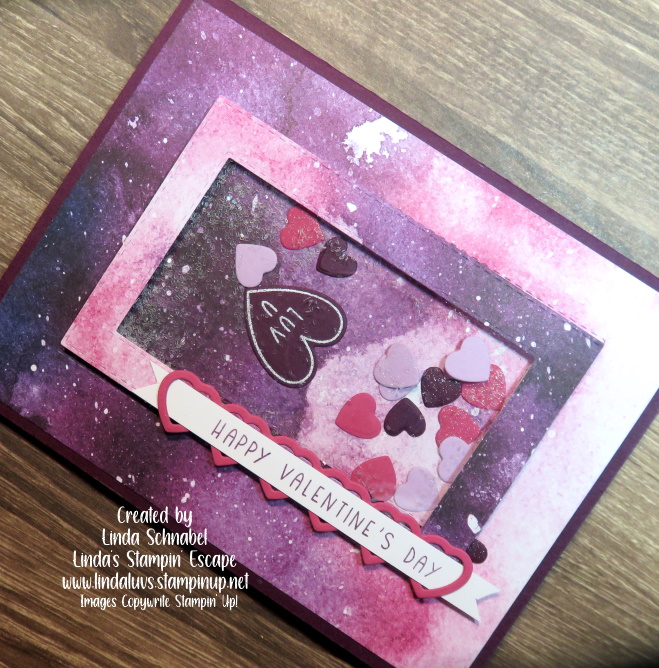
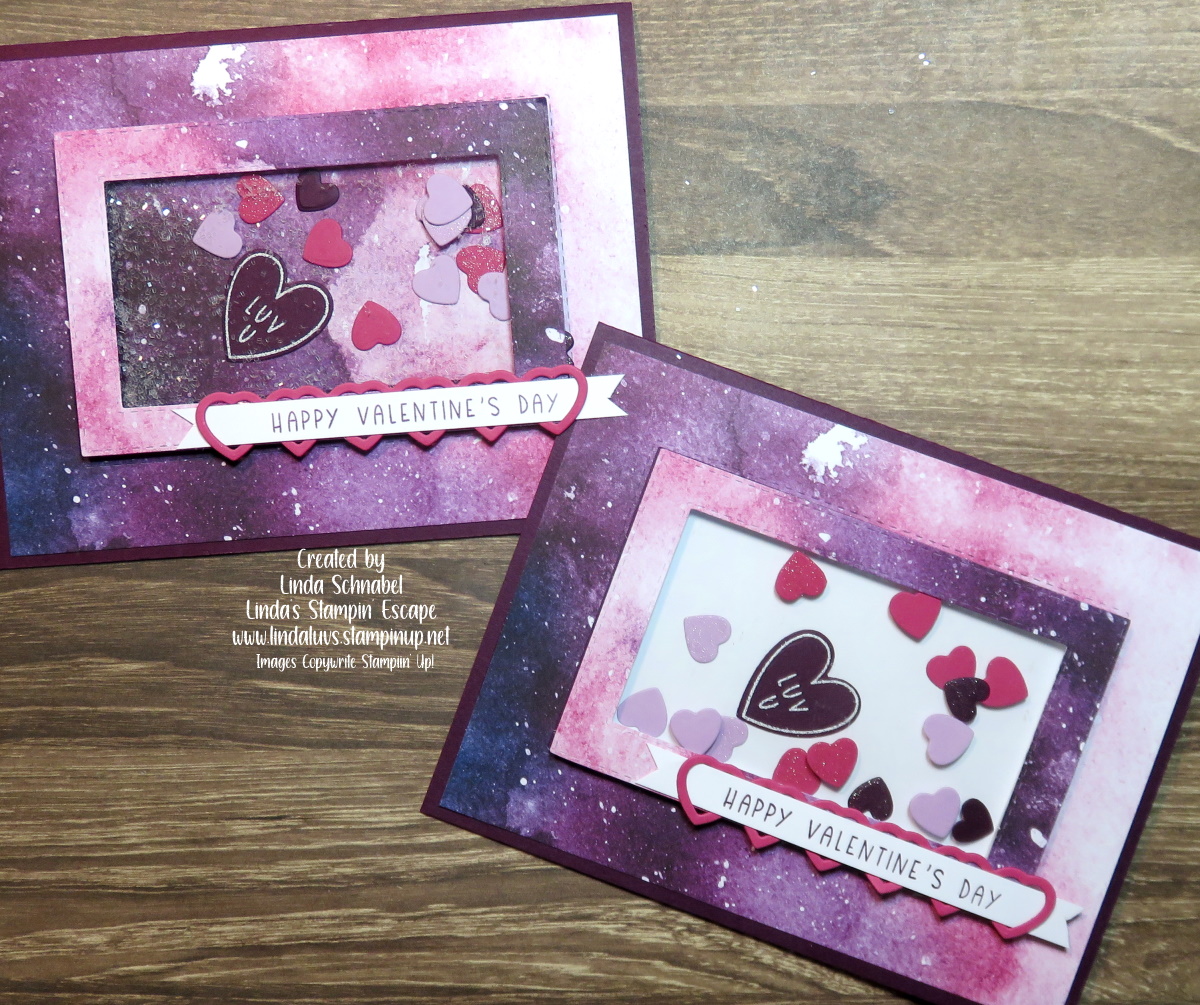
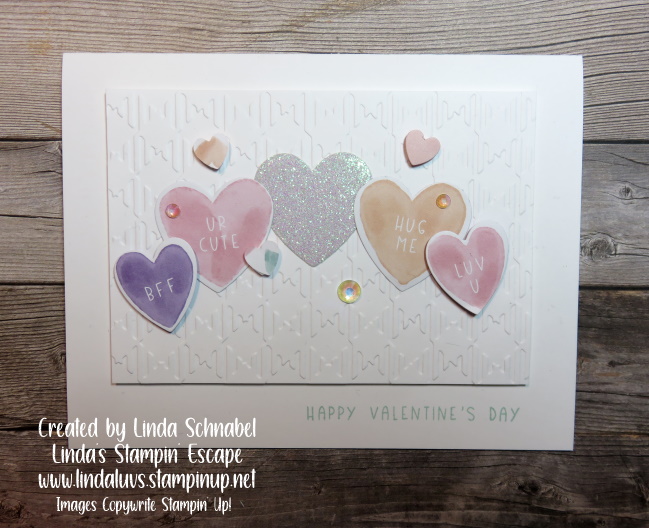
Today, I’m excited to share a beautiful card created with this bundle! It features the large floral die cut hearts and “Just Because I Care” sentiment, framed with die-cut details that add the perfect touch of elegance.

Measurements:
- Cardstock: Berry Burst 8 ½” x 5 ½” Scored and folded at 4 ¼”
- Cardstock 2: Basic Black 5 1/4″ x 4″ plus 3″ x 3″ for die cut heart
- Cardstock 3: Daffodil Delight 3” x 3” for die cut heart
- Cardstock 4: Granny Apple Green 3” x 3” for die cut heart
- Cardstock 4: Basic White 5 ¼” x 4” (inside) and scrap to stamp flowers & greeting
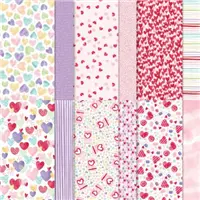
- Designer Paper: Beautiful Bokeh (Berry Burst) 5 1/8” x 3 7/8”
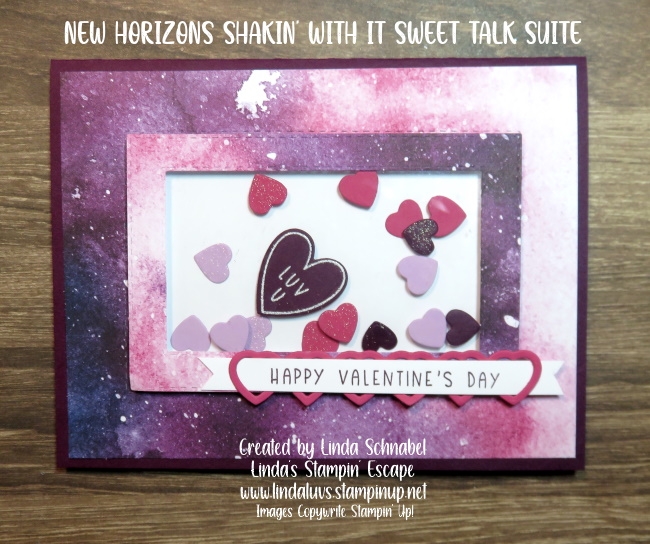
Step-by-Step Instructions
- Score Berry Burst base at 4 ¼” Fold and burnish
- Attach Basic White to inside of card
- Attach designer paper to black mat and attach that to card front
- Using heart die, die cut the Daffodil Delight, Granny Apple Green (remover centers).
- Die cut black heart but keep center in the die cut heart.
- Attach Daffodil and Granny Apple Green hearts to card front with Liquid glue as shown on picture, then using Stampin’ Dimensionals; attach full black heart to center of card.
- Stamp trio of flowers and greeting with Berry Burst ink and then die cut with coordinating dies.
- To finish, embellish with the Antique Pearls.
I hope you’re as excited as I am to dive into the Sale-a-bration catalog and start creating with the Heart Shaped Bundle. Stay tuned for more ideas and inspiration as we countdown to launch! ❤️