
Hello Stampin’ Friends ~
Today I have 2 more cards that highlight the beautiful Peaceful Place Specialty Designer Paper. These A2 size cards come from the extra piece that was cut off during my demonstration showing you how to cut the designer paper in yesterday’s video.

The first card you got a peek at in the video … it’s my Halloween Shaker Card. This may have little snowflakes on it but it fits perfectly for a Halloween card in Wisconsin! lol
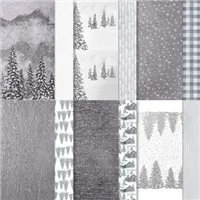
We know the width of our designer paper was 3-3/4″ so to fit onto the card base with an even border … we need to cut it down to 5″. Then cut at 5″ again so you have 2 card fronts. Your mat will measure 4″ x 5-1/4″ and your base is 5-1/2″ x 8-1/2″ then score at 4-1/4″. Your layers are ready … what colors did you pick? My card base is Basic Black and the mat is Highland Heather! Don’t forget your window sheet… you’ll need it for the Shaker Card.
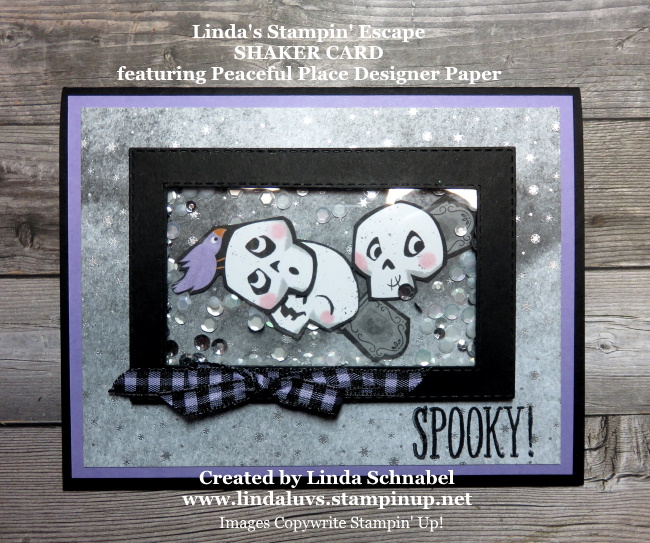
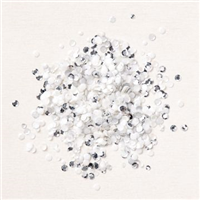
I used the Cute Halloween Designer paper and fussy cut my skulls and tombstones, then added them to the Subtle Shimmer Sequins to create my shaker. I used the Layering Rectangle Frames to lock in my shaker.
I created a cute little bow to attach to my frame using the Black & White Gingham Ribbon dyes Highland Heather using the Stampin’ Blends. To finish off my card … I used the “Spooky” from the Festive & Bright Stamp set.

Isn’t this just the cutest Halloween card? If this excites you … imagine the look on your childs/grandchilds face when you give them this card!!
The second piece of designer paper will be used for a Christmas Card … I’ve decided to highlight the neutral colors in the designer paper. Now that I’m looking at it finished here, I think I would have like to add the silver foil behind me trees! Have you ever done that before? Well … I have another 12 x 12 inch sheet of this paper so I’ll add it to my next one.

The trees and the greeting come from the Peaceful Deer stamp set and works pretty good with the designer paper. I don’t have to coordinating cabin bundle yet … but you’ve convinced me that I want it … and that I will share plenty with you.
You’ll notice that I used the Subtle Shimmer Sequins on this card as well as the shaker! Might as well get as much use out of our products as we can … Right!
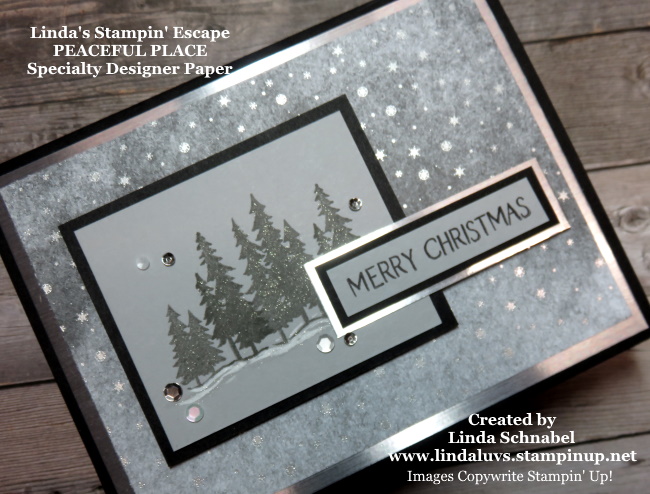
How could I forget … I couldn’t resist added some Wink of Stella on my trees. That little extra sparkle just fit in well with the designer paper.
Thank you so much for joining me today. I hope you enjoyed getting to see what you can do with the extra pieces of paper that was cut from our Peaceful Place 12 x 12 designer paper.

TODAY’S STAMPIN’ SUPPLY LIST … If you liked the products used in todays projects, I have links for you below. Just click on the item you would like more information on, or to begin your shopping. It will take you directly to my website. Thank you ♥


I love the tree card. Just beautiful. You out did yourself again Linda.
Thank you Kathie!! You are my biggest cheerleader and you inspire me 🙂 Looks like we make a great team!!
Have a great day, Linda
Great cards! Thanks for sharing
Thank you Susan! It’s my pleasure. Have a wonderful day, Linda