
Hello Stampin’ Friends ~
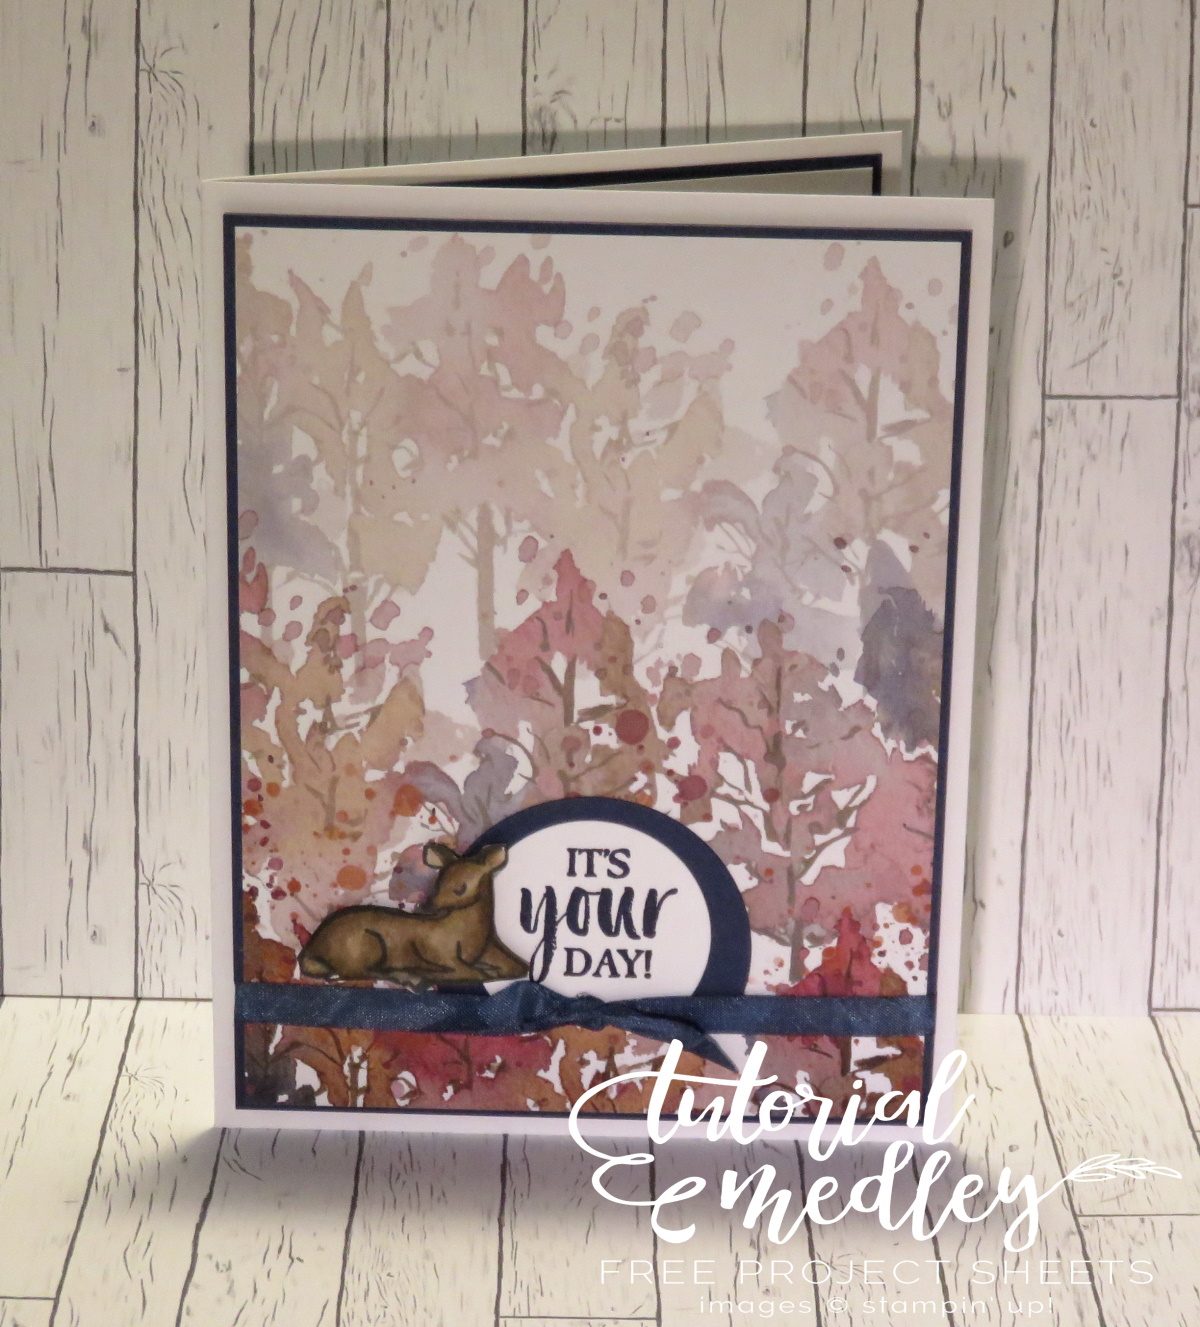
Today I’d like to share a special birthday card, a card I created using the Beauty of the Earth Designer paper and the deer from the Peaceful Deer Bundle. I recently joined a group of demonstrators that create and share cards … this is the one that I shared with our group.
We also share instructions and a supply list. Nice thing about this group … I will be able to share cards with you that were created by my stampin’ demonstrator friends, so you’ll see different styles and ideas, and isn’t that what we all seek … ideas!
Measurements:
- Card Base: Basic White 5-1/2″ x 8-1/2″ scored & folded at 4-1/4″ & 2” x 2” (greeting)
- Cardstock #2: Night of Navy: 5-1/4” x 4” (Mat for Designer Paper) & 2” x 2” Circle
- Cardstock #3 Scrap for deer
- Designer Paper: 5-1/8″ x 3-7/8″
- Cardstock #4: Night of Navy: 5-1/4” x 4” (Inside Mat)
- Cardstock #5: Basic White: 5-1/8” x 3-7/8” (Inside for writing)
- Designer Paper Strip: 5″ x 1/2″ décor for inside
Instructions:
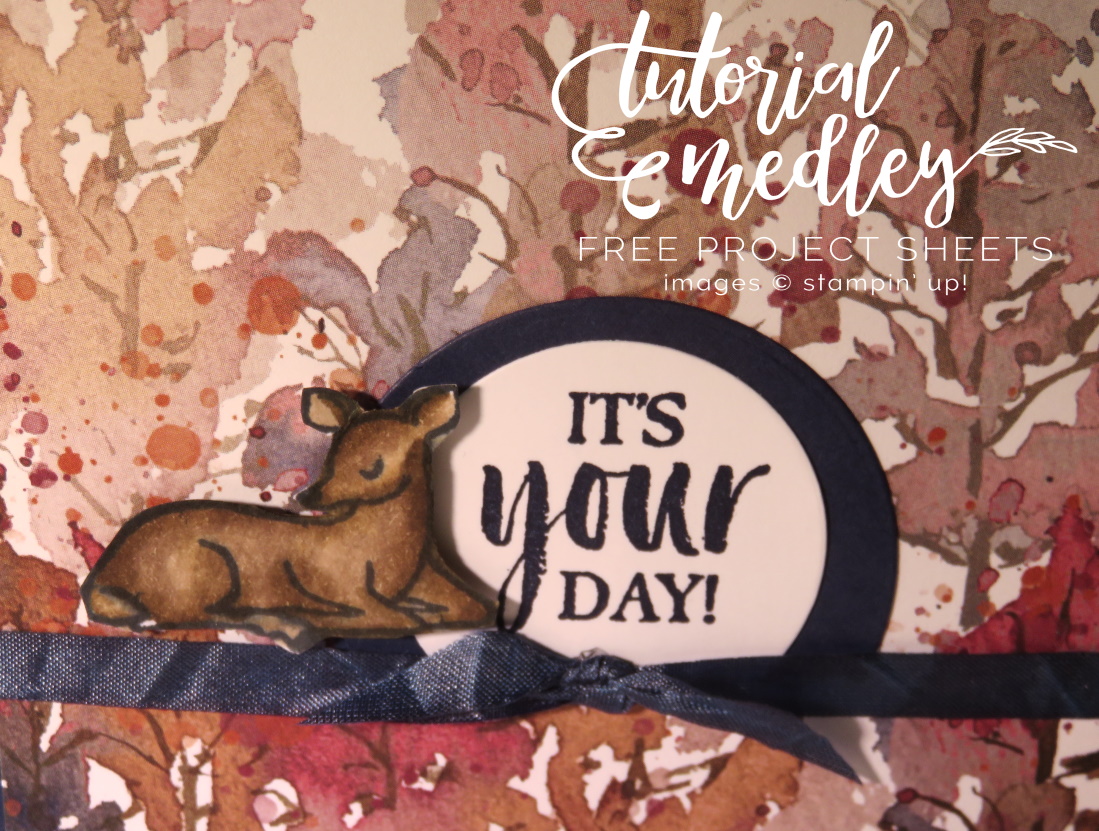
- Stamp (It’s Your Day) greeting with Night of Navy Ink onto Basic White and Die Cut with Layering Circle Die
- Die cut 2” x 2” Night of Navy piece with slightly larger Layer Circle Die … attach together.
- Stamp resting deer with Momento Ink on a scrap piece of Basic White.
- Color Deer with Stampin’ Blends and fussy cut.
- Use the Night of Navy Stampin’ Blends (Dark) and dye your White Seam Binding … Let Dry.
- Layer the 5-1/8″ x 3-7/8″ Beauty of the Earth Designer paper over Night of Navy mat and secure.
- Attach the ribbon that you have dyed to the bottom portion of the cardfront
- Snip off the bottom of the greeting layers and tuck behind the ribbon. I did not pop this up.
- Using Mini Stampin’ Dimensionals pop up the deer and position it on the left side of the greeting.
- Using Stampin’ dimensionals, attach the assembled card front to your base.
- For the inside of the card, adhere strip of designer paper on the left side of the Basic White.
- Attach Basic White piece to your Night of Navy and secure to the inside flap of your card.
I hope this card tutorial inspires you to begin making all occasion cards. Can you image using all of your amazing designer papers for different looks … Have fun with this layout, it’s simple yet highlights the birthday greeting for the receiver of the card.
Thank you for stopping by today to check out my post. Give it a LIKE at the bottom or leave a comment … it is welcomed and greatly appreciated. It also helps others find this blog.
Have a wonderful day ~

TODAY’S STAMPIN’ SUPPLY LIST … If you liked the products used in today’s projects, I have links for you below. Just click on the item you would like more information on, or to begin your shopping. It will take you directly to my website. Thank you ❤


Such a pretty card. The deer and background are perfect together. Linda, you certainly have “an eye” for putting things together beautifully!
Awww … Thank you Kathie! You are such a sweetheart! You ladies inspire me to create beautiful cards that are easy to recreate. I appreciate you taking time to stop by my blog and share your comments. Have an amazing day, Liinda